Do not allow your E-ATV to go into deep discharge, as this will
damage the batteries.
1. Make sure unit is turned off.
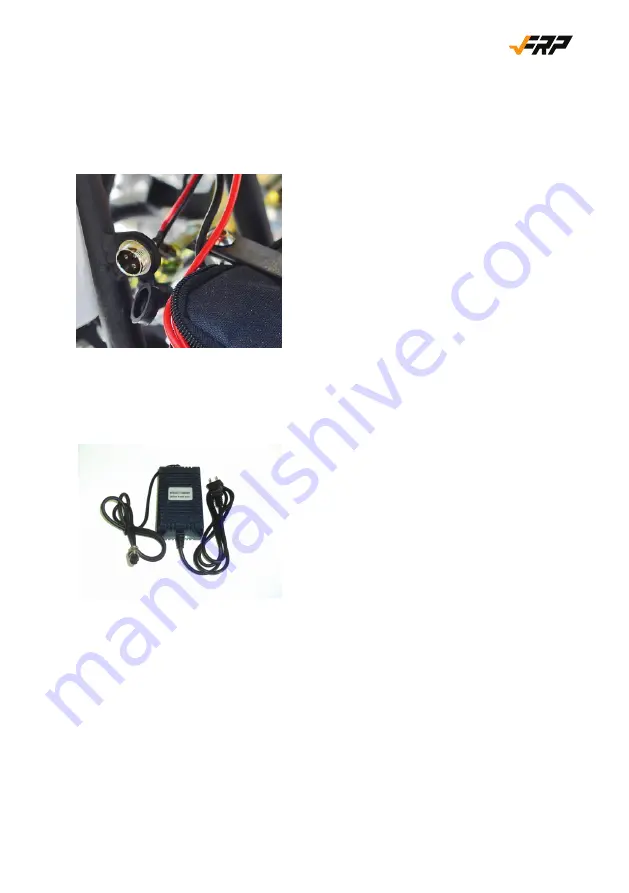
2. Open the charging socket cover
located on the left side of the
E-ATV frame, near batteries
3. Locate your Battery Charger.
Find the charger socket and that has a
three-prong socket and plug it into the
E-ATV .
4. Next, plug the AC plug into a wall
outlet.
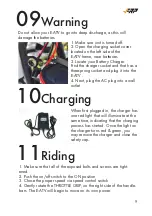
When
fi
rst plugged in, the charger has
one red light that will illuminate at the
same time, indicating that the charging
process has started. Once the light on
the charger turns red & green, you
may remove the charger and close the
safety cap.
1. Make sure that all of the exposed bolts and screws are tight-
ened.
2. Push the on/off switch to the ON position.
3. Chose the proper speed via speed control switch
4. Gently rotate the THROTTLE GRIP, on the right side of the handle-
bars. The E-ATV will begin to move on its own power.
9
09
Warning
10
Charging
11
Riding


