Frye Electronics FONIX COLT Audiometer
11
Chapter 2: Setup
This chapter describes how to set up the Colt Audiometer for testing.
2.1 Connecting the Colt Audiometer for Testing
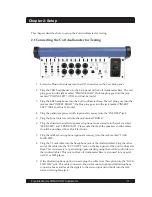
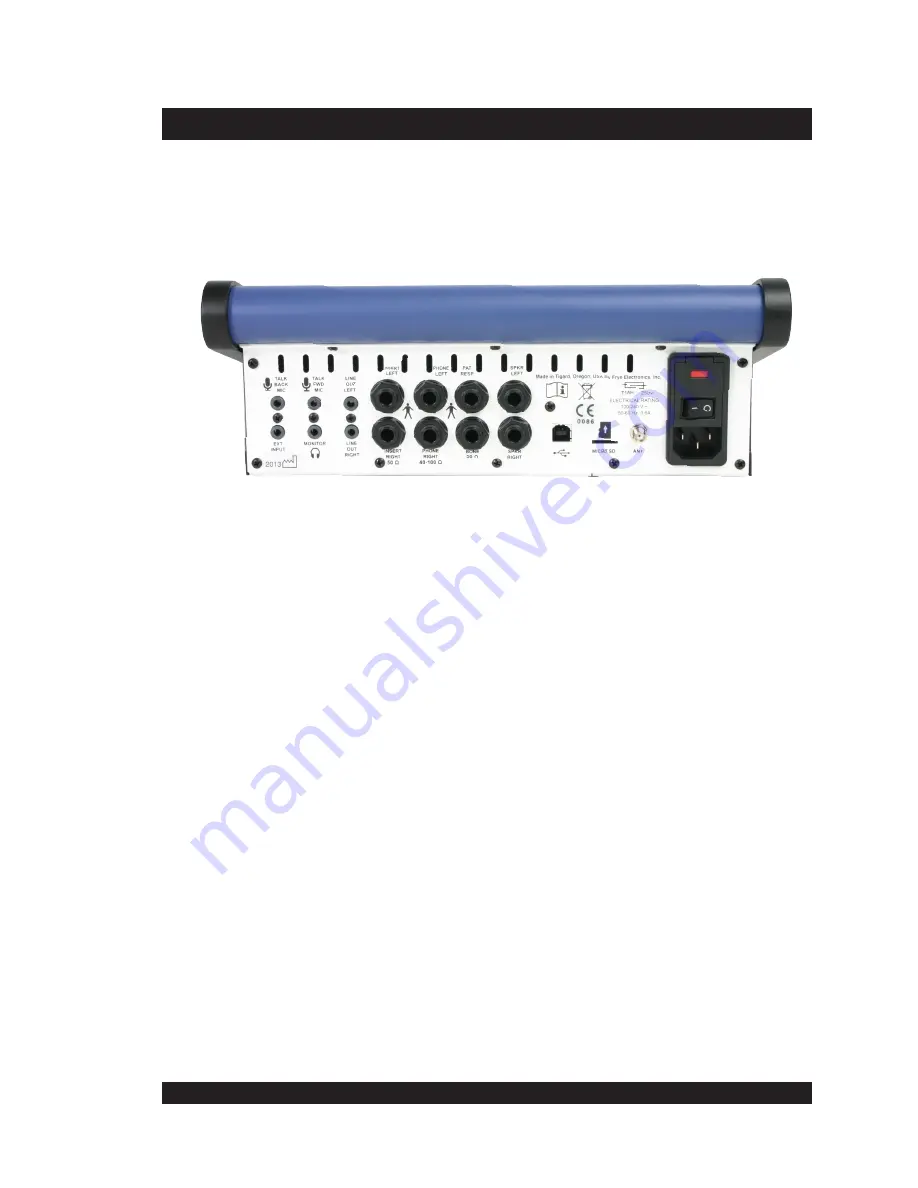
1. Screw the Bluetooth antenna into the ANT connector on the Colt back panel.
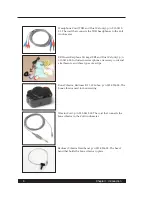
2. Plug the TDH headphones into the back panel of the Colt Audiometer Base. The red
plug goes into the jack marked "PHONE RIGHT"; the blue plug goes into the jack
marked "PHONE LEFT." (TDH and Dual Cal only)
3. Plug the ER3 headphones into the Colt Audiometer Base. The red plug goes into the
jack marked "INSERT RIGHT"; the blue plug goes into the jack marked "INSERT
LEFT." (ER3 and Dual Cal only)
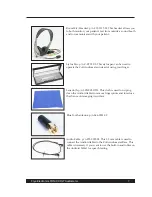
4. Plug the patient response switch (optional accessory) into the "PAT RESP" jack.
5. Plug the bone vibrator cord into the jack marked "BONE."
6. Plug the shielded sound field speakers (optional accessories) into the jacks marked
"SPKR LEFT" and "SPKR RIGHT." Please note that both the speakers and the cables
should be purchased from Frye Electronics.
7. Plug the talkback microphone (optional accessory) into the jack marked "TALK
BACK MIC."
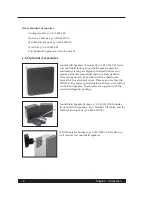
8. Plug the 3.5 mm cable into the headphone jack of the Android tablet. Plug the other
end of the cable into the “EXT INPUT” jack on the back panel of the Colt Audiometer
Base. This is necessary for performing speech testing using the built-in audio files on
the Android tablet. This jack on the Colt Audiometer Base is also used for any exter-
nal CD or MP3 player.
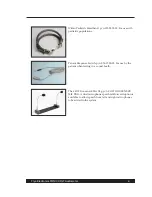
9. If the dual microphone option is used, plug the cable from this option into the "TALK
FWD MIC" jack. This cable connects to the side mounted right and left microphone
connector boxes and leads the signals to the stereo input circuit built into the talk
forward microphone jack."


