Frye Electronics FONIX COLT Audiometer
23
Note: When the Patient No Response option is off and neither the patient nor the user
presses the patient response button, no symbol will be displayed on the graph.
2. When the Patient No Response option is on, the No Response symbol will be presented
if the patient did not press the response switch while the stimulus button was being
pressed.
Note: You can still change the symbol by pressing the Response button on the screen to
toggle between the Response and No Response symbols, regardless of the state of the
Patient No Response option.
When the patient presses the patient response switch, a tone is also presented in the moni-
tor headset. To change the volume level of the patient response tone, press and hold the
tablet on-screen response button until the volume control dialog box appears.
The amount of time that the patient response switch is accepted after stimulus presentation
is controlled by the preference setting (See chapter 4- patient response time window) and
can be set to be from 0 to 2 seconds.
If additional gain is needed on a volume control, press and hold the control to bring up the
control's calibration dialog.
3.1.5 Communicating with Your Patient
If you are testing using a sound booth, it will be necessary to use a boom mic headset and a
talkback microphone to communicate with your patient.
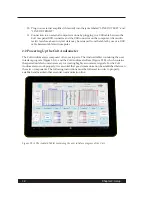
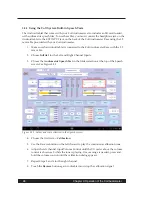
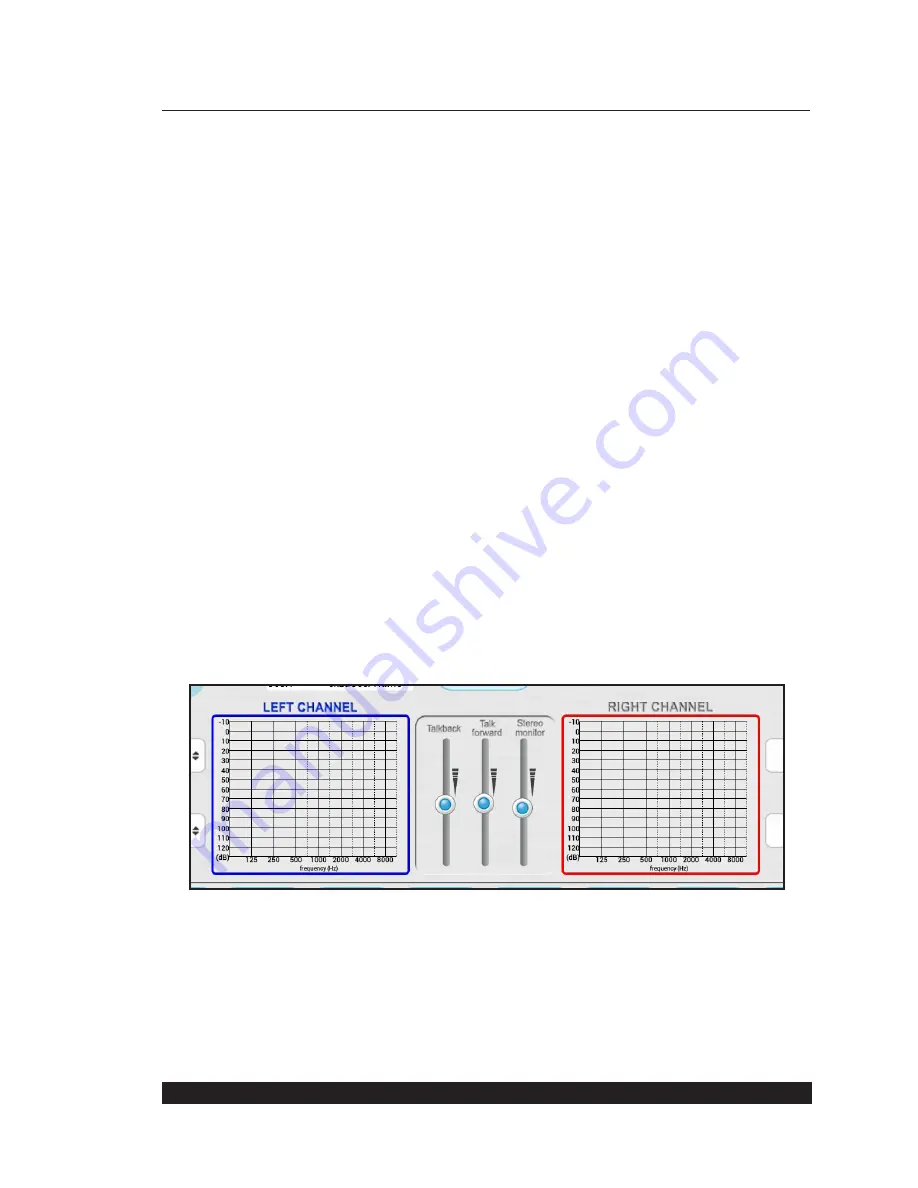
The volume levels of the talkback microphone, talk forward microphone, and monitor headset
are controlled using the sliders in the middle of the Audiogram screen.
Figure 3.1.5 the volume levels are controlled using the sliders
To talk to your patient using the boom mic headset, push the Talk Forward button. When it is
enabled, the color of this button changes from blue to gold. When you are finished talking to
your patient, push the button again to disable the microphone.
It is also possible to change the behavior of the Talk Forward button so that the microphone

