84
FONIX FP40 Portable Hearing Aid Analyzer
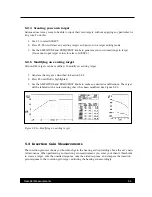
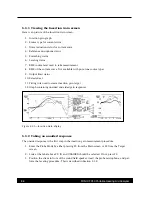
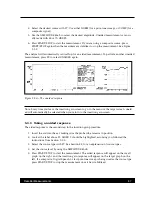
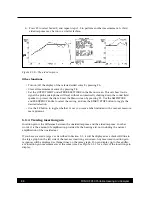
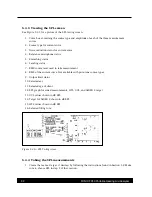
6. Use the FREQUENCY and AMPLITUDE knobs to input the hearing threshold levels for the
selected ear. The numerical values will appear in the HTL dB HL column in the table just to
the right of the large graph. As you enter the HTL values, the smaller graph on the right side
of the screen will be updated.
7. Press F2 to highlight UCL if you would like to enter measured UCL values using the
FREQUENCY and AMPLITUDE knobs. If you would like the analyzer to predict these values
from the client’s threshold values, skip this step.
8. Press F3 to select the desired fitting rule.
9. Press F6 to select the client’s age if the client is a child. If the client in an adult, you can skip
this step.
10. Press F5 to generate the target. Predicted UCL values are also generated if you have not
entered any measured values.
Notes:
• If you are only going to perform insertion gain measurements, there is no need to input the
UCL or age values. They are not used in the insertion gain measurement method.
• If you selected IG in Step 2 of the above instructions, an insertion gain graph will appear on
the left side of the target screen. When you generate the target, as described in Step 10, the
insertion gain target will be displayed on that graph.
• If you have selected the DSL WDRC fitting rule, you can use F2 to select CT and the
AMPLITUDE knob to modify the compression threshold status. The compression threshold is
displayed at the top middle part of the screen, next to the UCL status.
• The fitting rule NAL-2 is often referred to as NAL-R in other hearing aid analysis systems.
• It is sometimes useful to clear threshold values. To do this, use F2 to select HTL. Next, press
F8 to clear the threshold values. You can also use this method for clearing UCL values and tar-
gets.
• It is possible to print the target screen with or without a label. Use F9 to toggle whether or not
you want any printouts to include a label.
5.2.3 Setting the default target
If you consistently use the same fitting rule, you may set it as your analyzer’s default. To do this,
select the desired fitting rule with F3 in the Target screen. Next, press START/STOP. You will see a
WAIT message appear on the screen momentarily. When this message disappears, the selected fit-
ting rule is stored as the default.


