86
FONIX FP40 Portable Hearing Aid Analyzer
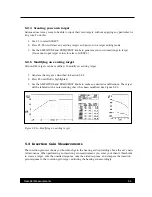
5.3.1 Viewing the Insertion Gain screen
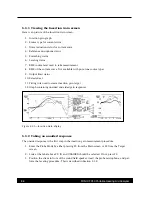
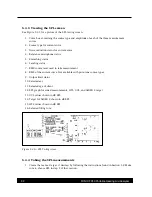
Here is an picture of the Insertion Gain screen.
1. Insertion gain graph
2. Source type for current curve
3. Noise reduction status for current curve
4. Reference microphone status
5. Smoothing status
6. Leveling status
7. RMS source level used to take measurement
8. RMS of the current curve. Not available with pure-tone source types.
9. Output limit status
10. Selected ear
11. Fitting rule used to create insertion gain target
12. Graph containing unaided and aided gain responses
Figure 5.3.1—Insertion Gain display
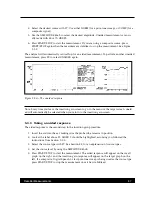
5.3.2 Taking an unaided response
The unaided response is the first step in the insertion gain measurement procedure.
1. Enter the Probe Mode by either pressing F5 from the Main screen or F4 from the Target
screen.
2. Look at the label above F2. IG and UNAIDED should be selected. If not, press F2
3. Position the client in front of the sound field speaker, insert the probe microphone, and per-
form the leveling procedure. This is described in Section 5.1.2.


