3
Single Device Configuration
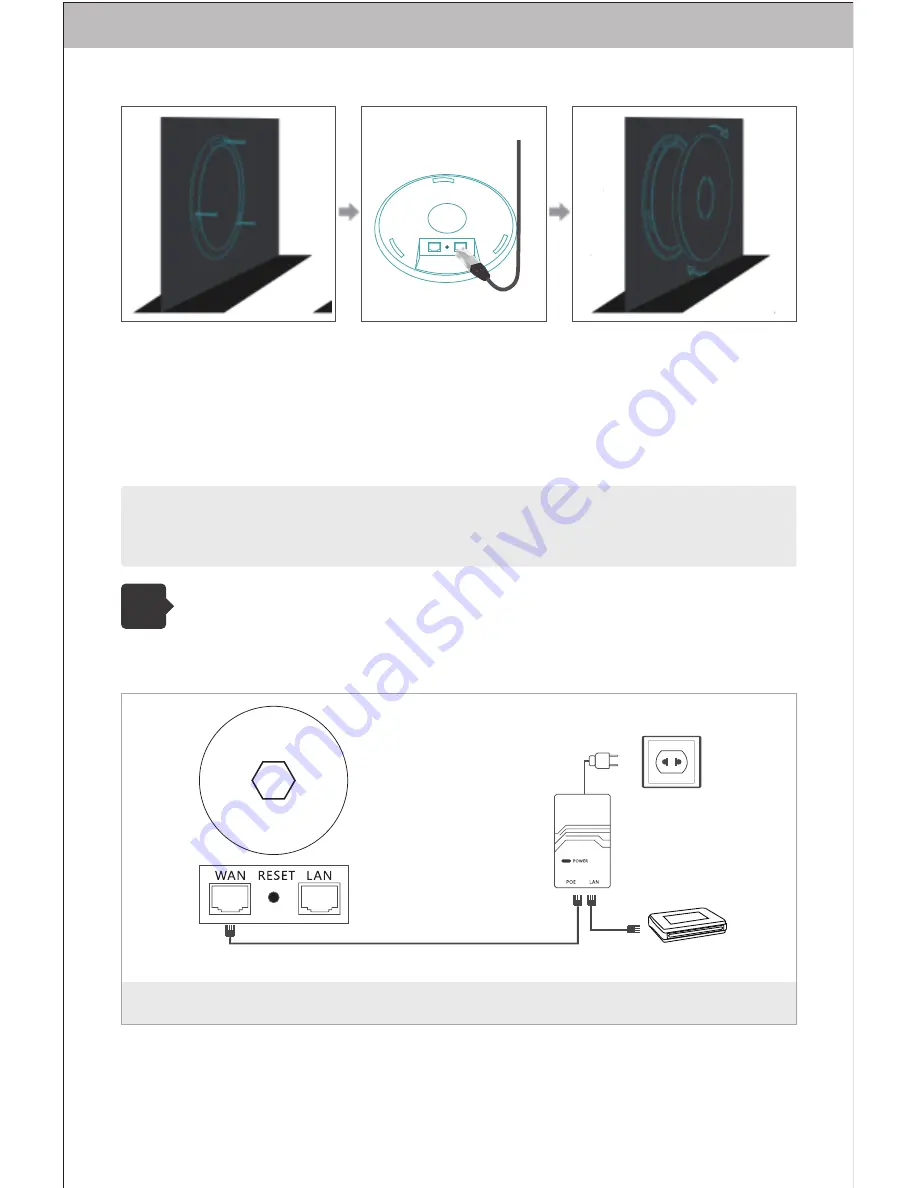
3.1 Connection Diagram
POE Power Supply
(Not Standard)
Higher Level Network
Note: This quick installation guide is taken the circled ceiling AP for an example.
Some of square ceiling AP have 4 screws and please push one side to install.
Note: Set the LAN port of the device to the computer.
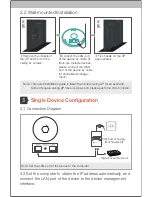
2.2 Wall-mounted Installation
wall
wall
①
Remove the chassis of
the AP, and fix it on the
ceiling by screws.
②
Connect the LAN port
of the device by cable. (If
there are multiple devices,
please connect the WAN
port of the device by cable
for centralized manage-
ment.)
③
Fix chassis on the AP
appropriately.
3.2 Set the computer to obtain the IP address automatically, and
connect the LAN port of the device to the device management
interface.


