User’s manual · MAX IPS100
Technical changes and mistakes reserve
-
9
-
MAX IPS100 Version en_1.0
FTE Maximal
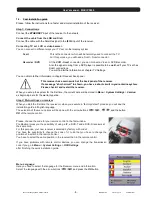
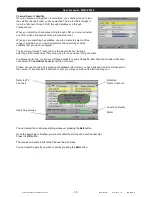
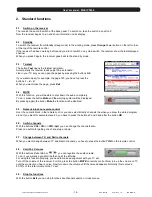
Time Zone:
In order to the receiver is able to display the correct time and adjust the timer
recordings correctly, it is needed to fix the time zone to the place you live.
Select here the time delay according to your position comparing to
Greenwich Time.
In UK:
Summer time: +1 hours
Winter
time:
GMT
hour
Select with the arrow buttons
and press the
OK
button.
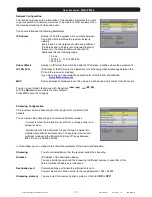
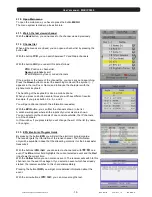
Selection of the satellite list of channels pre-loaded
This option allows loading the channel list stored in your receiver, and you will not
need to tune channels. The list includes Astra / Hot Bird / Hispasat / Turksat
channels, and it is supposed that the same input signal is available in both inputs.
If you select
Load Channel List
, the installation assistant finishes at this point and
it begins the viewing of the channels.
In case of having a different configuration, please select
Tune new channels
and
continue with the installation assistant, configuring the antennas.
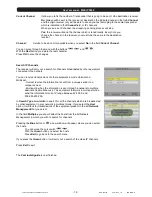
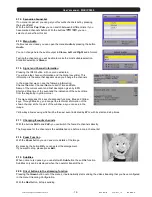
Antenna configuration:
In this menu, you should configure the connected signals in the
IF IN
of
your receiver.
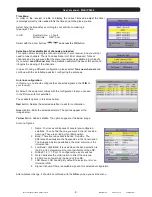
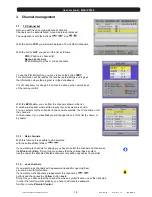
By default, the equipment comes with the configuration that you can see
in the Picture, with four satellites.
The available options in this screen allow:
Red
Button: Deletes the selected satellite. It asks for confirmation.
Green
Button: Edits the selected satellite. The options appear at the
image below.
Yellow
Button: Adds a satellite. The options appear at the below image.
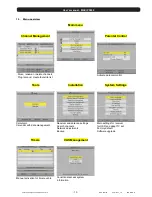
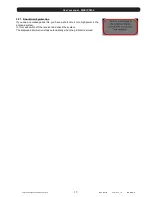
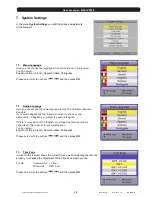
Antenna Options:
1. Name: Your receiver disposes of several pre-configured
satellites. You can find the one you want in the list or add a
new one. They are sorted by its orbital position.
2. Band: There are two available bands: C and Ku. The
differences basically are the frequencies in the transmission.
The Ku band has two possibilities; the most common is the
Universal Ku.
3. Low Band / High Band: It is used when the band selection is
the Ku, and it programmes the local oscillators of the LNC.
4. DiSEqC 1.0 / 1.1 Port: To configure the use of switches.
5. Motor: Activates the motor option to direct the antenna.
6. 22 KHz: tone of switching the band of the LNC.
7. LNB Power: LNB Feeding. By default the selection is for an
Universal LNB.
8. Signal: It shows if there is available signal in this selected configuration.
Alter whatever change, it should be confirmed with the
OK
key when you exit the menu.


