background image

5

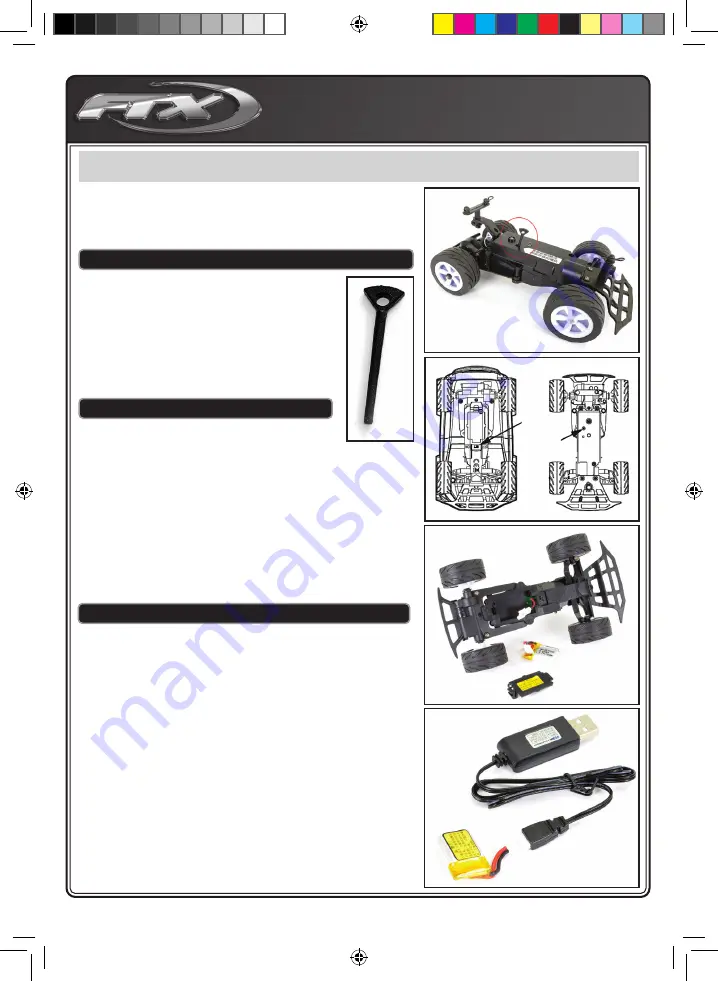
BINDING THE TRANSMITTER AND RECEIVER

Your FTX transmitter will come ready bound to the vehicle directly 

from the factory. However should you need to rebind the radio to the 

vehicle please follow these simple instructions:

Always store your model with the battery pack unplugged and removed. 

Always charge your battery away from the vehicle. The included 300mAh USB 

charger will take approx 45 minutes to charge a fully discharged battery, but 

always remove it from the charger if it becomes warm to the touch. Always 

disconnect the charger from the mains supply and the battery pack when 

not in use. Keep children away from charger and battery during the charging 

process.

HOW TO REBIND TRANSMITTER TO VEHICLE:

If your vehicle loses it’s signal from the transmitter, 

rebind the transmitter to the vehicle:
•  Turn off the transmitter, and power on the chassis via 

power switch, then LED on chassis will flash slowly. 


Use the bind key to press twice, 


then LED will flash quickly. Power on the transmitter and 


the LED will stay solid indicating a successful bind.

Notes on Battery use:

Always allow the battery cool after use, before recharging.

Always inspect the battery before charging.

Any bare wires, split heat shrink or leakage is a sure sign of abuse.

Never attempt to charge dead or damaged batteries.

Do not disassemble the battery or cut the connector wires.

If the battery connector gets hot enough to melt there is most likely a serious 

problem with your model, driveline, battery wires or speed controller. Find and 

correct the problem before installing another charged battery pack.

NEVER charge the battery unattended incase of overcharging, 

you need to be able to monitor the battery during charging.

Charge away from flammable objects and on a non-flammable surface incase 

the battery becomes too hot.

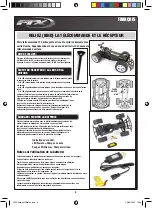
STATUS OF RECEIVER/LED ON CHASSIS.

CHARGING/INSTALLING THE BATTERY.

POWER 

SWITCH

BIND

•  LED flashes slowly, indicates the transmitter has lost 


connection with the chassis

•  LED stays solid, indicates the connection with the transmitter is normal.

•  LED flashes quickly, indicates the receiver is entering bind mode.

•  LED flashes once a second, indicates the voltage of the chassis battery is 

low and the car is in low Voltage Protection (LVP) mode.  

The LED Sequence for the USB charger is:

Red LED Off = Charging

Red LED On = Ready

FTXHooliganJNRMan.indd   5

FTXHooliganJNRMan.indd   5

16/03/2020   10:08

16/03/2020   10:08

Summary of Contents for HOOLIGAN JNR

Page 1: ...1 FTXHooliganJNRMan indd 1 FTXHooliganJNRMan indd 1 16 03 2020 10 08 16 03 2020 10 08 ...

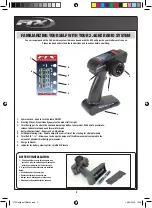
Page 2: ... 5 Left Right steering trim Used to adjust the centre trim of the steering for straight wheels 6 Throttle D R Allows you to change the amount of throttle movement compared to the amount of physical throttle trigger movement 7 Charge indicator 8 Indicator for battery steering trim throttle D R levels 5 2 1 3 BATTERY INSTALLATION 1 Slide the battery cover off as shown and install 4 x AA size batteri...

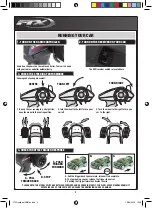
Page 3: ... wheel to the left to turn your car left 3 Turn the wheel to the right to turn you car to the right 4 CHECK THROTTLE TRIGGER RESPONSE PLEASE NOTE THE MODEL SWITCHES BETWEEN FORWARD AND REVERSE INSTANTLY FOR SLOW SPEED MANOEUVRABILITY EXCESSIVE USE OF THIS FEATURE CAN CAUSE TRANSMISSION AND ESC DAMAGE A Pull the trigger back to accelerate release it to decelerate B To stop running you car release t...

Page 4: ...rements of 15 clicks which will be shown with the steering trim indicator light 6 TO TUNE THE THROTTLE DUAL RATE TH D R ADJUSTMENT The TH 0 R adjusts the overall speed of the car For maximum speed set the TH 0 R to 100 For game play 40 is recommended vehicle will be easier to control and battery will last longer When the transmitter and vehicle are on Use the button to decrease the percentage and ...

Page 5: ...y cool after use before recharging Always inspect the battery before charging Any bare wires split heat shrink or leakage is a sure sign of abuse Never attempt to charge dead or damaged batteries Do not disassemble the battery or cut the connector wires If the battery connector gets hot enough to melt there is most likely a serious problem with your model driveline battery wires or speed controlle...

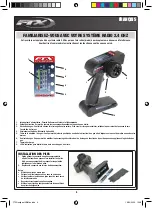
Page 6: ...s roues et de mettre au neutre votre moteur 6 Dual rate des gaz Vous permet de modifier le pourcentage d accélération de freinage en fonction de la position que vous appliquez à la gâchette des gaz 7 Témoin de charge 8 LED d indication pour batterie trims de la direction gaz dual rate INSTALLATION DES PILES 1 Faites glisser le couvercle des piles comme montré afin de l enlever Vous pouvez alors in...

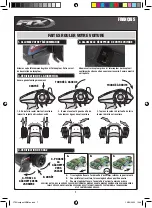
Page 7: ...re tourner à gauche votre voiture 3 Tournez le volant à droite afin de faire tourner à droite votre voiture 4 VÉRIFICATION DES GAZ A Tirez la gâchette vers l arrière afin d accélérer relâcher la pour ralentir B Pour arrêter votre voiture laissez la gâchette en position neutre C Poussez la gâchette vers l avant afin d activer la marche arrière A TIREZ LA GÂCHETTE VERS L ARRIÈRE C POUSSEZ LA GÂCHETT...

Page 8: ...est ajustable pour la gauche et la droite grâce à 15 crans qui vous seront affichés avec la led d indication des trims de la direction 6 Réglage du Dual Rate des gae TH D R Afin d ajuster la vitesse général de votre voiture vous pouvez utiliser le TH 0 R Afin d atteindre une maximale réglez le TH 0 R à 100 Afin de vous amusez il est recommandé de le régler à 40 la voiture sera alors plus facile à ...

Page 9: ...e bouton de liaison bind la LED va alors clignoter Notes sur l utilisation de la batterie Laissez du temps à la batterie pour refroidir avant de vous en servir ou de la charger Vérifiez l état de la batterie avant de la charger Tout fil dénudé gaine coupé ou fuite est un signe d une mauvaise utilisation N essayez jamais de charger une batterie morte ou endommagée Ne démontez pas la batterie et ne ...

Page 10: ...73 FTX HOOLIGAN JNR BODY CLIPS 10PC FTX7474 FTX HOOLIGAN JNR 3 7V LIPO BATTERY FTX7475B FTX HOOLIGAN JNR BLUE BODYSHELL FTX7475R FTX HOOLIGAN JNR RED BODYSHELL FTX7475G FTX HOOLIGAN JNR GREEN BODYSHELL FTX7475O FTX HOOLIGAN JNR ORANGE FTX7476 FTX HOOLIGAN JNR USB CHARGER FTXHooliganJNRMan indd 10 FTXHooliganJNRMan indd 10 16 03 2020 10 08 16 03 2020 10 08 ...

Page 11: ...11 NOTES FTXHooliganJNRMan indd 11 FTXHooliganJNRMan indd 11 16 03 2020 10 08 16 03 2020 10 08 ...

Page 12: ...12 FTXHooliganJNRMan indd 12 FTXHooliganJNRMan indd 12 16 03 2020 10 08 16 03 2020 10 08 ...

Reviews: