64
Using the Xterra App
In order to help you achieve your exercise goals, your new exercise machine comes with a
Bluetooth
®
-
transceiver,
that will allow to interact with selected phones or tablet computers via the Xterra App.
Just download the free Xterra App from the Apple Store or Google Play and follow the instructions in the App to
sync with your exercise machine. Now you can view current workout data in three different display screens on
your device. You can also easily switch back and forth from the workout display view to internet/social
media/email sites via icons on the display screen. When your workout is finished, the data is automatically saved
to the built-in personal calendar for future reference.
The Xterra App also allows you to sync your workout data with one of many fitness cloud sites we support: iHealth,
MapMyFitness, Record or Fitbit, with more to come. How to synchronize the app with your device:
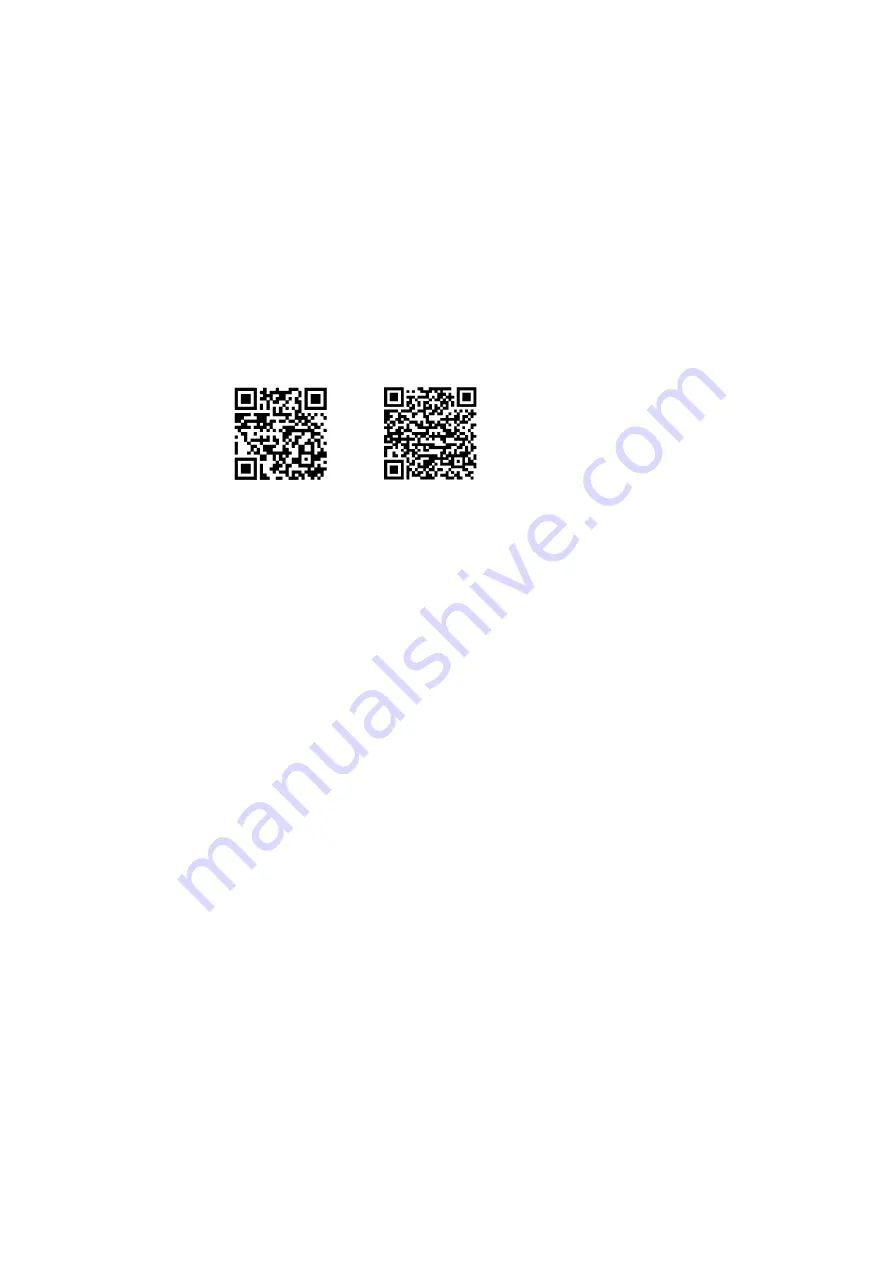
1. Download the app (search „XTERRA“ in App Store or Google Play Store or scan one of the below QR Codes).
(iOS)
(Android)
2. Open the app on your device (phone or tablet) and make sure
Bluetooth
®
is enabled on your device (phone
or tablet).
3. In the app click the icon in the top left corner to search for your Xterra equipment (shown right).
4. After the equipment is detected, click “Connect”. When the app and equipment are synchronized, the
Bluetooth
®
icon on the equipment’s console display will light up. You may now start using your new Xterra
product.
5. When you workout is finished, the data is automatically saved and you will be prompted to sync your data with
each available fitness cloud site. Please note you will have to download the applicable compatible fitness App,
such as iHealth, MapMyFitness, Record, Fitbit, etc, in order for the icon to be active and available.
Notes:
- Your device will need a minimum operating system version of iOS 7 or Android 4.4 for the Xterra App to
operate properly.
- If your device is connected to a mobile device via
Bluetooth
®
, the computer display will be switched off.
However, functions like start/stop, ventilation on/off or tension control are still active.
Summary of Contents for EC 900
Page 7: ...7 Schritt 3 Verbinden Sie die Kabelenden 57 und 25...
Page 30: ...30 EXPLOSIONSZEICHNUNG...
Page 42: ...42 Step 3 Connect cable ends 57 and 25...
Page 47: ...47 Step 8 Fix the linkage covers 73 left 74 right with the screws M5 99...
Page 65: ...65 EXPLODED VIEW...
Page 70: ...70 NOTES...
Page 71: ...71 NOTES...


