16 Appendix
656
A
p
pe
ndi
x
16
5
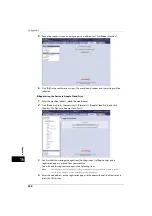
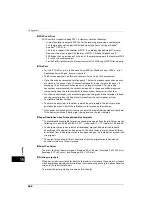
Rebooting request screen is displayed on the web browser. Click [Reboot Machine].
6
Click [OK] in the confirmation screen. The machine will reboot, and the settings will be
reflected.
Registering the Device to Google Cloud Print
1
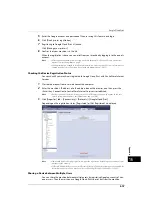
After the machine reboots, reload the web browser.
2
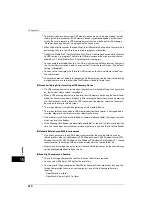
Click [Properties] tab > [Connectivity] > [Protocols] > [Google Cloud Print], and click
[Register This Device to Google Cloud Print].
3
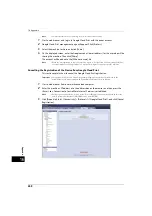
Confirm that the message changes from [Not Registered] to [Registering], and a
registration paper is printed from your machine.
You will need this registration paper in the following steps.
Note
•
Message [Registering] will change to [Registered] when the registration is finished in step 6.
•
Finish step 6 within 14 minutes after [Registering] is displayed.
4
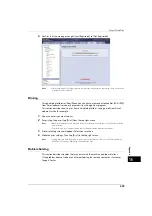
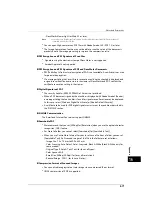
Enter the web address on the registration paper to the address box of the browser, and
press the <Enter> key.
Summary of Contents for ApeosPort-V 4070
Page 1: ...ApeosPort V 5070 ApeosPort V 4070 DocuCentre V 5070 DocuCentre V 4070 Administrator Guide ...
Page 13: ...13 EP System 704 Glossary 705 Index 707 ...
Page 14: ...14 ...
Page 40: ...1 Before Using the Machine 40 Before Using the Machine 1 ...
Page 108: ...4 Machine Status 108 Machine Status 4 ...
Page 316: ...7 Printer Environment Settings 316 Printer Environment Settings 7 ...
Page 348: ...9 Scanner Environment Settings 348 Scanner Environment Settings 9 ...
Page 356: ...10 Using IP Fax SIP 356 Using IP Fax SIP 10 ...
Page 368: ...12 Using the Server Fax Service 368 Using the Server Fax Service 12 ...
Page 384: ...13 Encryption and Digital Signature Settings 384 Encryption and Digital Signature Settings 13 ...
Page 582: ...15 Problem Solving 582 Problem Solving 15 ...
Page 718: ...716 Index ...


