Authentication/Security Settings
287
To
ols
5
z
Custom Services
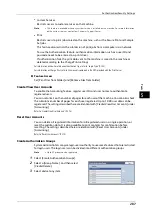
Restricts access to custom services on the machine.
Note
•
This feature is available when any custom service is installed on the machine. For more information
on the custom services, contact our Customer Support Center.
z
Restricts users to print jobs stored on the machine, such as the Secure Print and Sample
Set jobs.
This feature also restricts the submission of print jobs from a computer via a network.
To use the Authentication feature, authentication information such as a user ID and
passcode needs to be entered in a print driver.
If authentication fails, the print data sent to the machine is saved in the machine or
deleted according to the Charge Print settings.
For information on how to select an authentication type, refer to "Login Type" (P.285).
For information on Charge Print, refer to the manuals contained in the DVD provided with the Print Server.
Feature Access
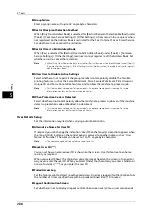
Set [Print Files from Folder] and [Retrieve Files from Folder].
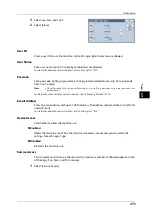
Create/View User Accounts
To enable the Accounting feature, register user IDs and user names to authenticate
registered users.
You can set a limit on the number of pages for each user of the machine. You can also check
the cumulative number of pages for each user registered. Up to 1,000 user data can be
registered. The settings described here are identical with [Create/View User Accounts] under
[Accounting].
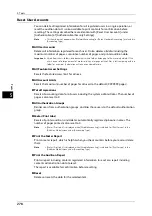
Refer to "Create/View User Accounts" (P.274).
Reset User Accounts
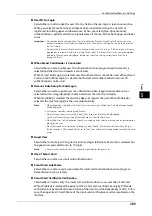
You can delete all registered information for all registered users in a single operation, or
reset the auditron data. It is also available to print contents for confirmation before
resetting. The settings described here are identical with [Reset User Accounts] under
[Accounting].
Refer to "Reset User Accounts" (P.278).
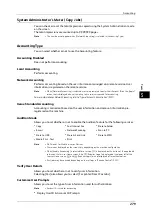
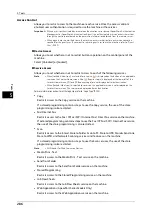
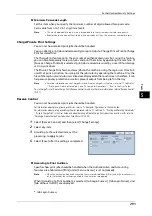
Create Authorization Groups
System administrators can give login users authority to use some features that are restricted
for login users. The login users can be divided into different authorization groups.
Note
•
Up to 20 groups can be registered.
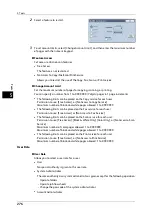
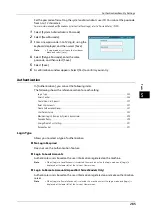
1
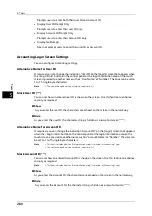
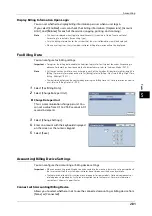
Select [Create Authorization Groups].
2
Select a [Group Name], and then select
[Create/Delete].
3
Select and set any item.
Summary of Contents for ApeosPort-V 6080
Page 1: ...ApeosPort V 7080 ApeosPort V 6080 DocuCentre V 7080 DocuCentre V 6080 Administrator Guide ...
Page 13: ...13 Activity Report 727 EP System 731 Glossary 732 Index 735 ...
Page 14: ...14 ...
Page 62: ...2 Paper and Other Media 62 Paper and Other Media 2 ...
Page 88: ...3 Maintenance 88 Maintenance 3 ...
Page 110: ...4 Machine Status 110 Machine Status 4 ...
Page 296: ...5 Tools 296 Tools 5 ...
Page 346: ...9 Scanner Environment Settings 346 Scanner Environment Settings 9 ...
Page 354: ...10 Using IP Fax SIP 354 Using IP Fax SIP 10 ...
Page 366: ...12 Using the Server Fax Service 366 Using the Server Fax Service 12 ...
Page 382: ...13 Encryption and Digital Signature Settings 382 Encryption and Digital Signature Settings 13 ...
Page 734: ...16 Appendix 734 Appendix 16 ...
Page 744: ...Index 744 Index ...

