7 Printer Environment Settings
314
P
rint
e
r E
n
v
iro
n
me
n
t S
e
tti
n
gs
7
3
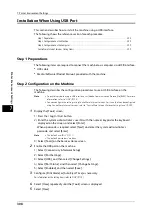
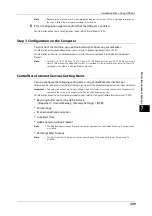
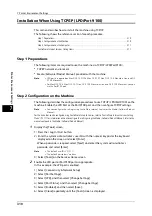
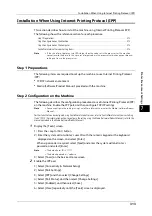
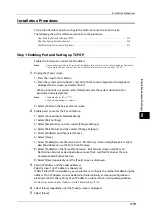
Set an IP address and the other addresses.
Skip this step if an IP address is already set.
If DHCP or BOOTP is available in your environment, configure the method for obtaining the
address. The configuration of an IP address, a subnet mask, and a gateway address is not
required.
For information on how to set an IP address, refer to "Protocol Settings" (P.182).
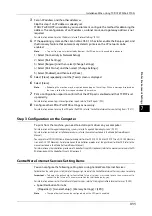
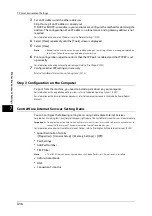
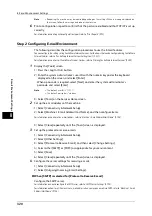
4
Select [Close] repeatedly until the [Tools] screen is displayed.
5
Select [Close].
Note
•
Rebooting the machine may be required depending on the settings. When a message displayed on
the screen, follow the message and reboot the machine.
6
Print a configuration report to confirm that the IPP port is enabled and that TCP/IP is set
up correctly.
For information on how to print a configuration report, refer to "Print Reports" (P.92).
7
Configure other IPP settings as necessary.
Refer to "CentreWare Internet Services Setting Items" (P.314).
Step 3 Configuration on the Computer
To print from the machine, you need to install a print driver on your computer.
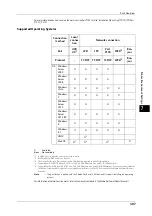
For information on the supported operating systems, refer to "Supported Operating Systems" (P.307).
For information on the driver installation procedures, refer to the manual contained in the Media (Software/Product
Manual).
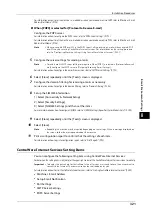
CentreWare Internet Services Setting Items
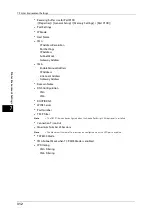
You can configure the following setting items using CentreWare Internet Services:
For details on the setting items, click [Help] at the upper right corner of the CentreWare Internet Services screen to see help.
Important •
To display the online help for CentreWare Internet Services, users need to have the environment to
connect to the Internet. The communication fee shall be borne by you.
For information on how to start CentreWare Internet Services, refer to "Starting CentreWare Internet Services" (P.300).
z
Spool Destination for Jobs
([Properties] > [General Setup] > [Memory Settings] > [IPP])
z
Port Settings
z
Add Port Number
z
TBCP Filter
Note
•
The TBCP filter can be configured when the Adobe PostScript 3 Kit (optional) is installed.
z
Administrator Mode
z
DNS
z
Connection Time-Out
Summary of Contents for ApeosPort-V 6080
Page 1: ...ApeosPort V 7080 ApeosPort V 6080 DocuCentre V 7080 DocuCentre V 6080 Administrator Guide ...
Page 13: ...13 Activity Report 727 EP System 731 Glossary 732 Index 735 ...
Page 14: ...14 ...
Page 62: ...2 Paper and Other Media 62 Paper and Other Media 2 ...
Page 88: ...3 Maintenance 88 Maintenance 3 ...
Page 110: ...4 Machine Status 110 Machine Status 4 ...
Page 296: ...5 Tools 296 Tools 5 ...
Page 346: ...9 Scanner Environment Settings 346 Scanner Environment Settings 9 ...
Page 354: ...10 Using IP Fax SIP 354 Using IP Fax SIP 10 ...
Page 366: ...12 Using the Server Fax Service 366 Using the Server Fax Service 12 ...
Page 382: ...13 Encryption and Digital Signature Settings 382 Encryption and Digital Signature Settings 13 ...
Page 734: ...16 Appendix 734 Appendix 16 ...
Page 744: ...Index 744 Index ...

