5.1 Scanning Document to Send as E-mail
224
5
E-mail Scanning
4
Select the preferred address number, followed by
Create/Delete
.
Selecting the
button will display the previous screen and the
button the next screen. You can
also use the numeric keypad to enter a 3-digit dial number to Go to to specify the address number
directly.
The Address Number NNN – Create/Delete screen is displayed.
5
Select E-mail and then
Detailed Settings
.
6
Select the option for registering, followed by
Change Settings
.
Selecting the
button will display the previous screen and the
button the next screen.
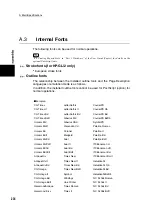
■
1. E-mail Address
Use the keyboard and numeric keypad displayed to enter the item.
■
2. Recipient Name
Use the keyboard and numeric keypad displayed to enter the item.
■
3. Index
Use the keyboard and numeric keypad displayed to enter the item.
Create/Delete
Close
Address Book
Address No.
Address
001
002
003
004
005
(Not in Use)
Go to
(001-500)
(Not in Use)
(Not in Use)
(Not in Use)
(Not in Use)
Close
Fax
Address Type
iFAX
Adrress Number 001 - Create/Delete
E-mail Address
1111
Recipient Name
1111
Index
1111
Detailed
Settings
Change
Settings
Reset All
Settings
Close
Address Number 001 - Create/Delete (E-mail)
Items
Current Settings
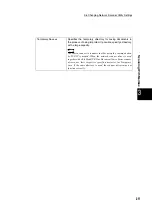
1. E-mail Address
(Not Set)
2. Recipient Name
3. Index
(Address Not Entered)
(Address Not Entered)
Summary of Contents for DocumentCentre C240 Series
Page 16: ...Part 1 Printer ...
Page 116: ...4 10 File Upload Printing 103 4 Special Printing 5 Click Start to start printing ...
Page 127: ...Part 2 Scanner ...
Page 238: ...Part 3 Appendix ...


