3.2 About Paper
43
3
B
asic Printing
3
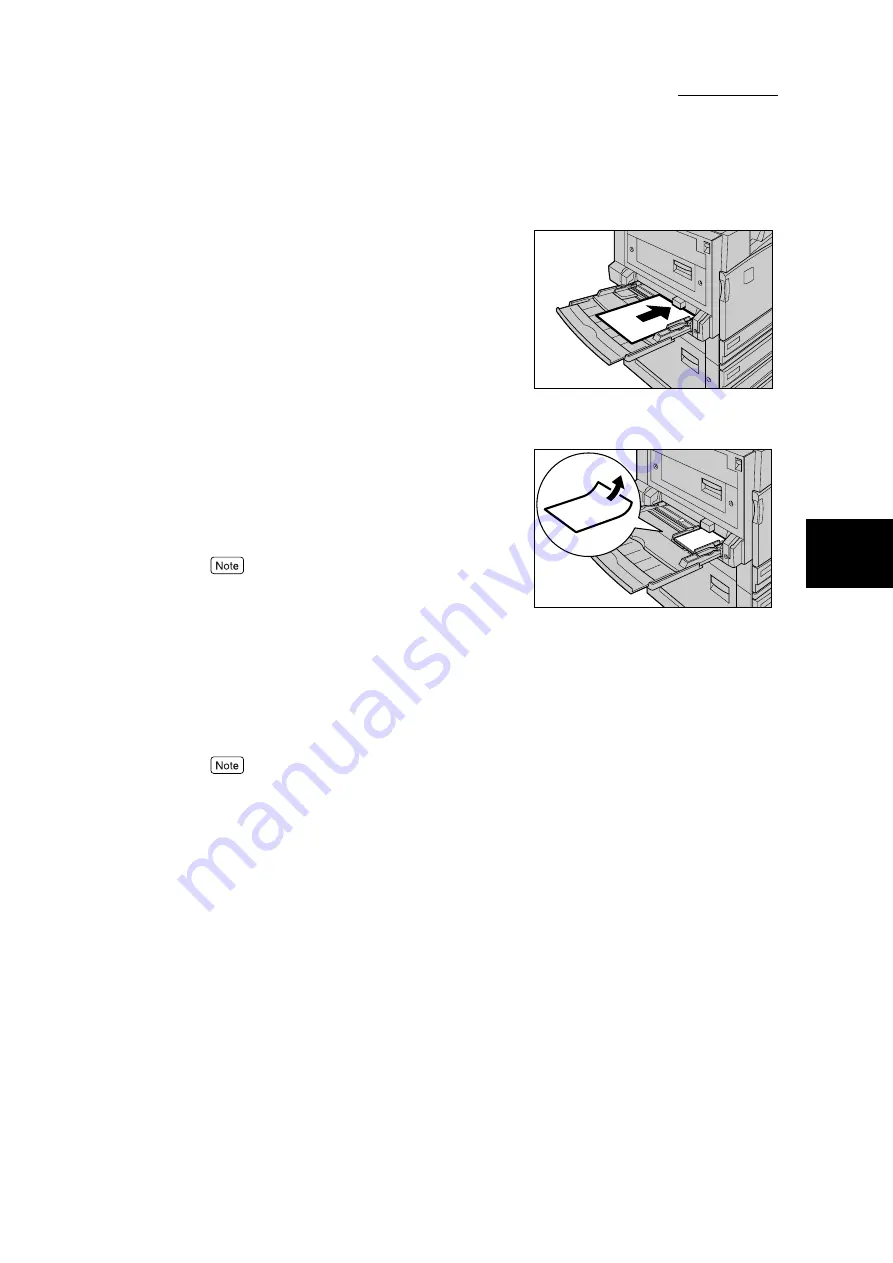
Insert paper with the side to be printed
facing down, and push it right to the
end while aligning it with the paper
guide in front of you.
●
As settings can be done when printing from the com-
puter, you do not need to specify the paper size/type
on the Tray 5 (Bypass) screen which is displayed on
the control panel (touch panel display) when paper is
loaded.
●
Do not load different paper types together. It may
cause paper jam.
●
Do not load paper exceeding the maximum fill line. It
may cause paper jam or machine breakdown.
●
When printing heavyweight, curl the tip of the paper
as shown on the right diagram if paper cannot be fed
into the machine. However, if paper is too curled or
creased, it may cause paper jams.
Different paper sizes cannot be loaded at the same time.
4
Adjust the paper size guide to fit the
paper loaded.
5
Select
from the File menu.
6
Check Name and then click
Properties
.
Depending on the application program, the way to display the printer properties dialog box may dif-
fer. See the manual of the application program used.
7
Click the Paper/Output tab.
Summary of Contents for DocumentCentre C240 Series
Page 16: ...Part 1 Printer ...
Page 116: ...4 10 File Upload Printing 103 4 Special Printing 5 Click Start to start printing ...
Page 127: ...Part 2 Scanner ...
Page 238: ...Part 3 Appendix ...


