4.4 Sample Print
82
4
Sp
ec
ia
l Pri
n
ti
n
g
5
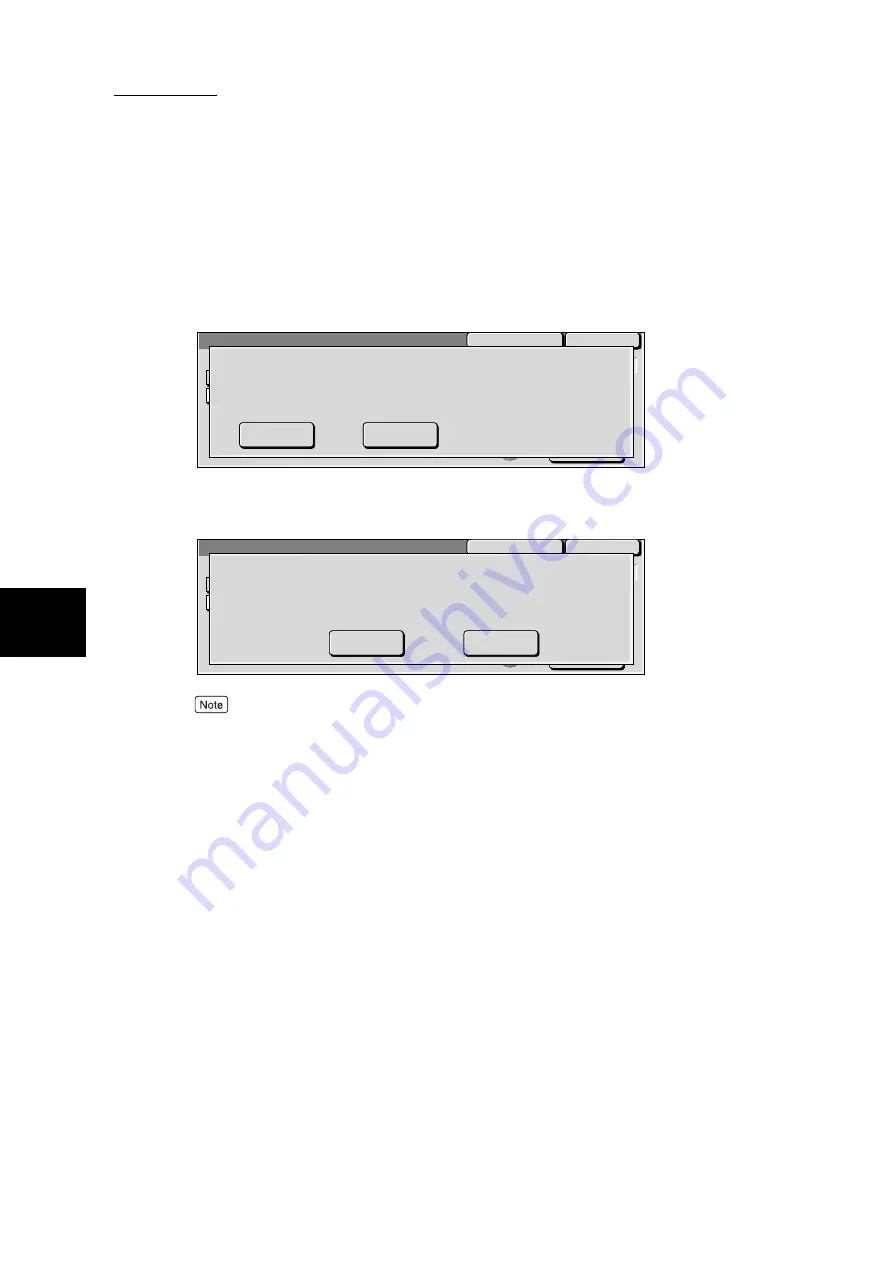
Check the contents displayed on the screen and then make the neces-
sary selection.
■
If Print is selected:
Selecting the No button will return you to the screen of step 4.
■
If Delete is selected:
Selecting the No button will return you to the screen of step 4.
Deleting all the documents of an user ID will delete the user ID.
6
Select
Close
repeatedly until the Job Status screen is displayed.
Close
Refresh
Fuji Taro
The following documents will be deleted after printed.
Are you sure?
User ID
Doc. Name
Stored Date
:Fuji Taro
:Goods Guidance
:2001/10/8 7:30 PM
Yes
No
Fuji Taro
Yes
No
Close
Refresh
The following document(s) will be deleted.
Are you sure?
User ID
Doc. Name
Stored Date
:Fuji Taro
:Goods Guidance
:2001/10/8 7:30 PM
Summary of Contents for DocumentCentre C240 Series
Page 16: ...Part 1 Printer ...
Page 116: ...4 10 File Upload Printing 103 4 Special Printing 5 Click Start to start printing ...
Page 127: ...Part 2 Scanner ...
Page 238: ...Part 3 Appendix ...


