136
7 Maintenance
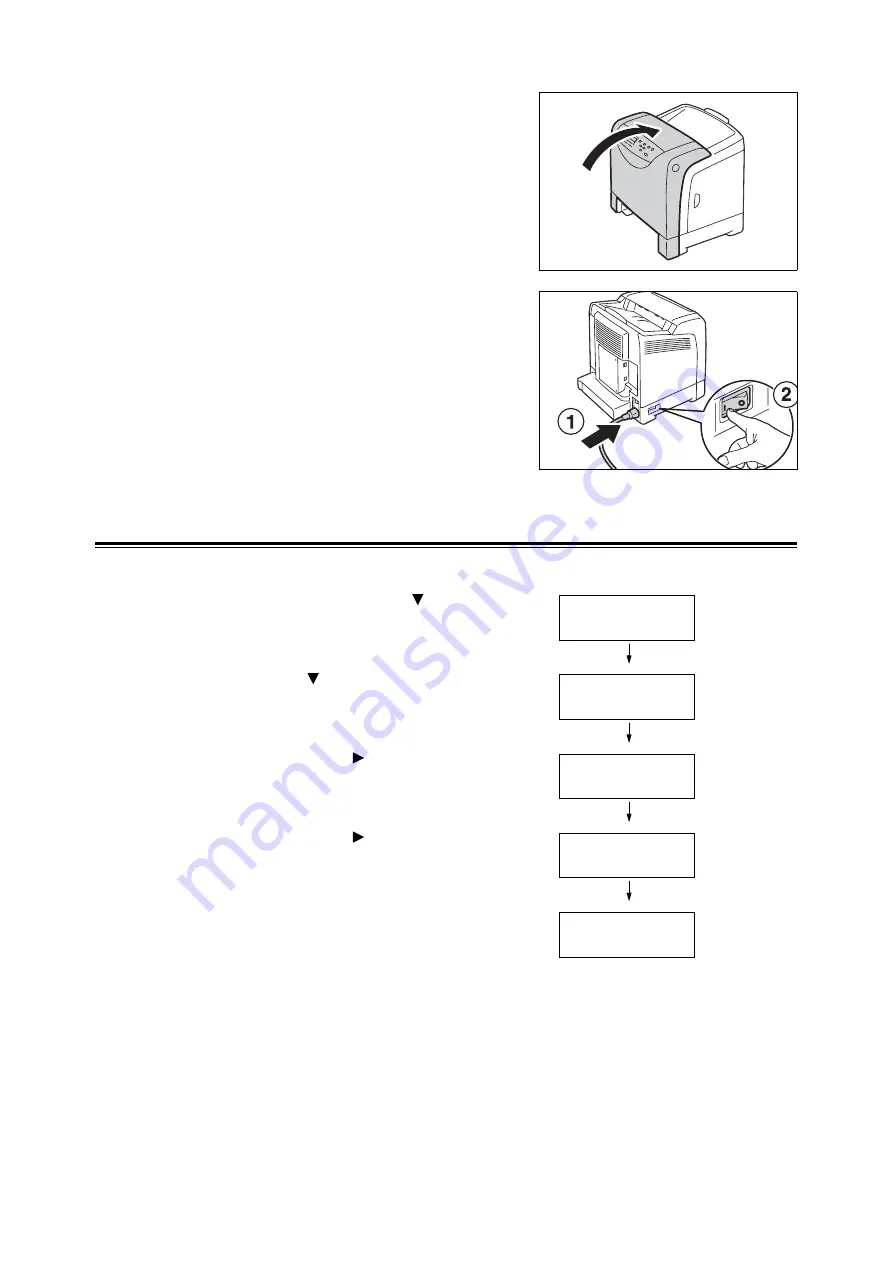
11. Close the front cover.
Important
• When closing the front cover, take care not to
pinch your fingers between the cover (top,
bottom, right side, left side) and the printer.
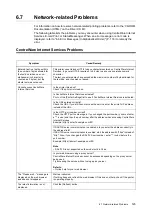
12. Reconnect the power cord disconnected in
Step 1. Press the <I> side of the power
switch on the left side of the printer to turn
on the printer.
Next, let’s reset the counter.
Resetting the Counter
After replacing the Fuser Unit, reset the counter on the control panel.
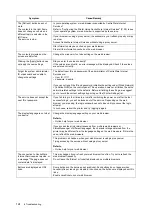
1.
Simultaneously press the < > button and
the <Eject/Set> button to display
[Consumables Menu].
2.
Press the < > button until [Counter Reset]
is displayed.
3.
Select either the < > button or the <Eject/
Set> button.
[Counter Reset] is displayed.
4.
Select either the < > button or the <Eject/
Set> button.
The message "Ready to Set" appears
telling you the fuser is ready.
5.
Press the <Eject/Set> button.
Resetting of the counter starts. When the
counter has been reset, the message
"Counter Reset" will appear on the control
panel display as shown on the right.
6.
Press the <Menu> button to return to the
print screen.
Consumables Menu
Non-genuine
Consumables Menu
Counter Reset
Counter Reset
Fuser
Fuser
Ready to Set
Counter Reset
Fuser
Summary of Contents for DocuPrint C2120
Page 1: ...1 ...


