101
Network Basics
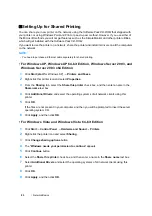
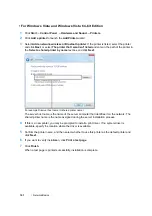
• For Windows Vista and Windows Vista 64-bit Edition
1
Click
Start
→
Control Panel
→
Hardware and Sound
→
Printers
.
2
Click
Add a printer
to launch the
Add Printer
wizard.
3
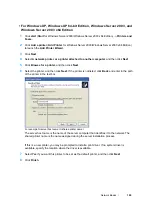
Select
Add a network, wireless or Bluetooth printer
. If the printer is listed, select the printer
and click
Next
, or select
The printer that I want isn't listed
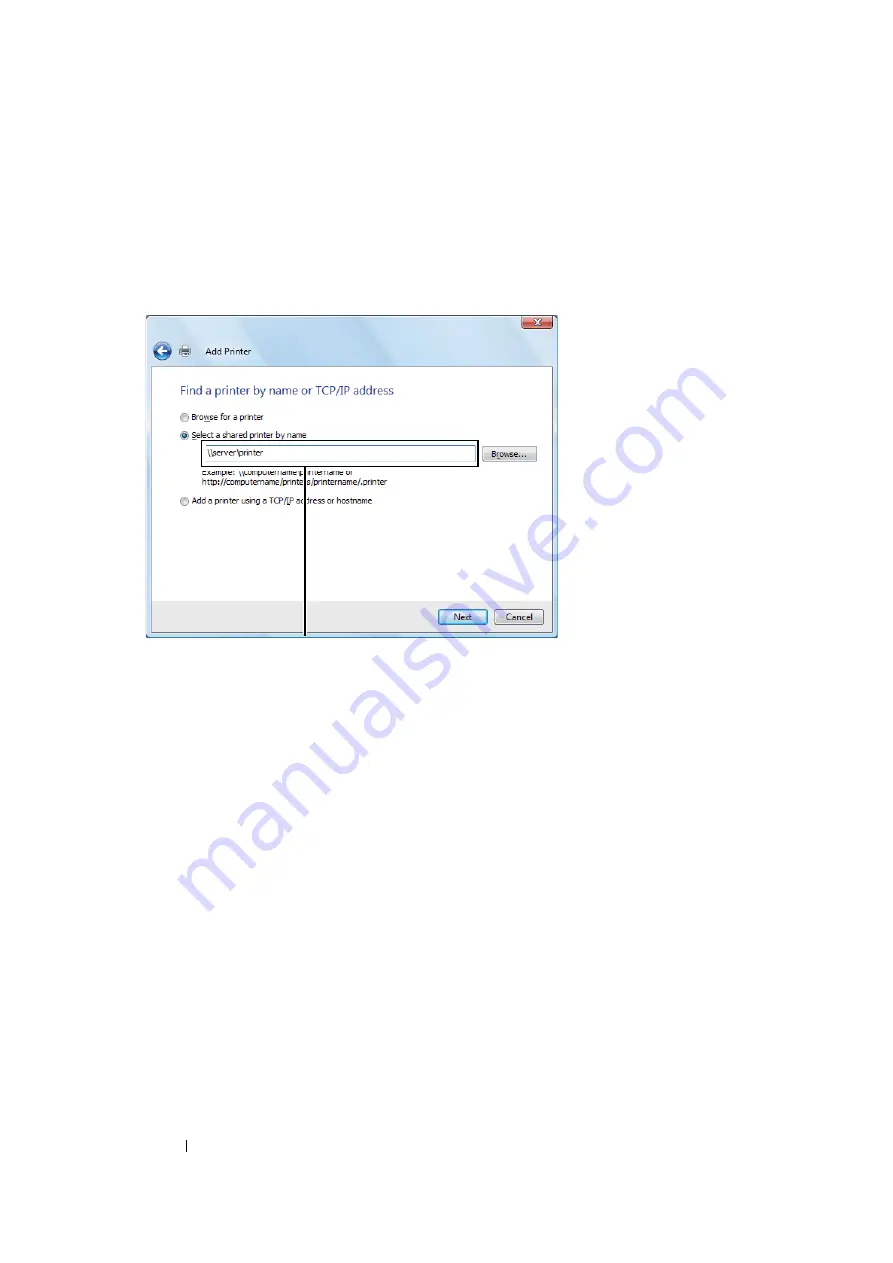
and enter in the path of the printer in
the
Select a shared printer by name
text box and click
Next
.
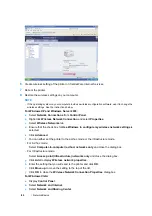
The server host name is the name of the server computer that identifies it on the network. The
shared printer name is the name assigned during the server installation process.
4
If this is a new printer, you may be prompted to install a print driver. If no system driver is
available, specify the location where the driver is available.
5
Confirm the printer name, and then select whether to use this printer as the default printer and
click
Next
.
6
If you want to verify installation, click
Print a test page
.
7
Click
Finish
.
When a test page is printed successfully, installation is complete.
For example:
\\
<server host name>
\
<shared printer name>
Summary of Contents for DocuPrint CP205 w
Page 25: ...Product Features 24 ...
Page 41: ...Basic Operation 40 ...
Page 111: ...Network Basics 110 ...
Page 163: ...Printing Basics 162 ...
Page 185: ...Using the Operator Panel Menus 184 ...
Page 192: ...191 Troubleshooting 4 Lower the levers to their original position 5 Close the rear door ...
Page 194: ...193 Troubleshooting 4 Lower the levers to their original position 5 Close the rear door ...
Page 237: ...Troubleshooting 236 ...
Page 265: ...Maintenance 264 ...
Page 269: ...Contacting Fuji Xerox 268 ...

