169
Using the Operator Panel Menus
NOTE:
•
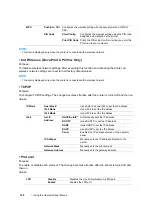
This item is displayed only when the printer is connected with a wireless network.
• Init Wireless (DocuPrint CP205 w Only)
Purpose:
To initialize wireless network settings. After executing this function and rebooting the printer, all
wireless network settings are reset to their factory default values.
NOTE:
•
This item is displayed only when the printer is connected with a wireless network.
• TCP/IP
Purpose:
To configure TCP/IP settings. The change becomes effective after the printer is turned off and then on.
Values:
• Protocol
Purpose:
To enable or disable each protocol. The change becomes effective after the printer is turned off and
then on.
Values:
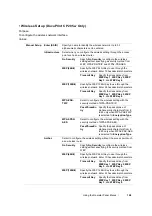
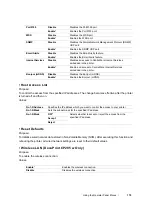
WPS
Push Btn. Ctrl
Configures the wireless setting with the security method of WPS-
PBC.
PIN Code
Start Config.
Configures the wireless setting using the PIN code
assigned automatically by the printer.
Print PIN Code
Prints the PIN code. Confirm it when you enter the
PIN code to your computer.
IP Mode
Dual Stack*
Uses both IPv4 and IPv6 to set the IP address.
IPv4 Mode
Uses IPv4 to set the IP address.
IPv6 Mode
Uses IPv6 to set the IP address.
IPv4
Get IP
Address
DHCP/AutoIP*
Automatically sets the IP address.
BOOTP
Uses BOOTP to set the IP address.
RARP
Uses RARP to set the IP address.
DHCP
Uses DHCP to set the IP address.
Panel
Enables the IP address entered on the operator
panel.
IP Address
Manually sets the IP address allocated to the
printer.
Network Mask
Manually sets the subnet mask.
Gateway Address
Manually sets the gateway address.
LPR
Disable
Disables the Line Printer Daemon (LPR) port.
Enable
*
Enables the LPR port.
Summary of Contents for DocuPrint CP205 w
Page 25: ...Product Features 24 ...
Page 41: ...Basic Operation 40 ...
Page 111: ...Network Basics 110 ...
Page 163: ...Printing Basics 162 ...
Page 185: ...Using the Operator Panel Menus 184 ...
Page 192: ...191 Troubleshooting 4 Lower the levers to their original position 5 Close the rear door ...
Page 194: ...193 Troubleshooting 4 Lower the levers to their original position 5 Close the rear door ...
Page 237: ...Troubleshooting 236 ...
Page 265: ...Maintenance 264 ...
Page 269: ...Contacting Fuji Xerox 268 ...

