174
6 System Settings
Contrast
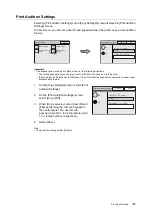
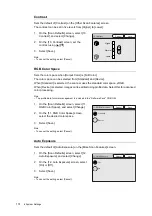
Sets the default of [Contrast] on the [Other Scan Features] screen.
The contrast can be set in five levels from [Higher] to [Lower].
1.
On the [Scan Defaults] screen, select [10.
Contrast], and select [Change].
2.
On the [10. Contrast] screen, set the
contrast using [ ]/[ ].
3.
Select [Save].
Note
• To cancel the setting, select [Cancel].
RGB Color Space
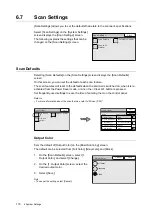
Sets the color space when [Output Color] is [Full Color].
The color space can be selected from [Standard] and [Device].
When [Standard] is selected, the scanner uses the standard color space, sRGB.
When [Device] is selected, images can be edited using profile data. Select this for advanced
color processing.
Note
• The profile data for color management is included in the "Software Pack" CD-ROM.
1.
On the [Scan Defaults] screen, select [11.
RGB Color Space], and select [Change].
2.
On the [11. RGB Color Space] screen,
select the desired color space.
3.
Select [Save].
Note
• To cancel the setting, select [Cancel].
Auto Exposure
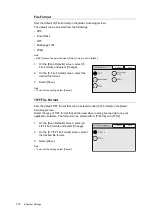
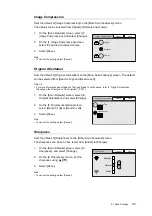
Sets the default of [Auto Exposure] on the [More Scan Features] screen.
1.
On the [Scan Defaults] screen, select [12.
Auto Exposure], and select [Change].
2.
On the [12. Auto Exposure] screen, select
[On] or [Off].
3.
Select [Save].
Note
• To cancel the setting, select [Cancel].
10. Contrast
Higher
Normal
Lower
Save
Cancel
11. RGB Color Space
Standard
Device
Cancel
Save
Cancel
Save
12. Auto Exposure
Off
On

