186
7 DocuScan Manager
7.3
Importing Scanned Data
This section explains how to import a scanned image into DocuScan Manager. This
corresponds to “Step 2 Import scanned data” in “Image Editing Procedure”.
Scanning an Image on the Scanner
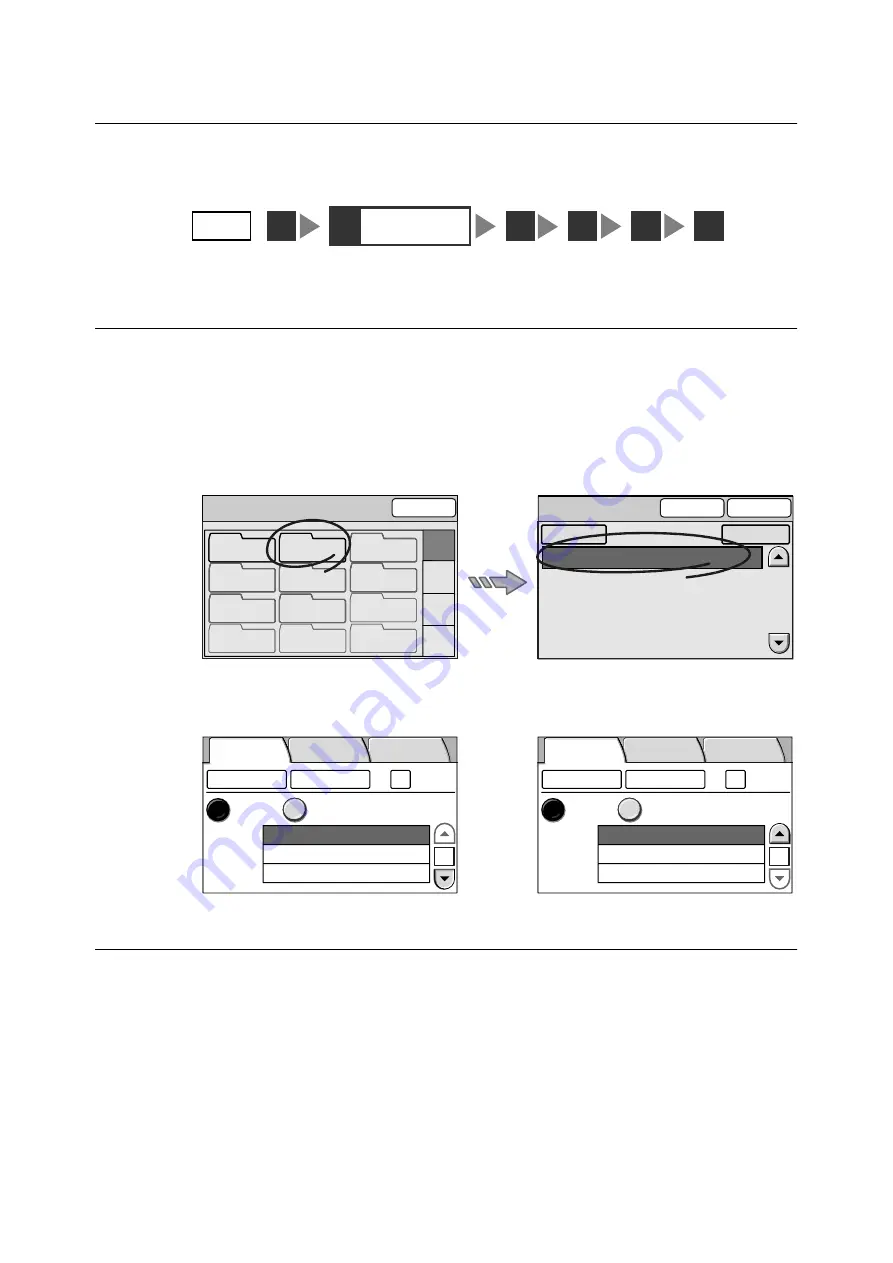
Scan an image on the scanner using the Scan to PC feature.
Refer to
• For instructions on loading documents, refer to "1.5 Loading Documents (P. 23)".
• For more information on the Scan to PC feature, refer to "2.5 Using Scan to PC (P. 49)".
If you open Address Book, the address registered in “7.2 Registering an Address” will
display.
If you select an address from Address Book and select [Close], the settings on the [Scan to
PC] screen will enter automatically. You do not need to enter the address on the control
panel.
Importing an Image into DocuScan Manager
After scanning the image, import it into the DocuScan Manager.
1.
From the [Start] menu, select [Programs] > [Fuji Xerox] > [DocuScan Manager].
The [DocuScan Manger] window appears.
2.
In the Tree View area, select the folder in which the image is saved. In this example,
we will select the "scan data" folder.
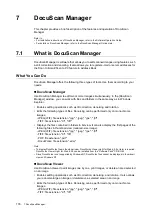
STEP
1
4
5
6
2
Import a scanned
image
3
Address Book Folder
Close
01-12
13-24
25-36
37-48
01
(No name)
02
common
03
(Not in Use)
06
(Not in Use)
05
(Not in Use)
04
(Not in Use)
07
(Not in Use)
08
(Not in Use)
10
(Not in Use)
11
(Not in Use)
12
(Not in Use)
09
(Not in Use)
Address Book [01]
To Folder
Close
001 SMB scan data
Search...
Details...
scan data
SCAN_S869CG63$
Save In
Basic Scanning
More Scan
Features
1/2
Server
Shared Name
Save In
Address Book...
Change File Name...
Preview
SMB
FTP
DocuScan_182jzN4K
* * * * *
Save In
Basic Scanning
More Scan
Features
2/2
User Name
Password
Address Book...
Change File Name...
Preview
SMB
FTP

