110
3 Copy
2.
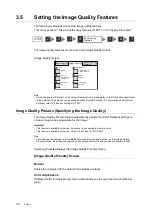
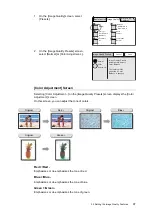
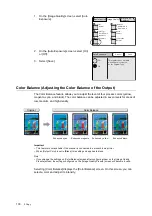
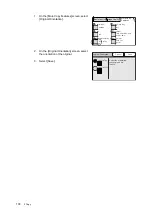
On the [Mixed Sized Originals] screen,
select [On] or [Off].
3.
Select [Save].
Edge Erase (Erasing Unwanted Marks from the Center/Edges of the
Original)
If you copy documents with the document feeder cover open, or if you copy documents that
are bound together, such as in a book, dark shadows get printed sometimes along the
edges or in the center binding area of the output. The Edge Erase feature allows you to
eliminate such unwanted marks from the output.
Important
• Make sure that the orientation of the original is identical to [Original Orientation] on the [More Copy
Features] screen.
Note
• When making a 2-sided copy, the same amount of erasure will be applied to both sizes of the output.
• When making a reduced/enlarged copy, the amount of erasure will be reduced/enlarged proportionally.
Refer to
• For information about printable area, refer to the user guide provided for your printer.
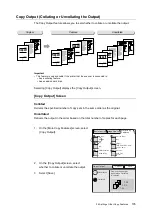
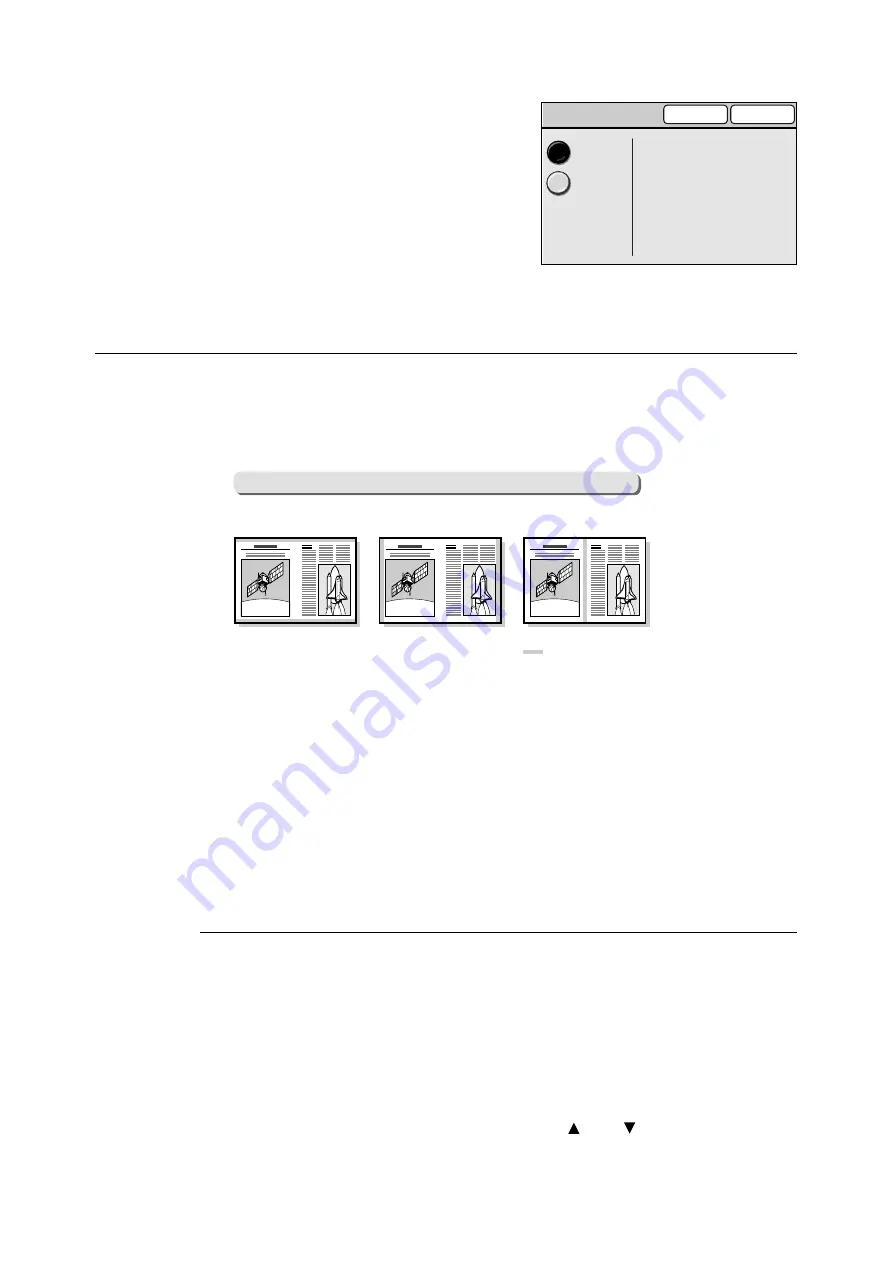
Selecting [Edge Erase] displays the [Edge Erase] screen.
[Edge Erase] Screen
Normal
Erases unwanted marks from all four edges of the original. The default amount of erasure
is 4 mm on all four edges. If you do not want to apply Edge Erase, set [Variable Erase] to
[0 mm].
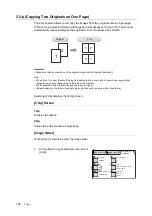
Variable Erase
When [Variable Erase] is selected, the right of the screen displays the entry boxes that
correspond to the top/bottom, left/right, and center of the original.
Specify the amount of erasure in each entry box using [ ] and [ ].
The amount of erasure can be specified from 0 to 50 mm in increments of 1 mm.
Mixed Sized Originals
Cancel
Save
Off
Select On when loading
originals of different sizes
in the Document Feeder.
On
Edge Erase
: Area erased
[Top & Bottom Edges]
[Left & Right Edges]
[Center Area]

