164
6 System Settings
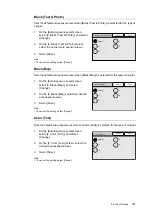
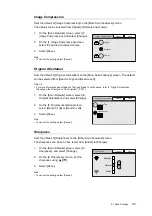
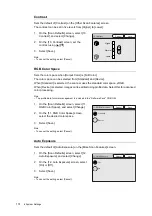
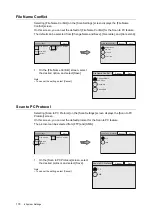
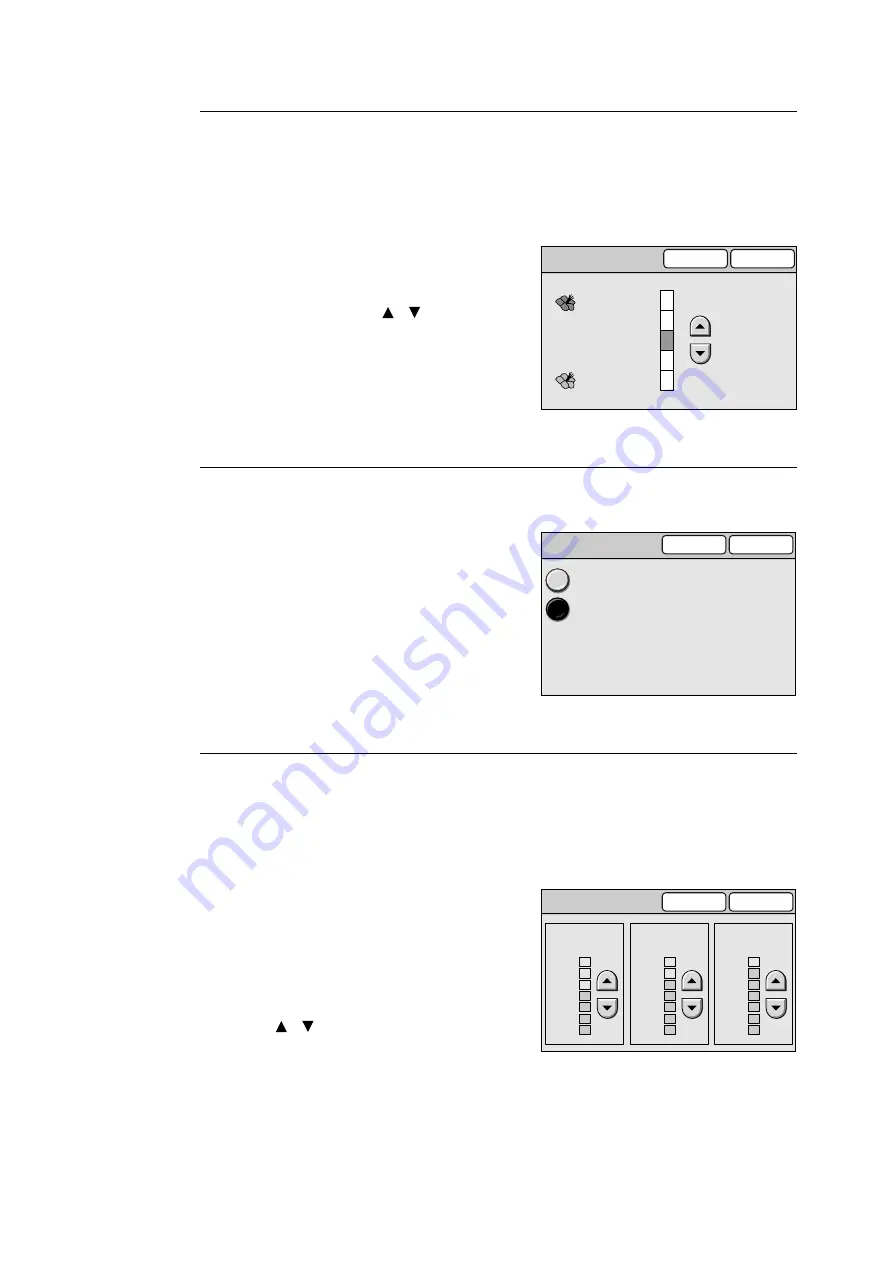
Saturation
Sets the default of [Color Saturation] on the [Image Quality] screen.
The color saturation can be set in five levels from [Lower] to [Higher].
Note
• This setting is available only if the scanner is connected to a color printer.
1.
On the [Copy Defaults] screen, select [10.
Saturation], and select [Change].
2.
On the [10. Saturation] screen, select the
color saturation using [ ]/[ ].
3.
Select [Save].
Note
• To cancel the setting, select [Cancel].
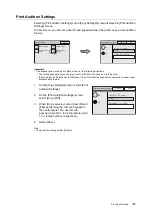
Auto Exposure
Sets the default of [Auto Exposure] on the [Image Quality] screen.
1.
On the [Copy Defaults] screen, select [11.
Auto Exposure], and select [Change].
2.
On the [11. Auto Exposure], select [On] or
[Off].
3.
Select [Save].
Note
• To cancel the setting, select [Cancel].
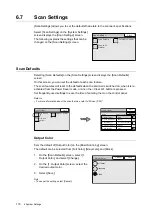
Color Balance (Y/M/C/K)
Sets the defaults for [Color Balance (Y)] - [Color Balance (K)] on the [Image Quality] screen.
The color balance can be set in seven levels for areas of low, medium, and high density.
Note
• This setting is only available if the scanner is connected to a color printer.
1.
On the [Copy Defaults] screen, select an
option from [12. Color Balance (Y)] to [15.
Color Balance (K)], and then select
[Change].
2.
On the Color Balance screen of the color
you selected, set the color balance for [Low
Density], [Mid. Density], and [High Density]
using [ ]/[ ].
3.
Select [Save].
Note
• To cancel the setting, select [Cancel].
Higher
Normal
Lower
10. Color Saturation
Cancel
Save
11. Auto Exposure
Cancel
Off
On
Save
12. Color Balance (Y)
Cancel
Save
Low Density
+3
-3
0
Mid. Density
High Density
+3
-3
0
+3
-3
0


