32
2 Scan
settings on the [E-mail Address] screen.
When [Scan to PC] is selected, set the
settings on the [Save In] screen.
Note
• You do not need to set the “Save In” location when
using the Scan to Media feature. Data is always saved
right under the root directory of the USB flash memory.
• If old settings are still present, pressing the <Clear All>
button resets them to the defaults.
Step 4 Set the scan features
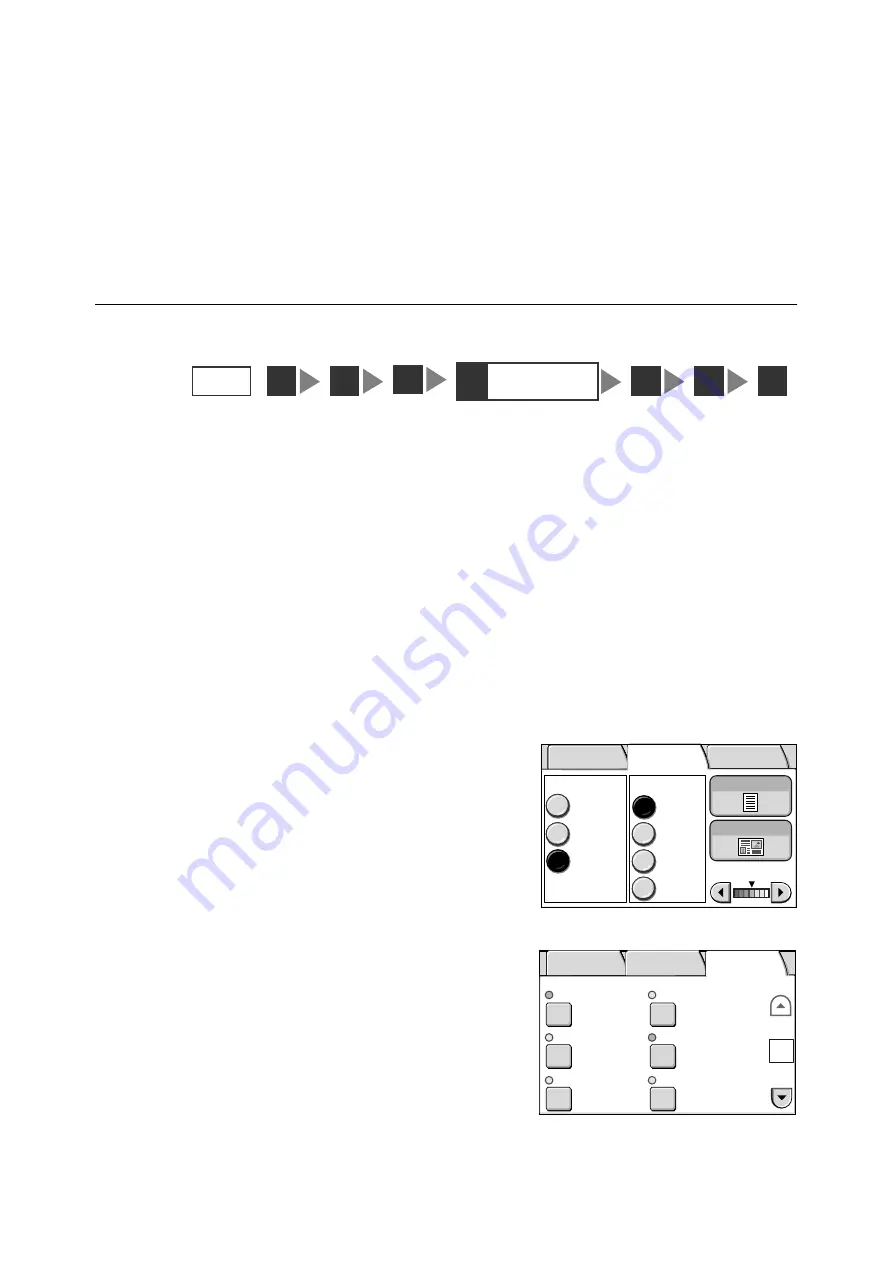
As necessary, set the scan features such as image quality and output file format. The scan
features can be set on the following two types of screens:
Basic Scanning
Used when setting features such as scan color, image quality, scan density, and file format.
Refer to
• For more information, refer to "2.7 Setting the Basic Scan Features (P. 61)".
More Scan Features
Used when setting features such as scan size and scan ratio.
Refer to
• For more information, refer to "2.8 Setting Other Scan Features (P. 69)".
1.
Display one of the above screens by
selecting the [Basic Scanning] tab or [More
Scan Features] tab, and set the required
features.
Note
• If old settings are still present, pressing the <Clear All>
button resets them to the defaults.
STEP
1
4
Set the scan
features
3
2
5
6
7
Output Color
Full Color
Black
DocuWorks
More...
Grayscale
TIFF
File Format
Original Type
Lighten/Darken
2 Sided Orig.
E-mail Address Basic Scanning
More Scan
Features
Normal
Off
Head to Left
200 dpi
100%
Auto Size
Detect
Scan Size
Image Compression
Reduce / Enlarge
Mixed Sized Orig.
Scan Resolution
Original Orientation
1/2
E-mail Address Basic Scanning
More Scan
Features


