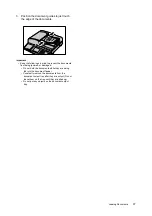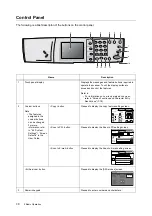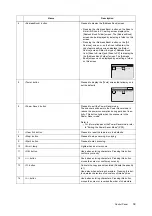
Starting CentreWare Internet Services
25
IE
IE
2.
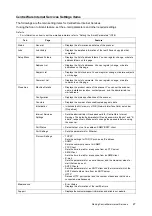
Select [Port Settings].
3.
Verify that [2. CW Internet Services] is set to
[Enable]. If it is set to [Enable], select [Close].
If it is set to [Disable], select [2. CW Internet
Services], select [Change], and then proceed
to Step 4.
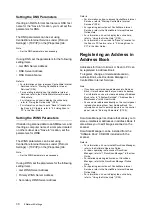
4.
Select [Enable], and select [Save].
5.
Select [Close] repeatedly until the [Switch
On/Off] screen appears.
6.
Switch off the scanner, and then switch it on
again.
Important
• When switching the power back on, wait until the
touch panel goes out.
Setting Up Your Web Browser
Before using CentreWare Internet Services, you
must set up your web browser.
Note
•CentreWare Internet Services has been tested to work
on the following web browsers:
• Netscape 7.1
• Internet Explorer 6.0
When using Netscape 7.1
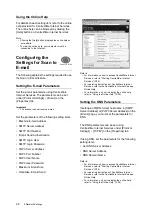
To set the display language:
1.
From [Edit] on the menu bar, select
[Preferences].
2.
From the [Category] tree, select [Language]
under [Navigator].
3.
Set the display language at the top of the
[Language in order of preference] list.
Example:
English [en]
English/United States [en-US]
Chinese [zh]
Korean [ko]
4.
Click the [OK] button.
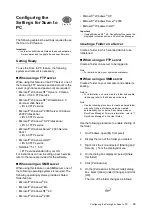
To set your browser not to use a
proxy server:
1.
From [Edit] on the menu bar, select
[Preferences].
2.
From the [Category] tree, click the mark on
the left of [Advanced].
3.
Click [Proxies] under [Advanced].
4.
Set [Proxy server] by one of the following
methods:
• Select [Direct connection to the internet].
• Select [Manual proxy configuration], and set
the scanner's IP address in [No proxy for:].
5.
Click the [OK] button.
Network Settings
Close
Port Settings
Protocol Settings
Port Settings
Close
1.
2.
SNMP
CW Internet Services
Enable
Enable
1/1
Change
Items
Current Settings
2. CW Internet Services
Save
Cancel
Disable
Enable


