56
5 Copy
5
Copy
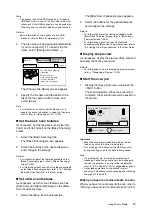
By connecting the scanner to a printer using the
USB cable, you can scan documents on the
printer and output their copies on the printer.
This chapter outlines basic copying procedure
and explains how to stop a copy job.
Copy
Before using the copy features, connect the
scanner to a printer using the USB cable.
Refer to
• For information on how to connect the scanner to a
printer, refer to" Connecting the Scanner to a Printer"
(P. 21).
Use the following procedure to copy a document:
Load a document
1.
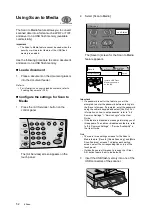
Place a document on the document glass or
into the document feeder.
Refer to
• For information on how to load documents, refer to
Select [Copy]
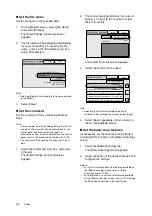
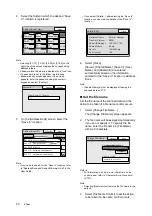
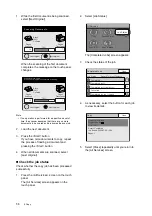
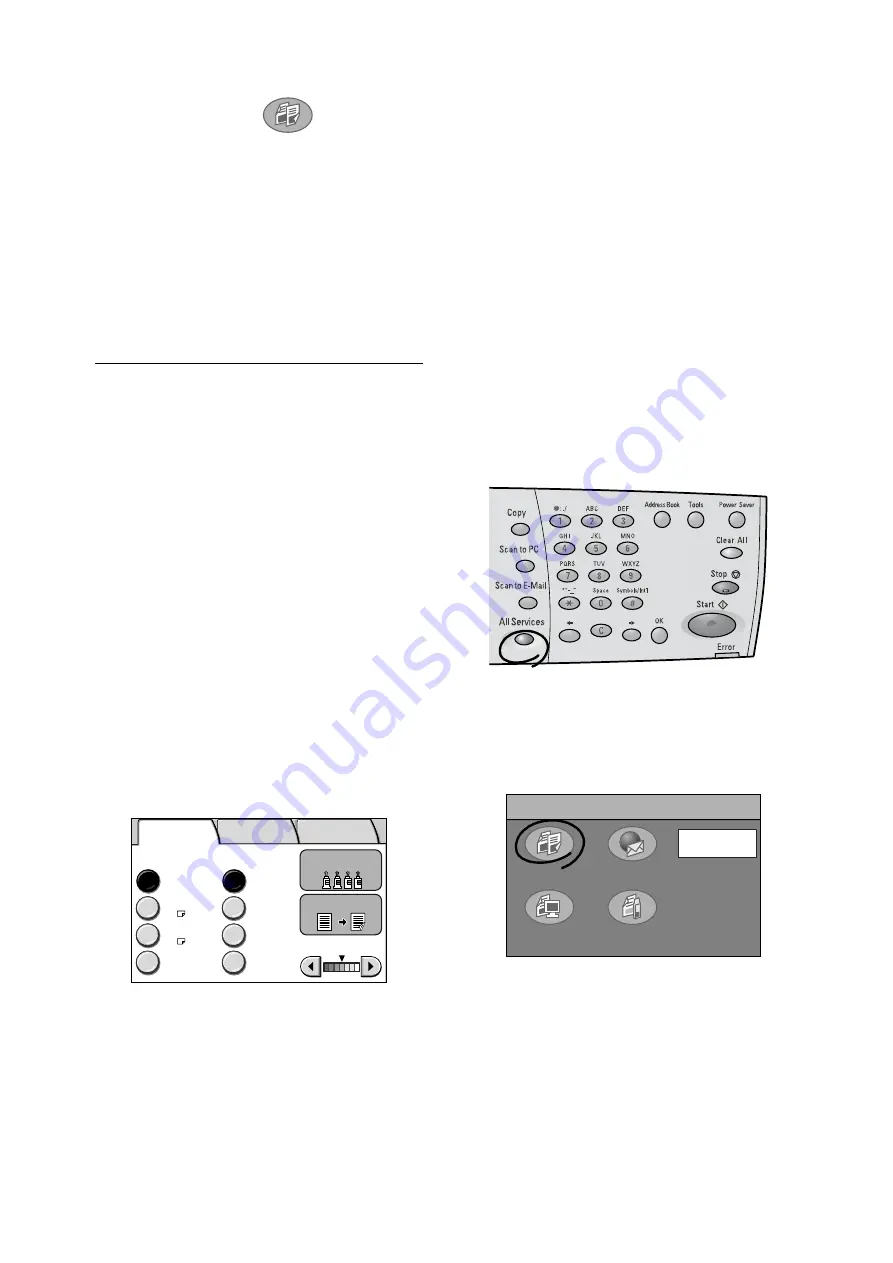
The copy features can be set on the following
setting screens:
Note
• There are three setting screens for the copy features:
[Basic Copying], [Image Quality], and [More Copy
Features] screens. To display each screen, select the
corresponding tab on the top of the touch panel.
• The features and defaults displayed on the screens
vary depending on the features provided by the
printer. The screens used in this manual are of when
the printer supports all copy features of the scanner.
There are two ways to display the setting screens
for the copy features:
• Pressing the <Copy> button on the control
panel.
• Selecting [Copy] on the [All Services] screen.
In this example, we will select [Copy] on the [All
Services] screen.
Note
• Pressing the <Copy> button on the control panel
directly displays [Basic Copying] screen.
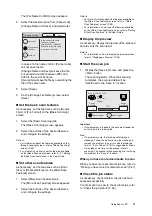
1.
Press the <All Service> button on the control
panel.
The [All Services] screen appears on the
touch panel.
2.
Select [Copy].
Copy
Paper Supply
Auto Paper
100%
Auto %
More...
More...
Tray 1
A4
Tray 2
A3
70%
A3
´
A4
Reduce
/ Enlarge
Output Color
Lighten/Darken
2 Sided
Basic Copying Image Quality
More Copy
Features
All Services
Copy
Scan to PC
Scan to Media
Scan to E-mail
Job Status

