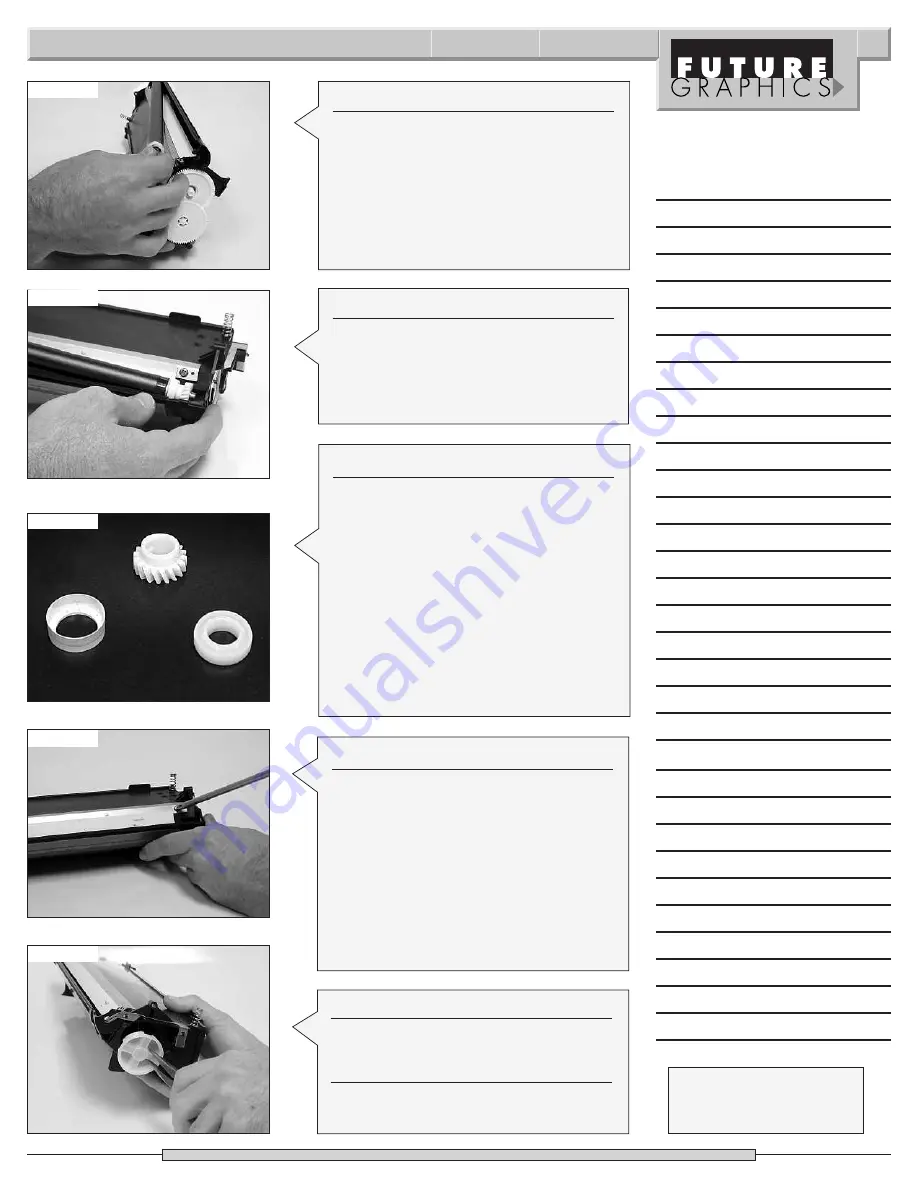
Step 21
With the non-gear side of the mag roller
free from the toner hopper, pull the axle
out from the contact end of the toner
hopper.
(See Photo 20)
Photo 21
Photo 22
Need help with a particular remanu-
facturing problem?
Call the Technical Resource Center from
8am - 5pm PST: 800 394.9900
Fuji Xerox P-880 Technical Instructions
5
Photo 19
Step 20
Slide the mag roller axle out away from
the toner hopper.
(See Photo 19)
Photo 20
Photo 23
Step 22
Remove the mag roller bushing from the
non-gear side of the toner hopper.
Remove the drive gear and the bearing
from the other end of the mag roller.
(See Photo 21)
NOTE:
Clean the mag roller using dry
compressed air. Then use a lint free cloth
and a mag roller cleaner. The mag roller
bushing may be worn to the point to
where it must be replaced. If you plan on
reusing the bushing and bearing, clean
them using a lint free cloth and alcohol.
Step 23
Remove the two screws holding the doc-
tor blade.
(See Photo 22)
Remove the doc-
tor blade and clean using dry com-
pressed air then using a lint free cloth and
alcohol.
NOTE:
The silicone on the blade maybe
worn to the point to were it would need
to be replace. For the best print quality I
recommend replacing the blade after
every cycle.
Step 24
Remove the fill plug. See Photo # 23
Step 25
Clean out the toner hopper using dry
compressed air or a vacuum.
Notes


