66
Reference Guide Optional Units
7.2
Curl correction
The curl correction button is used to correct paper curl caused by heat and/or pressure.
The curl correction button can be operated regardless of the machine state when the machine is ON.
Note
This curl correction function can be used during printing. Fine correction according to the paper
properties can be made from [Adjust Paper Curl].
Since staples are likely to be affected by curl, make sure to perform curl correction by checking the curl
direction of output paper.
When correction is performed while the machine is in operation, it is applied to the paper output
immediately after the button is pressed.
1.
Check the curl direction of paper.
2.
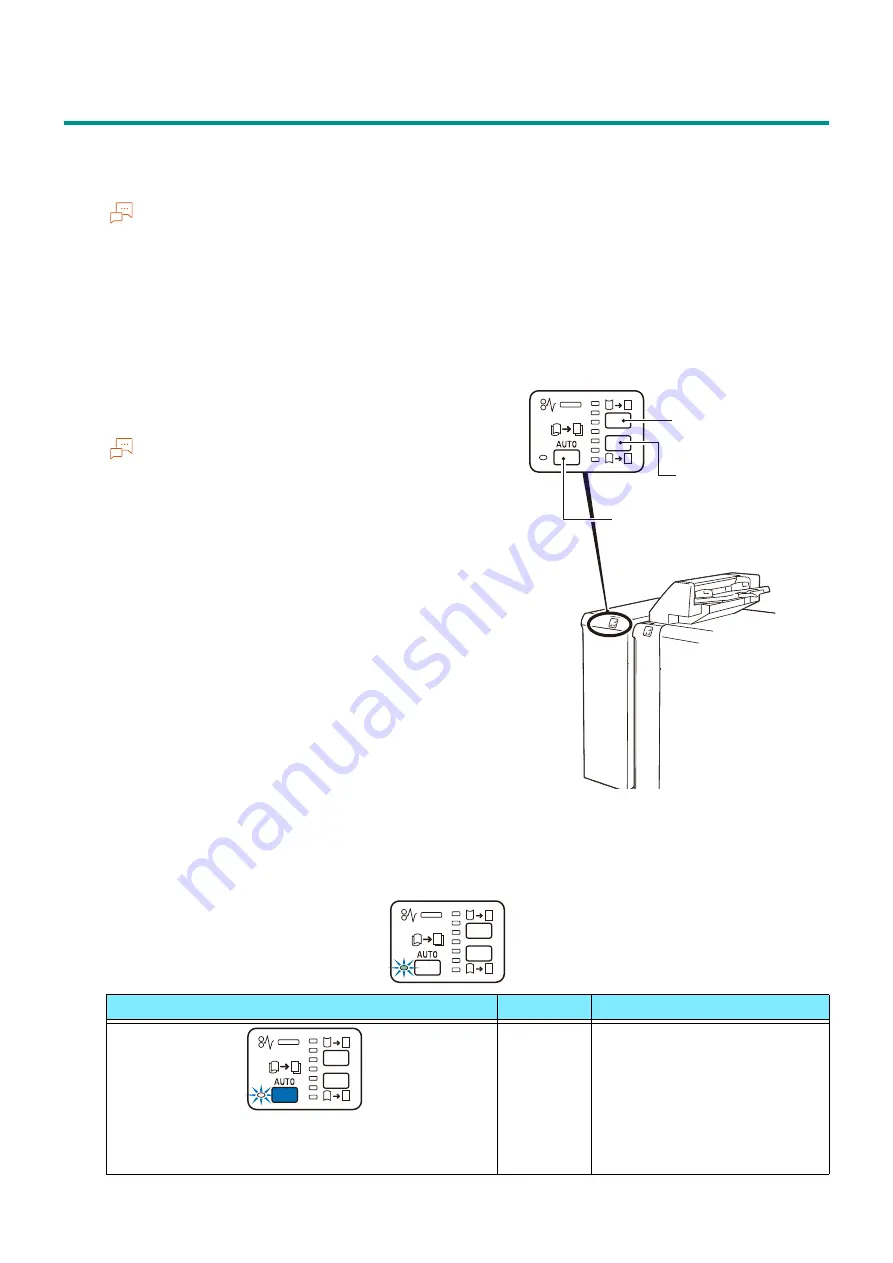
Confirm that the curl correction indicator is lit,
and then press the button.
Note
When paper is fed in the [AUTO] mode, the
indicator showing the present direction and
intensity of curl correction turns on only for a
brief moment. When manually applying the curl
correction, make adjustments while using this
indicator lighting as a guide.
After applying the curl correction by upward curl
correction button or downward curl correction
button, when feeding thick paper, embossed
paper, or OHP film, the [AUTO] is entered
automatically, and the curl correction is applied
using standard correction value.
You can also change to a setting that the mode
does not change to [AUTO] mode even when
using these paper types. For details, contact
your local representative.
Operations and Functions of Curl Correction
Press the AUTO button to enter the [AUTO] mode.
Indicator
Mode
Function
AUTO
Curl correction is automatically
performed.
It is recommended to use this
mode basically.
Optimum curl correction is
performed according to the
paper size and output
direction.
Downward
curl correction button
Upward curl
correction button
<AUTO> button


