7
Select Button again then correct the number
with the Date Set Button.
(4)
After correcting the number for the “minute”,
press in the Date Mode/Select Button to bring
out the “PRINT” sign in the Date Display
Window. The Dating Unit is now ready for
printing.
●
Your camera’s quartz date-printing unit has an
auto-calendar that is designed to function up
through the year 2020. The Dates (or time) are
represented by the following numbers:
Year:
89 - 20
Hour:
0 - 23
Month: 1 - 12
Minute: 00 - 59
Day:
1 - 31
●
The year, month, and day are interlocked with the
hour and minute.
●
When the shutter is released to take your picture,
the “PRINT” sign in the Date Display Window will
blink for about two seconds to tell you the date
has been printed on it.
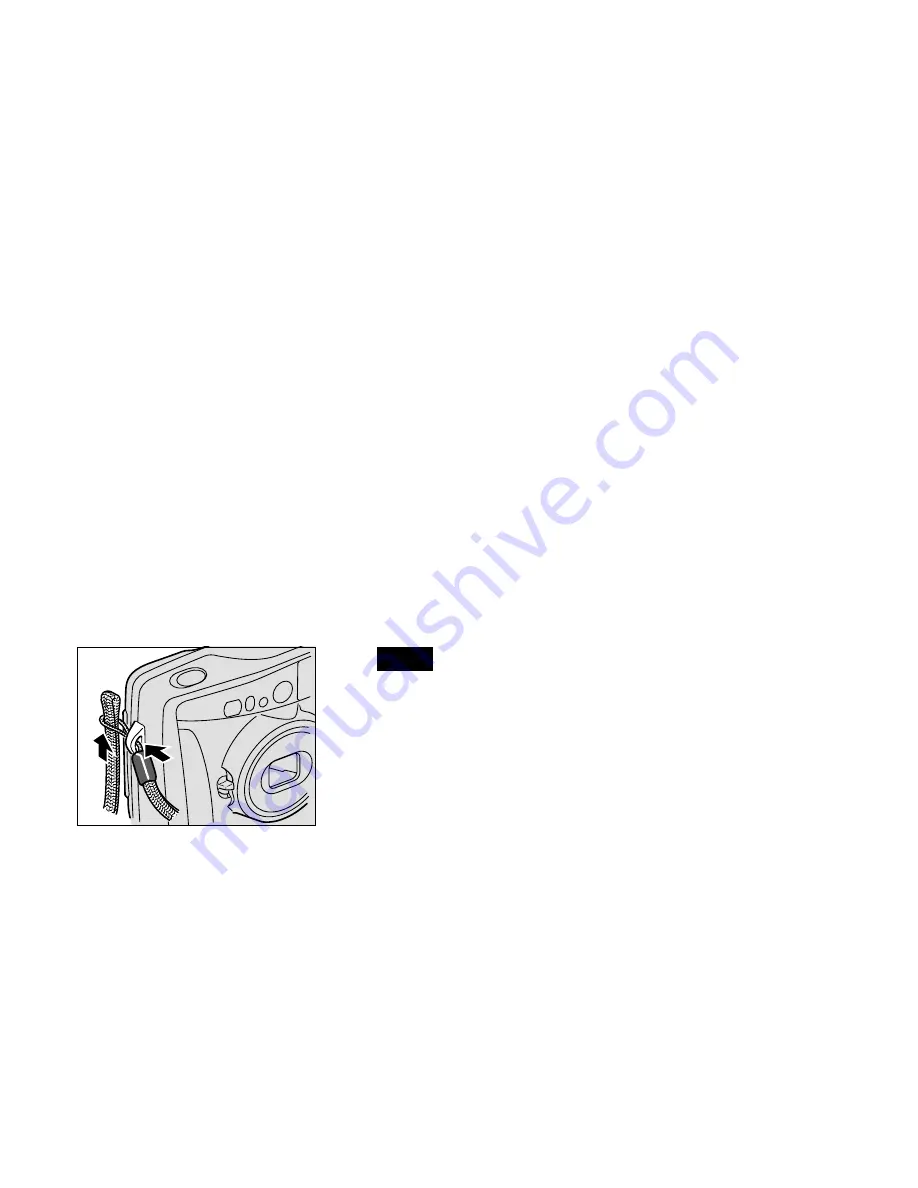
ATTACH THE STRAP (Fig. 6)
Pass the looped end of the strap through the
camera’s Strap Lug, then pass the other end of the
strap through the loop and pull it firmly.
Fig. 6


