4. Adjustment
38
FinePix S2 Pro (U/E) SERVICE MANUAL
4-11.[F4]: CCD Defect Correction Adjustment
<<IMPORTANT>>
To perform CCD defect correction, the defect data for the
camera being adjusted is required.
The repair work involved in CCD defect correction must
be performed as part of CCD HOLDER ASSY or MAIN
PWB ASSY replacement. The methods for obtaining the
defect data used in the respective repair work differ. Re-
fer to the information below before making the adjust-
ments.
[Obtaining CCD defect data]
1. When replacing the CCD HOLDER ASSY
Use the CCD defect data on the floppy disk supplied with
the replacement CCD HOLDER ASSY for the adjust-
ments.
2. When replacing the MAIN PWB ASSY
Make a note of the CCD serial number on the camera
being adjusted and copy the CCD defect data that match-
es that serial number from the CCD defect data file onto a
floppy disk. Refer to the CCD defect data creation meth-
od given on the next page for more information on the
procedure for creating the floppy disk.
[Note]
Prepare the defect data floppy disk before starting the
CCD defect correction adjustments.
<Step 1>
Select
[F4]
from
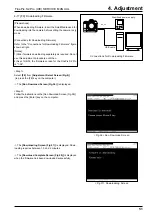
[Adjustment Select Screen (Fig.4)]
(ie press the [F4] key on the computer).
-->The
[CCD Defect Correction Start Screen (Fig.5)]
is
displayed.
<Step 2>
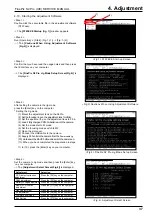
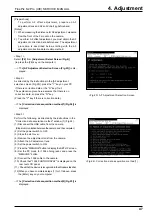
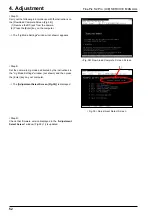
Follow the instructions on the [CCD Defect Correction Start
Screen (Fig.5)], and make the following prepa rations.
(1) Prepare the CCD defect data floppy disk for the camera
being adjusted.
(2) Enter the 8-digit CCD serial number (figure 5-(1)) in the
defect data input dialog box. There is no need to enter the
extension (.dat or .kiz).
(3) Insert the floppy disk into the A: drive (floppy disk drive) of
your computer.
When you have completed the preparations,
press the [Enter] key on your computer.
Click the [OK] button (figure 5-(2)).
--> CCD defect correction adjustment begins.
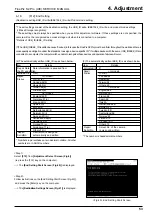
--> When the adjustments are successfully completed, the
adjustment data is written to the flash ROM.
--> When the adjustment data has been successfully written
to the flash ROM, the
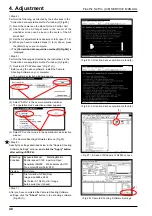
[CCD Defect Correction Complete
Screen (Fig.6)]
is displayed.
<Step 3>
Press the [Enter] key on the computer while
in the [CCD Defect Correction Complete Screen (Fig.6)].
---> The
[Adjustment Select Screen (Fig.4)]
is displayed.
[Note]
If you perform CCD defect correction adjustment, you must
also perform the CAM adjustment -> flash adjustment
-> AF adjustment sequence.
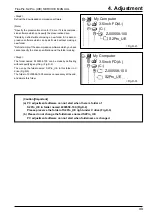
<Fig.6> CCD Defect Correction Complete Screen
Stabilized power supply
DC_5V
USB cable
Digital voltmeter
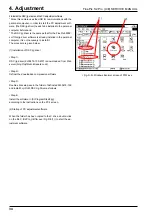
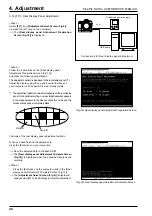
Connections for CCD Defect Correction Adjustment
+ -
<Fig.5> CCD Defect Correction Start Screen
(1)
(2)

