4. Adjustment
42
FinePix S2 Pro (U/E) SERVICE MANUAL
4-13. [F1]: Battery Voltage Adjustment
[Notes]
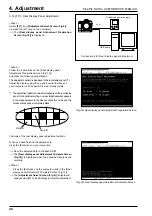
1) When performing battery voltage adjustment, provide a
power supply (5 V) to the camera from the specified pow-
er cable jig before setting the camera to Jig mode.
2) Always measure the input voltage close to the DC-IN ter-
minal.
3) When decreasing the voltage, take care to avoid exces-
sive decreases and maintain a stable power supply dur-
ing the adjustments. If the voltage drops too low, it can
cause interruptions in communications between the ad-
justment software and the camera and lead to errors in
the adjustment software. If this occurs, restart the adjust-
ment software.
<Step 1>
Select
[F1]
from
[Adjustment Select Screen (Fig.4)]
(ie press the [F1] key on the computer).
---> The
[Battery Voltage Adjustment Preparation Screen
(Fig.13)]
is displayed.
<Step 2>
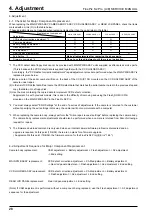
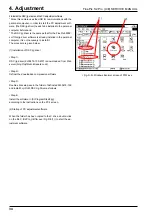
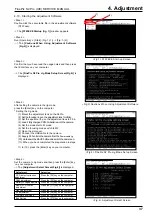
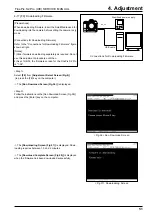
Follow the instructions on the [Battery Voltage Adjustment
Preparation Screen (Fig.13)], and make the following preparations.
(1) Check that the power cable jig is connected to the camera.
* If the camera and jig are not connected, return to the Jig mode
setup window and connect the camera to the power cable jig.
When you have completed the preparations,
press the [Enter] key on your computer.
-->The
[3.80V Input Screen (Fig.14)]
is displayed.
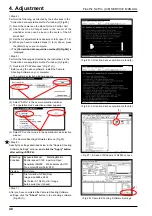
<Step 3>
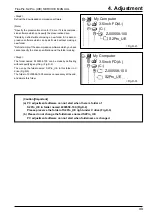
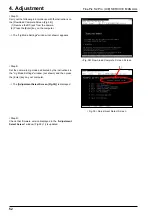
Follow instructions on the [3.80V Input Screen (Fig.14)], and
adjust BATT_PRE voltage. Set voltage to
3.80V(+0.02V,
-0.00V)
, press the [Enter] key on the computer.
-->The
[3.60V Input Screen (Fig.15)]
is displayed.
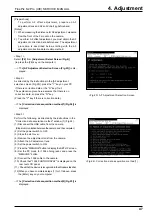
<Step 4>
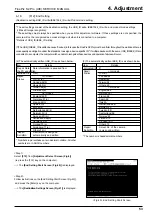
Follow instructions on the [3.60V Input Screen (Fig.15)], and
adjust BATT_END voltage. Set voltage to
3.60V(+0.02V,
-0.00V)
, press the [Enter] key on the computer.
--> The
[5.00V Input Screen (Fig.16)]
is displayed.
<Fig.15> 3.60V Input Screen
<Fig.14> 3.80V Input Screen
Stabilized power supply
DC_5V
USB cable
Digital voltmeter
Setup for Battery Adjustment
+ -
<Fig.13> Battery Adjustment Complete Screen

