47
Advanced
Features
46
d
FLASH
STILL PHOTOGRAPHY FUNCTIONS
c
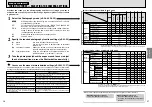
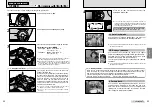
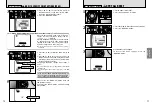
Slow synchro
This is a Flash mode that uses a slow shutter speed. This
allows you to take pictures of people at night that clearly
show both your subjects and the night time backdrop. To
prevent camera shake, always use a tripod.
h
Slowest shutter speed
“
/
” (SP night scene) : Up to 2 sec.
n
Red-eye red Slow synchro
Use this mode for slow synchro shots with red-eye
reduction.
●
!
The image may be overexposed when you shoot bright scenes.
To take a picture of a main subject at night with the
background brightly lit, please use the “
?
” mode “
/
”
(Night scene) settings (
➡
P.38).
◆
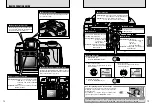
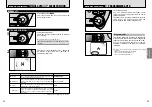
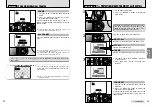
Increasing the monitor brightness
◆
This is useful when you are checking the shot
composition for dimly lit scenes (Slow synchro shots,
etc.). Press the “DISP” button
2
while holding down
the “
D
” Exposure compensation button
1
. “
≈
”
appears on the screen and the subject is displayed
brightly.
To cancel increased brightness, press the “DISP”
button
2
again while holding down the “
D
” button
1
.
●
!
This function is automatically cancelled after each shot.
●
!
This function is purely for checking the composition of your
shot. It does not increase the brightness of the
photographed image.
●
!
In shots taken in the dark, increasing the brightness setting
does not allow you to see the subject properly.
P
P
33
33
30
30
F2.8
F2.8
ISO 200
ISO 200
0
2
0
1
1
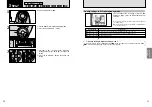
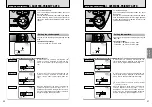
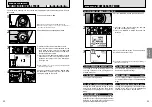
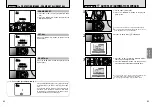
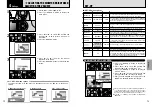
Set the Power switch to “
q
”.
2
To select the Continuous shooting mode you want to
use, hold down the “
f
” Continuous shooting button
1
and press “
d
” or “
c
”
2
. Releasing the “
f
”
button confirms your selection.
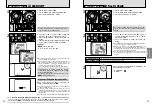
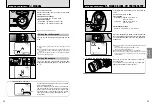
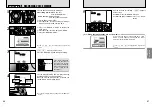
3
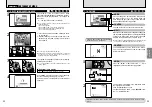
When you set the Continuous shooting mode
(except for “OFF”), the selected mode appears on
the screen.
f
: Top 5-frame continuous shooting
j
: Auto bracketing
k
: Final 5-frame continuous shooting
h
: Long-period continuous shooting with 1280
×
960-pixel mode
500 F5.6
500 F5.6
OFF
OFF
33
33
P
500
500
F5.6
F5.6
ISO 200
ISO 200
33
33
P
500
500 F5.6
F5.6
ISO 200
ISO 200
0
1
0
2
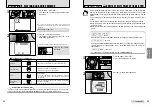
◆
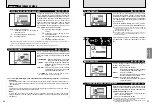
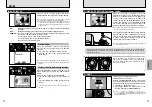
Notes on using the Continuous shooting modes
◆
h
Shooting continues for as long as you hold down the Shutter button. In Auto bracketing mode
however, just press the Shutter button once to shoot 3 frames.
h
If there is insufficient space on the
xD-Picture Card
, as many frames are shot as can be recorded on
the available space. For auto bracketing however, if there is insufficient space on the media to record
3 frames, no shots are taken.
h
The focus is determined in the first frame and cannot be changed in mid-sequence.
h
The exposure is determined in the first frame, but in Long-period continuous shooting with 1280
×
960-pixel mode the exposure is automatically adjusted for the scene being shot.
h
The speed of continuous shooting varies depending on the shutter speed.
h
The speed of continuous shooting does not change with the number of recorded pixels.
h
The flash cannot be used as the Flash mode is set to Suppressed flash.
h
For continuous shooting, final 5-frame continuous shooting and shots taken using auto bracketing,
the results are always displayed after you shoot. To choose whether or not to record the images, set
“IMAGE DISP.” in SET–UP to “ON” (
➡
P.74). Note that shots taken using Long-period continuous
shooting are recorded regardless of the setting in SET–UP.
f
CONTINUOUS SHOOTING
STILL PHOTOGRAPHY FUNCTIONS
Continued
Summary of Contents for FinePix S5000
Page 56: ......

