44
45
Advanced
Features
3
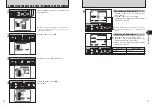
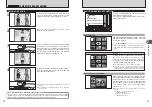
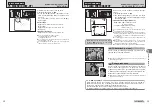
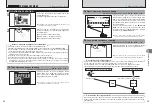
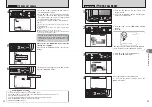
SETTING PHOTOGRAPHY MENU
PHOTOGRAPHY MENU
ˇ
Shooting mode
➡
P.45
Specify “
s
” MANUAL, “AUTO”, “
À
”
NATURAL LIGHT, “
À
&
d
”
À
&WITH FLASH,
“
m
” PORTRAIT, “
,
” LANDSCAPE, “
.
”
SPORT or “
©
” NIGHT.
¨
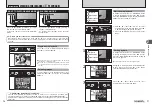
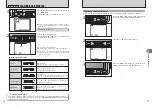
Exposure compensation
➡
P.46
Use this setting when the correct exposure
cannot be obtained.
H
AF mode
➡
P.50
Set the focusing method.
»
White balance
➡
P.47
Change this setting to suit for the surroundings
and lighting.
â
High-speed shooting
➡
P.47
Use this setting to reduce the time required for
focusing.
Å
Continuous shooting
➡
P.48
Use this setting for taking pictures in
Continuous shooting mode.
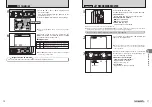
◆
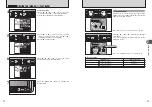
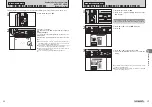
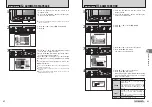
Photography menu options
◆
The menu screen varies depending on the Photography mode.
h
AUTO,
À
,
m
,
,
,
.
,
©
h
s
SHOOTING MODE
SHOOTING MODE
SET
SET
OFF
OFF
OFF
OFF
AUTO
AUTO
:
:
:
:
M
AUTO
AUTO
h
À
&
d
SHOOTING MODE
SHOOTING MODE
SET
SET
OFF
OFF
:
:
:
M
AUTO
AUTO
SHOOTING MODE
SHOOTING MODE
0
OFF
OFF
AUTO
AUTO
1
2
OFF
OFF
M
:
:
:
:
:
:
M
AUTO
AUTO
SHOOTING MODE
SHOOTING MODE
0
OFF
OFF
AUTO
AUTO
1
2
OFF
OFF
M
:
:
:
:
:
:
M
AUTO
AUTO
2
1
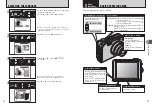
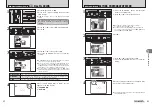
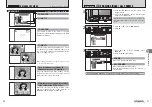
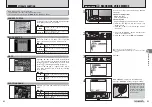
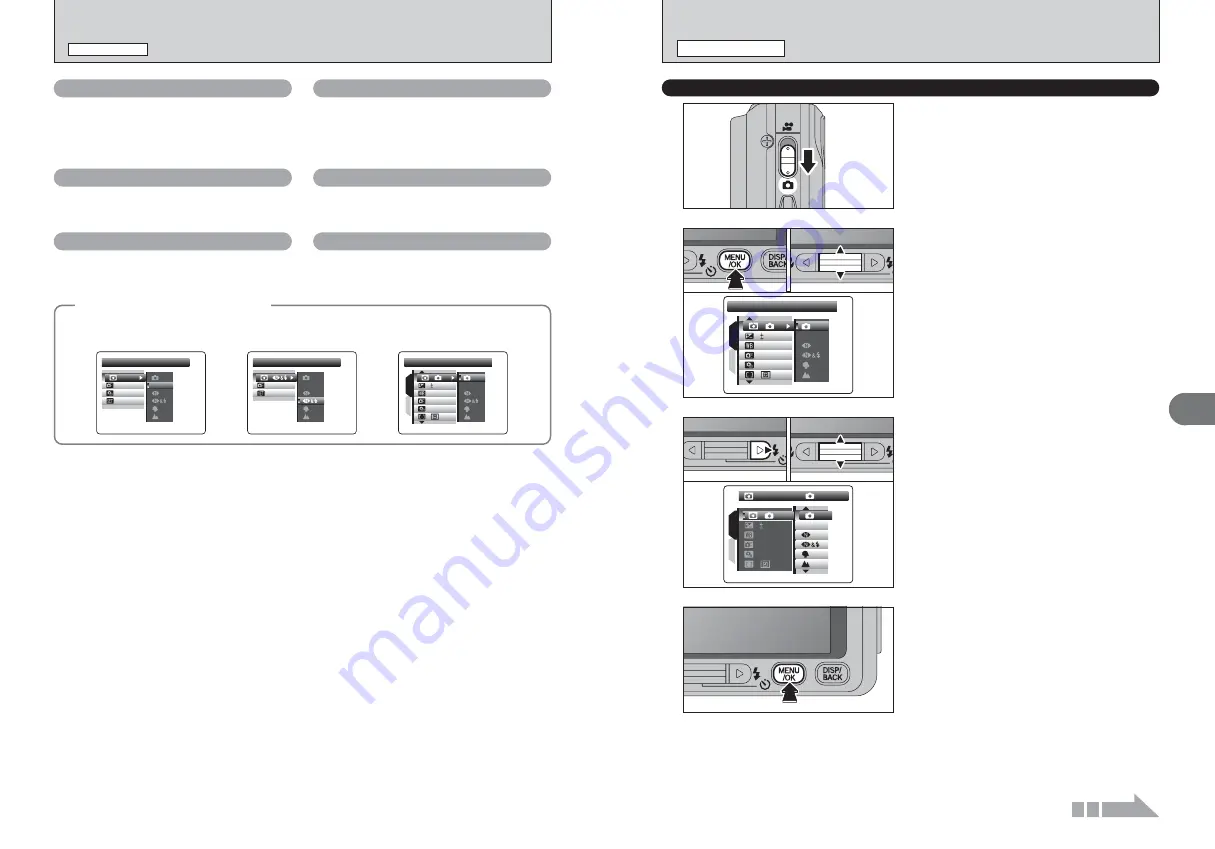
Press the “MENU/OK” button to display the
menu on the LCD monitor.
2
Press “
a
” or “
b
” to select “
ˇ
” SHOOTING
MODE.
0
1
0
2
1
ˇ
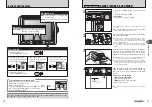
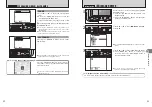
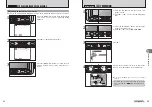
SHOOTING MODE
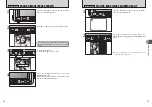
Choose from 8 types of Shooting mode for the
scene being shot.
Set the Mode switch to “
q
”.
MANUAL
MANUAL
0
:
OFF
OFF
AUTO
AUTO
1
2
M
M
M
AUTO
AUTO
OFF
OFF
:
:
:
:
:
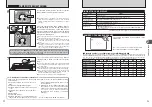
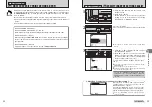
3
1
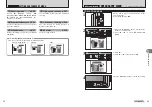
Press “
c
”.
2
Press “
a
” or “
b
” to change the setting.
0
1
0
2
4
Press the “MENU/OK” button to confirm the setting.
PHOTOGRAPHY MENU
PHOTOGRAPHY MENU
✽
Displaying the menus (
➡
P.43)
Continued

