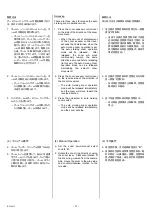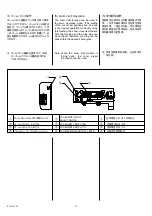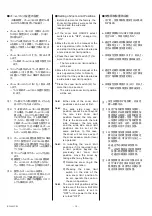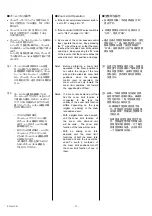
RD-S45T
-
3
-
注
.
Note. Prior to installation of the lens, turn
off the power of the camera.
注:安装镜头之前,应关闭摄像机电源。
レンズをカメラに取り付ける前に、必ず
カメラの電源をOFF にしてください。
注
.
Note.
After installation, when the power of
the camera is turned on, the initial
setting of the stabilizer mechanism is
carried out for about five seconds.
During the setting, “stabilizer ON/OFF
indicator” (refer to page 20) on the
top of the drive unit blinks. In this
setting operation, do not perform
panning or tilting operation of the
camera; do not apply strong vibration
to the lens.
After the power of the camera is
turned on, initially the anti-vibration
function is set to OFF.
注:
取り付けの後にカメラの電源をONにする
と、約5秒間防振機構部の初期設定が行
われます。
初期設定中は、駆動ユニット上面にある
防振ON/OFFインジケータ(20ページ参照)
が点滅します。この間は、カメラのパン・チ
ルト操作は行わないでください。また強い
振動をレンズに与えないでください。
電源投入時、防振機能はOFFに設定され
ます。
安装后,当启动摄像机的电源时,减
振机构部将进行5秒左右的初始化设
置。
在初始化设置过程中,驱动单元上面
的减振ON/OFF显示灯(参见第20页)
闪烁。在此期间,请勿进行摄像机的
摇摄、倾斜操作。此外,请不要让镜
头受到强烈振动。
当接通电源时,减振功能设为OFF。
Summary of Contents for FUJINON HA25x11.5BERD-S18D
Page 1: ...HA42 13 5BERD U48 5N BB00033243 102 LP428A U48 2804...
Page 2: ......
Page 5: ...10 SJ T11364 GB T26572 GB T26572...
Page 46: ...MEMO...
Page 47: ...ILLUSTRATIONS...
Page 49: ...mm UNLESS OTHERWISE SPECIFIED UNIT mm mm OUTLINE DRAWING HA42x13 5BERD U48 GLP428AU480811...
Page 50: ......
Page 51: ...AMP ASSY MAIN AMP ASSY MAIN AMP ASSY 2 WIRING DIAGRAM HA42x13 5BERD U48...
Page 52: ......
Page 53: ...SIEMENS STAR CUT LINE...
Page 54: ......
Page 56: ......


