219
T
echnical Not
es
12
Accessories from FUJIFILM
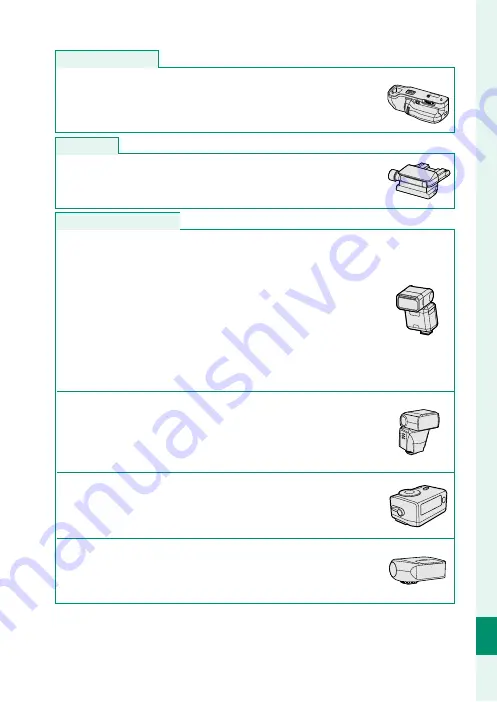
Vertical battery grips
Vertical battery grips
VG-GFX1
: This grip accommodates an extra battery for improved
endurance and makes it easier to hold the camera rotated 90° to
frame pictures in “tall” (portrait) orientation. The battery in the grip
can be charged using an optional AC-15V AC adapter.
Tilt adapters
Tilt adapters
EVF-TL1
: This adapter lets you swivel the viewfi nder left or right
±45° or up or down between 0° and 90° to take shots from dif-
ferent angles.
Shoe-mounted fl ash units
Shoe-mounted fl ash units
EF-X500
: This clip-on fl ash unit has a Guide Number of 50/164 (ISO
100, m/ft.) and supports FP (high-speed sync), allowing it to be
used at shutter speeds that exceed the fl ash sync speed. Pow-
ered by four AA batteries or an optional BF-BP1 battery pack, it
supports manual and TTL fl ash control and auto power zoom in
the range 24–105 mm (35 mm format equivalent) and features
FUJIFILM optical wireless fl ash control, allowing it to be used as
a master or remote fl ash unit for remote wireless fl ash photogra-
phy. The fl ash head can be rotated 90° up, 10° down, 135° left, or
180° right for bounce lighting.
EF-42
: This clip-on fl ash unit (powered by four AA batteries) has
a Guide Number of 42/137 (ISO 100, m/ft.) and supports man-
ual and TTL fl ash control and auto power zoom in the range
24–105 mm (35 mm format equivalent). The fl ash head can be
rotated 90° up, 180° left, or 120° right for bounce lighting.
EF-X20
: This clip-on fl ash unit has a Guide Number of 20/65 (ISO
100, m/ft.). Powered by two AAA batteries, this light, compact
unit features a dial for adjusting TTL fl ash compensation or man-
ual fl ash output.
EF-20
: This clip-on fl ash unit (powered by two AA batteries) has
a Guide Number of 20/65 (ISO 100, m/ft.) and supports TTL fl ash
control (manual fl ash control is not supported). The fl ash head
can be rotated upwards 90° for bounce lighting.
Summary of Contents for GFX 50s
Page 1: ...Owner s Manual BL00004880 203 EN ...
Page 19: ...1 Before You Begin ...
Page 32: ...14 1 Before You Begin The LCD Monitor GRIP 1 1 2017 12 00 AM ...
Page 41: ...23 First Steps ...
Page 57: ...39 Basic Photography and Playback ...
Page 63: ...45 Movie Recording and Playback ...
Page 69: ...51 Taking Photographs ...
Page 102: ...84 MEMO ...
Page 103: ...85 The Shooting Menus ...
Page 136: ...118 MEMO ...
Page 137: ...119 Playback and the Playback Menu ...
Page 162: ...144 MEMO ...
Page 163: ...145 The Setup Menus ...
Page 193: ...175 Shortcuts ...
Page 204: ...186 MEMO ...
Page 205: ...187 Peripherals and Optional Accessories ...
Page 225: ...207 Connections ...
Page 235: ...217 Technical Notes ...
Page 267: ...249 MEMO ...


