- 3 -
NAMES AND FUNCTIONS
Note.
The encircled numbers indicate the numbers in the outline drawing (Fig. 1).
① Tally Lights (2 places)
② Handles (2 places)
To carry this lens, hold these handles with both hands.
③ Shroud Attaching Knobs (2 places)
The knobs to fix the lens shroud to the body of the lens.
④ Extender Remote/Manual Select Switch
To select the extender manually, set this switch to “MANU.”
To select the extender by means of a remote control unit such as a range selector, set this switch to “REMO.”
⑤ Extender Select Knob
The extender manual selection is performed by means of this knob.
⑥ Zoom, Iris, Extender Indicator
This indicator shows the present positions of the zoom, iris and extender.
⑦ Indicator ON/OFF Select Switch
Operation of this switch can select ON or OFF of “Zoom, Iris, Extender Indicator.”
⑧ Hood
This hood prevents the extra light from entering the lens.
⑨ Servo Modules (2 places)
To control the lens with servo control units, install servo modules.
⑩ Manual Modules (2 places)
To control the lens with manual control units, install manual modules.
⑪
⑫ Connector for Macro Control
This connector is provided for a macro control unit.
⑬ Connector for Encoder Output
The connector for outputting digital signals derived from the iris, focus, and zoom encoders.
For the output signal, refer to section “Specifications of Encoder Output Signal” on page
12
.
⑭ Connector to Range Selector
This connector is provided for either a range selector or an iris control unit.
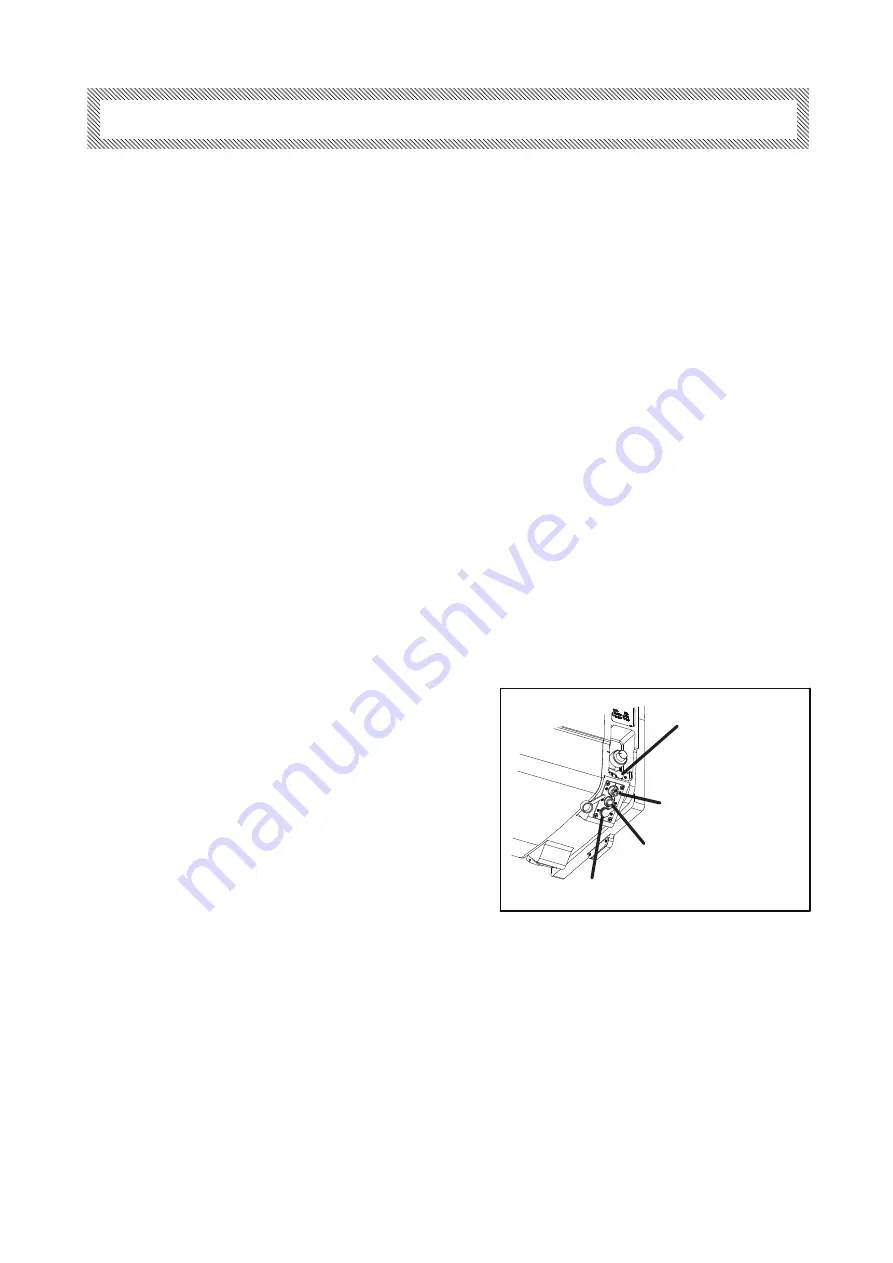
⑮ Connector for Stabilizer Control
This connector is provided for an optical stabilizer control unit with which the camera operator can select the
optical stabilizer function of the lens. (To select the optical stabilizer function using an optical stabilizer
control unit, set the stabilizer H+V/OFF/V select switch of the lens to OFF.)
In either self-diagnosis operation using a Fujinon Find
System or remote-control operation using a computer,
the communication with a computer can be made
through this connector. The RS-232C connecter is
located
inside the lens. When it is required to control
the lens using a personal computer, detach the partial
cover
under the connector.
The cover can be detached by removing the four
screws that attach the cover.
(For the
lens control protocol, contact the sales agent
from which you purchased the lens.)
RS-232C Connector
⑮
⑫
Connector for
Stabilizer Control
⑭
⑬
Connector for Encoder Output
Connector for
Macro Control
Connector to
Range Selector
Summary of Contents for UA107x88.4BESM-T35
Page 2: ......
Page 4: ...MEMO ...
Page 24: ...MEMO ...
Page 46: ...MEMO ...
Page 48: ...备 忘 ...
Page 56: ...备 忘 ...
Page 70: ...备 忘 ...
Page 71: ...技術資料 Technical Drawings 技术资料 中 文 版 ENGLISH 日 本 語 ...
Page 72: ...MEMO ...
Page 76: ......
Page 77: ...䊧䊮䉵ᧄ 㪑㩷 㪣㪼㫅㫊㩷㫇㪸㪺㫂㪸㪾㪼㪑㩷㫎㫀㫉㫀㫅㪾㩷㪻㫀㪸㪾㫉㪸㫄 接线图 SS00001666 01 㪝㫀㪾㪅㩷㪉㩷 图 2 ...
Page 78: ......
Page 79: ...Table 1 表 1 カメラ レンズインターフェイス Camera Lens Interface 摄像机 镜头的接口 ...
Page 80: ...MEMO ...
Page 88: ...MEMO ...
Page 90: ......


