41S_Rev00
21
Basic Operation
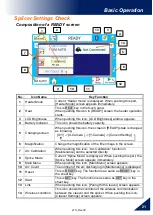
Splicer Settings Check
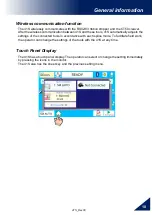
Composition of a READY screen
No.
Icon Name
Key Function
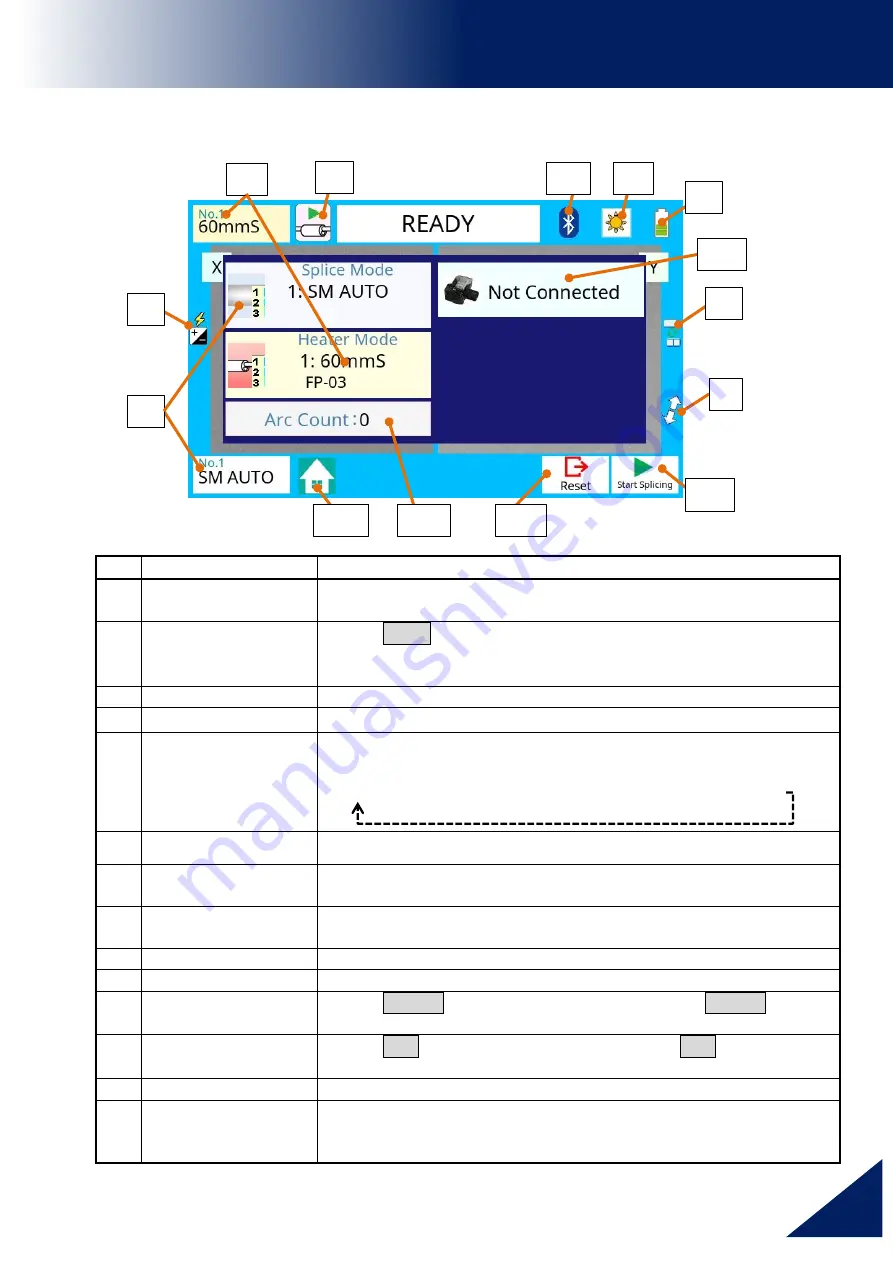
1
Heater Mode
Current “Heater mode” is displayed. When pushing this part,
[Heater Mode] screen appears immediately.
2
Heat
This is HEAT key in the touch panel.
When pushing this icon in [READY] screen, the heater operation
starts.
3
LCD Brightness
When pushing this icon, [LCD Brightness] window appears.
4
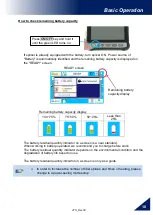
Battery Indicator
This icon shows the battery capacity.
5
Changing screen
When pushing this icon, the screen in [READY] state is changed
as following.
[X/Y] -> [X-Camera ] -> [Y-Camera] -> [Current Setting]
6
Magnification
Change the magnification of the fiber image in the screen.
7
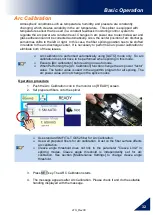
Arc Calibration
When pushing this icon, “Arc Calibration” function in
[Maintenance] can be selected directly.
8
Splice Mode
Current “Splice Mode” is displayed. When pushing this part, the
[Splice Mode] screen appears immediately.
9
Main Menu
When pushing this icon, [Main Menu] screen appears.
10
Arc Count
The number of the arc discharging in [Maintenance] is displayed.
11
Reset
This is RESET key. The function is as same as RESET key in
the sheet key
12
Start
This is SET key. The function is as same as SET key in the
sheet key.
13
Link
When pushing this icon, [Paring With Cleaver] screen appears.
14
Wireless condition
This icon shows the condition of the wireless communication
between the cleaver and the splicer. When pushing this icon,
[Cleaver Settings] screen appears.
2
13
4
5
6
6
7
6
9
11
3
12
8
1
10
14

