70S+A_Rev1
46
Basic Operation
Fiber Proof Test
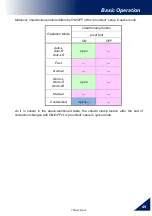
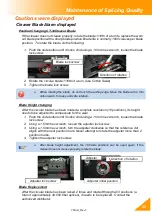
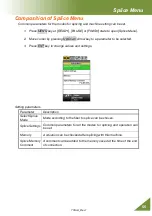
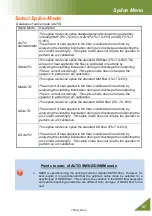
The strength of the splice point can be checked. After splicing when a proof-test is performed
by pressing the SET key or opening wind-protector. If the operation mode is set to “Auto-L”,
”Auto-R”, ”Auto-LR” or “Fast”, a proof-test will be performed automatically.
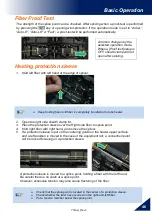
Heating protection sleeve
1. Hold left fiber with left hand at the edge of splicer.
2. Open the right side sheath clamp lid.
3. Place the protection sleeve over the Right side fiber to splice point.
4. Hold right fiber with right hand, and remove the splicer.
5. If a protection sleeve is put on the centering guide on the heater upper surface
and a left position is moved in the case of the equipment left, a connection point
will be moved focusing on a protection sleeve.
A protection sleeve is moved to a splice point, holding a fiber with the left hand.
Be careful there is no slack at a splice point.
However, excessive tension may also cause fracturing of the fiber.
Keep holding fiber until fiber is completely transferred to tube heater.
Check that the splice point is located in the center of a protection sleeve.
Check whether the twist has occurred on the right-and-left fiber.
Put a tension member below the splice point.
A motion changes by the
selected operation mode.
When a [Proof test] setup is
OFF, sheath clamp will not
open after splicing.


