7
Installation
Preparation and Check before Mounting
1
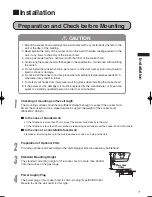
Checking of mounting surface strength
The mounting surface should have sufficient strength enough to support the cooker hood.
Mount the cooker hood on a place durable to support the weight of the cooker hood.
(800L MK2: 28.5kg)
In the case of boarded wall
If the thickness is more than 20mm, mount the cooker hood directly to the wall.
If the thickness is less than 20mm, embed a reinforcing board and mount the cooker hood to this board.
In the case of a concrete/tile faced wall
Embed a reinforcing board in the wall in advance, or use a curl plug or the like.
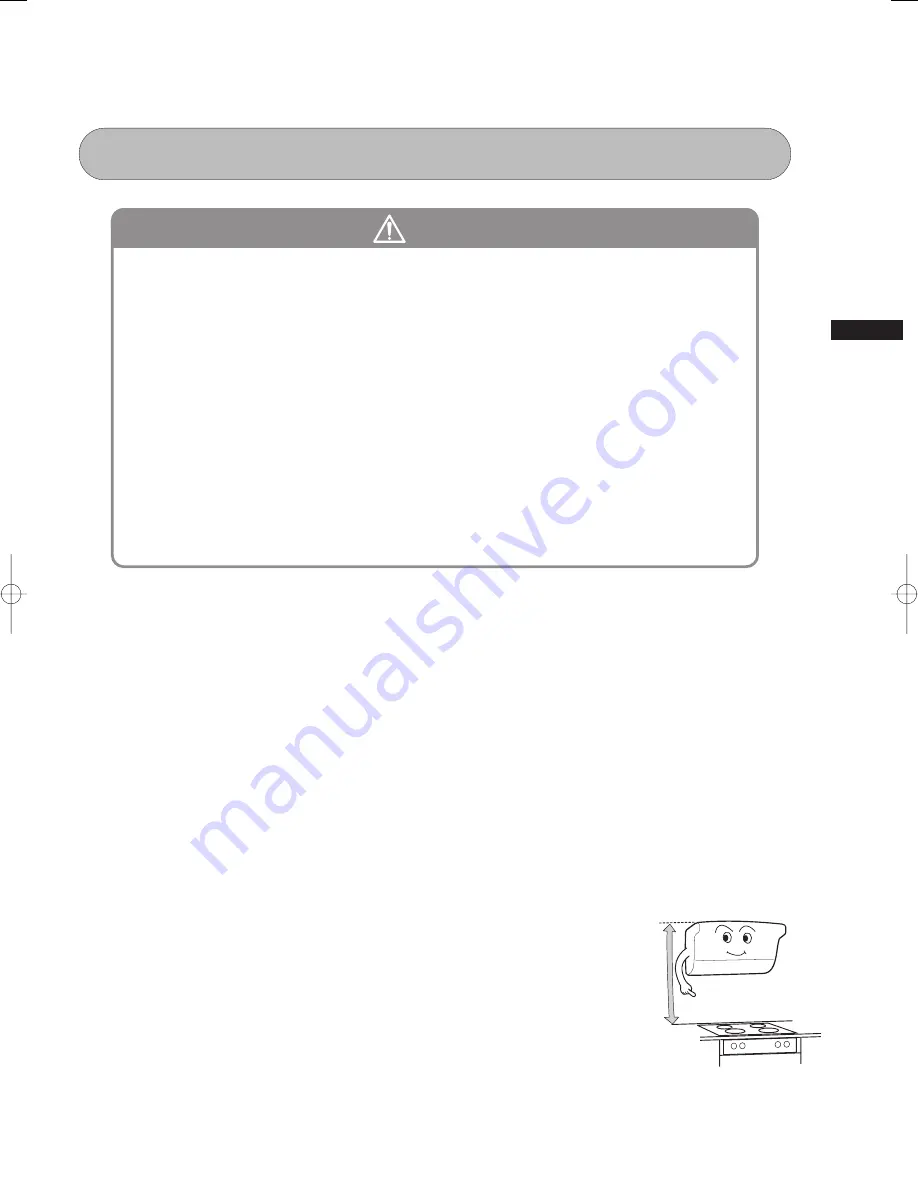
More than
90cm
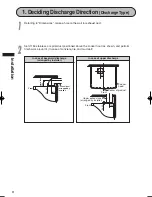
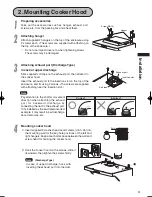
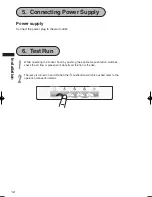
Installation
2
Preparation of Optional Parts
Providing optional parts according to the discharging method is necessary beforehand.
3
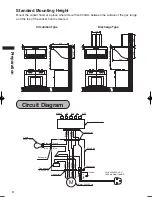
Standard Mounting Height
The standard mounting height of the cooker hood is more than 900mm
from the surface of the gas range.
4
Power Supply Plug
The power plug of this cooker hood is 13A 3-pin plug (Type-BF:BS1363).
Be sure to use the wall outlet for this type.
1. Mount the cooker hood carefully and avoid contact with any metal parts (the lath in the
wall or the like) of the building.
2. Never embed the body of the cooker hood in the wall. Otherwise, leakage current in the
wall, if any, flows to the body of the cooker hood.
3. Use a gas range having a narrower width than that of the cooker hood.
4. Avoid using the cooker hood with changes in the specification, for instance, with modifing
the switch.
5. Do not install the cooker hood in a wet area or in other wet rooms since it may result in
electric shock or damage.
6. Do not install the cooker hood at a place where its ambient temperature exceeds 40°C,
otherwise it may result in failure.
7. To protect your hands from injury, wear working gloves when installing the cooker hood.
8. If the power cord is damaged, it must be replaced by the manufacturer or its service
agent or a similarly qualified person in order to avoid a hazard.
CAUTION


