background image

Colour monitor 21P4

16 - English

A26361-K886-Z100-1-5E19

Making picture corrections (Screen)

i

Set the picture size, brightness, etc. before you switch on moiré reduction.
Only switch moiré reduction on if you can see light and dark stripes on your screen, or if
the picture is dull and blurred.
In some cases, moiré reduction may cause the picture quality to deteriorate (reduced
picture definition, slight flickering). To optimally restore the picture focus in the horizontal
and vertical picture area, use the function 

Focus

.

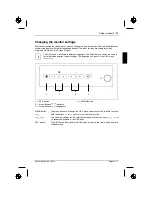
Calling the 

Screen

 setting window

6


5

 = Selecting function

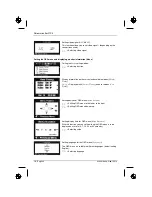
Setting or switching off moiré reduction (

Clear Moiré

)

If the picture you see on screen has light and dark stripes or
appears dull and blurred, this may be due to what is known as the
moiré effect. This effect usually has physical causes, being
triggered by interference between the pixels in the matrix and the
video signal. The intensity of the moiré effect is dependent on the
screen resolution and horizontal frequency.

3


4

 = Setting the horizontal moiré reduction intensity

6


5

 = Setting the vertical moiré reduction intensity

With a value of 0 the moiré reduction is switched off.

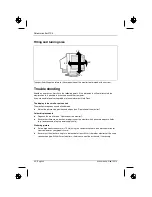
Adjusting the vertical linearity (

Linearity

)

Vertical linearity must be set when the screen display appears
distorted at the top or bottom.

3


4

 = Correcting compression distortion at the top or bottom of

the display

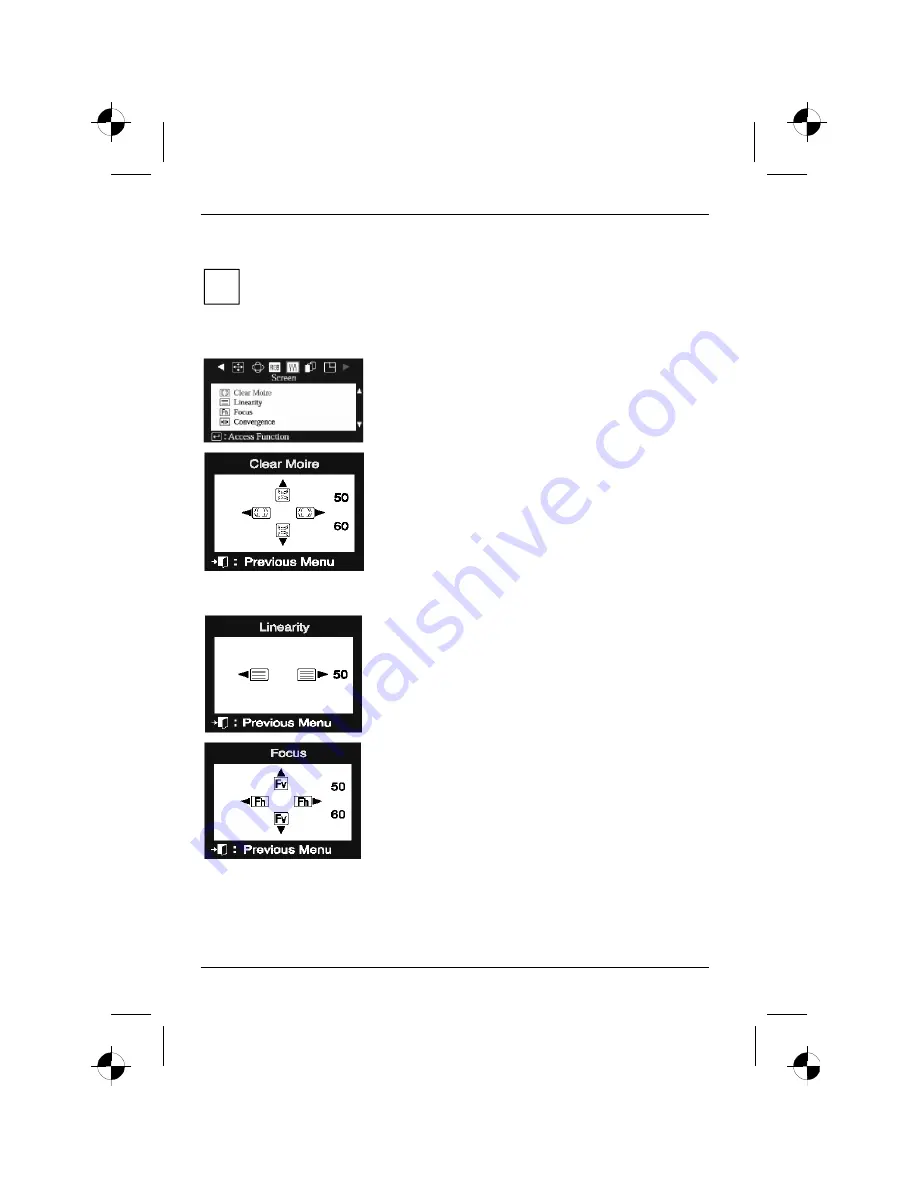
Setting the picture definition (

Focus

)

This function enables you to improve focus – e. g. after the moiré
reduction.

3


4

 = Improving focus right and left range

6


5

 = Improving focus up and down range

Summary of Contents for 21P4

Page 1: ...6 Checking the contents of the consignment 6 Installing an ergonomic video workstation 7 Connecting the monitor 8 Operation of the monitor 9 Switching the monitor on 10 Switching the monitor off 10 N...

Page 2: ......

Page 3: ...monitor The monitor interacts closely with the graphics card screen controller of your computer The monitor processes the data supplied to it by the screen controller The screen controller the associ...

Page 4: ...automatically degaussed when switched on This results in a magnetic field around the metal edge of the picture tube which may damage the data on data carriers nearby Therefore never keep magnetic dat...

Page 5: ...ian Do not use any cleaning agents that contain abrasives or may corrode plastic Ensure that no liquid will run into the system Ensure that the ventilation areas of the monitor are free When cleaning...

Page 6: ...the atmosphere the equivalent of 5 million automobiles As an Energy Star Partner Fujitsu Siemens Computers GmbH has determined that this product meets the Energy Star guidelines for energy efficiency...

Page 7: ...ay violate FCC rules Declaration of Conformity This device complies with Part 15 of the FCC Rules Operation is subject to the following two conditions 1 this device may not cause harmful interference...

Page 8: ...Help Desk or Fujitsu Siemens Computers GmbH Recyclingcenter D 33106 Paderborn Tel 49 5251 818 010 Fax 49 5251 818 015 Checking the contents of the consignment Unpack all the individual parts Remove a...

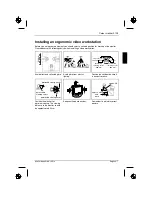
Page 9: ...eaching sector 600 mm edge of desk permissible reaching sector 600 mm Avoid direct and reflected glare Avoid glare from electric lighting Position the keyboard where it is easiest to reach 30 30 65 65...

Page 10: ...onitors of the same constructional type to avoid image distortion With different monitors the distance must be increased if necessary Because of its weight the monitor must be placed on a stable surfa...

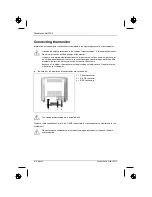
Page 11: ...pin connector of the data cable to the active monitor port on the computer and secure the plug in connection by tightening the safety screws i If your computer has two monitor ports onboard screen con...

Page 12: ...o the mode with the highest energy saving effect Stage ON Energy saving mode Power indicator lights green flashes green Function Monitor operating normally Monitor is dark Power consumption normal 120...

Page 13: ...enu names are used in the following description default setting The language can be set in the OSD menu Languages 2 3 1 4 1 EXIT button 2 Arrow buttons 34 contrast 3 Arrow buttons 65 brightness 4 MENU...

Page 14: ...st between the foreground and background Settings with the OSD menu To make a setting perform the following steps Press the MENU button to activate the OSD menu The main menu appears on the screen wit...

Page 15: ...rs after a short time e g 10 seconds The time can be set in the OSD menu Menu Duration The OSD menu can be hidden by pressing the EXIT button All possible adjustments of the monitor using the OSD menu...

Page 16: ...symmetrical 3 4 Reducing the angle of the left and right sides 6 5 Rotating the picture in a clockwise or counter clockwise direction Correcting pincushion and trapezoid distortion Pincushion Trapezoi...

Page 17: ...ng lower corner edges of screen display 6 5 Correcting upper corner edges of screen display Setting colours Color The warmth of the screen colours is set using the colour temperature The monitor has t...

Page 18: ...rk stripes or appears dull and blurred this may be due to what is known as the moir effect This effect usually has physical causes being triggered by interference between the pixels in the matrix and...

Page 19: ...turning the screen the screen must be degaussed Do not use the feature more than once within a 15 minute period Activating the factory settings Recall Factory settings are provided for picture size pi...

Page 20: ...nt and available modes Display Timing 6 5 Display default Factory Timing and user modes User Timing Setting position of OSD menu Menu Position 3 4 Shifting OSD menu to the left or to the right 6 5 Shi...

Page 21: ...roduce the minimum required contrast of 3 1 and are therefore not suitable for continuous text and data entry When using several colours for characters and background and giving the primary colours fu...

Page 22: ...ode 3 W OFF mode Environmental conditions Environment class 3K2 IEC 721 Rated range of operation Humidity Limit range of operation Humidity 10 C 40 C 10 80 0 C 60 C 5 90 Condensation must be avoided V...

Page 23: ...53 7 kHz 0 5 kHz 68 7 kHz 0 5 kHz 80 0 kHz 0 5 kHz 91 2 kHz 0 5 kHz 106 0 kHz 0 5 kHz 60 Hz 2 Hz 70 Hz 2 Hz 85 Hz 2 Hz 85 Hz 2 Hz 85 Hz 2 Hz 85 Hz 2 Hz 85 Hz 2 Hz 85 Hz 2 Hz 640 x 480 720 x 400 640 x...

Page 24: ...r not centred The monitor recognises an undefined mode Adjust the picture size position and edges see Operation of the monitor Colour displacements Degauss the monitor see Operation of the monitor Ens...

Page 25: ...d is active Press any key on the computer keyboard the computer may be in energy saving mode Change the brightness and or the contrast the monitor may be adjusted to the maximum dark setting Error mes...

Reviews: