Removing and installing components during servicing
Hard disk installation
When installing the hard disk ensure that the contacts in the hard disk
compartment do not bend or become damaged. Please observe the notes
in the operating instructions for the hard disk.
Hard disk
►
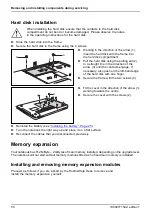
Slide the hard disk into the frame.
►
Secure the hard disk in the frame using the 4 screws.
1
4
2
4
3
►
Working in the direction of the arrow (1),
insert the hard disk with the frame into
the hard disk compartment.
►
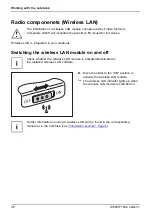
Pull the hard disk using the pulling aid (2)
in a straight line in the direction of the
arrow (3) until the contacts engage. If
necessary, also push on the left-hand edge
of the hard disk with one
fi
nger.
►
Secure the frame with the two screws (4).
2
1
►
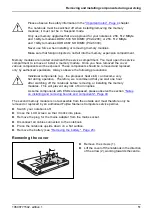
Fit the cover in the direction of the arrow (1),
working towards the centre.
►
Secure the cover with the screws (2).
►
Reinstall the battery (see
"Installing the battery", Page 25
).
►
Turn the notebook the right way up and place it on a
fl
at surface.
►
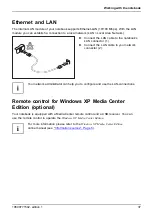
Reconnect the cables that you disconnected previously.
Memory expansion
Main memory
Memory removal
System expansion
System expansion
Your notebook has 512 MByte – 2 GBytes of main memory installed, depending on the upgrade level.
The notebook will not start without memory modules
fi
tted as no
fi
xed main memory is installed.
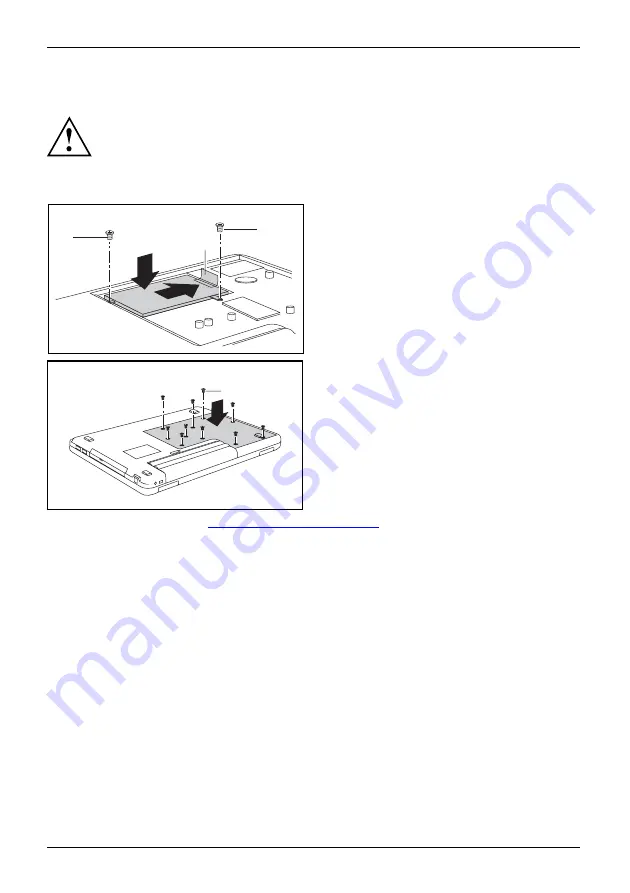
Installing and removing memory expansion modules
Memory module
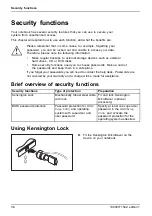
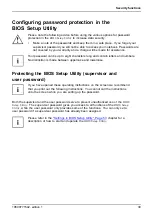
Proceed as follows if you are asked by the Hotline/Help Desk to remove and
install the memory expansion yourself:
50
10600771542, edition 1
Summary of Contents for AMILO Li Series
Page 1: ...Notebook English EasyGuide AMILO Li Series...
Page 3: ......
Page 10: ...Contents 10600771542 edition 1...

