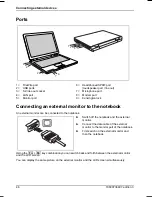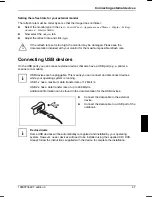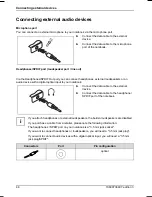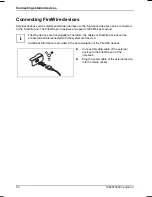
Removing and installing components during servicing
Installing the hard disk
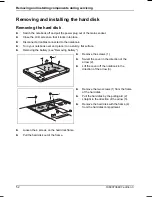
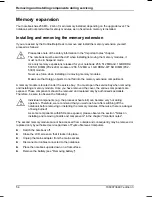
Take care when installing the hard disk that the contacts in the drive bay are not bent or
damaged. Follow the instructions in the hard disk’s usage instructions.
!
►
Push the hard disk into the frame.
►
Fasten the hard disk drive in the frame with the four screws.
►
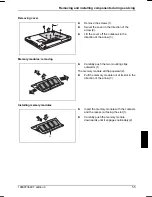
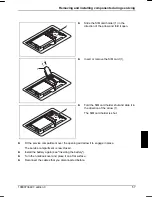
Working in the direction of the arrow (1),
insert the hard disk with the frame into the
hard disk compartment.
4
3
4
2
1
►
Pull the hard disk by the pulling aid (2)
straight in the direction of the arrow (3) until
the contacts engage. If necessary, use a
finger to guide the left-hand edge of the
hard disk along.
►
Secure the frame with the two screws (4).
3
2
1
►
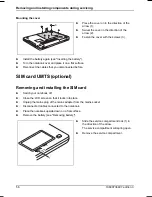
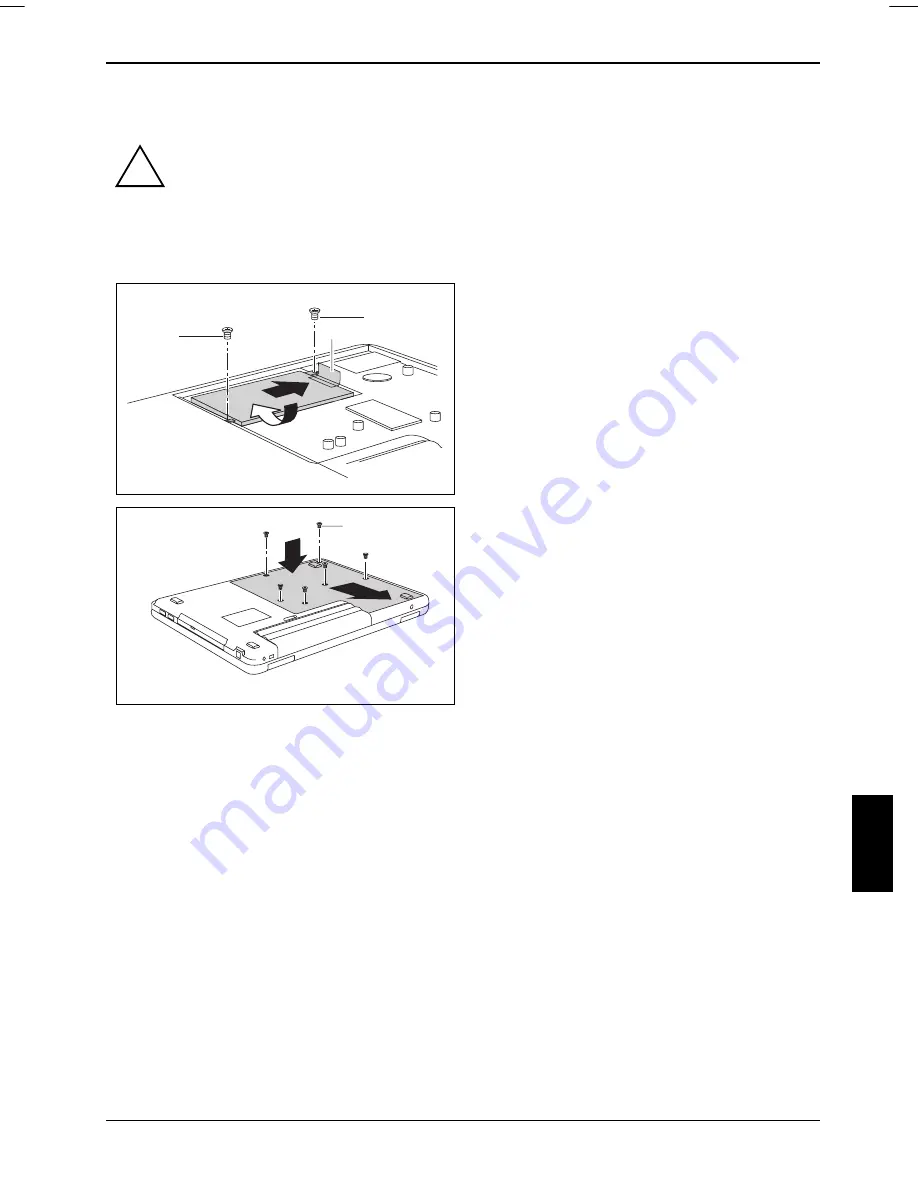
Place the cover on in the direction of the
arrow (1).
►
Swivel the cover in the direction of the
arrow (2).
►
Fasten the cover with the screws (3).
►
Install the battery again (see "Inserting the battery").
►
Turn the notebook over and place it on a flat surface.
►
Reconnect the cables that you disconnected before.
10600736497, edition 3
53
Summary of Contents for AMILO Si 1848
Page 1: ...Notebook EasyGuide English AMILO Si Series...
Page 3: ......
Page 10: ...Contents 10600736497 edition 3...
Page 14: ...Ports and operating elements 4 10600736497 edition 3...
Page 22: ...Using your notebook for the first time 12 10600736497 edition 3...
Page 50: ...Using your notebook 40 10600736497 edition 3...
Page 68: ...Removing and installing components during servicing 58 10600736497 edition 3...
Page 78: ......

