Removing and installing components during servicing
Installing the hard disk
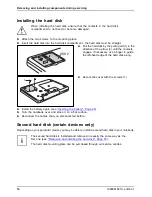
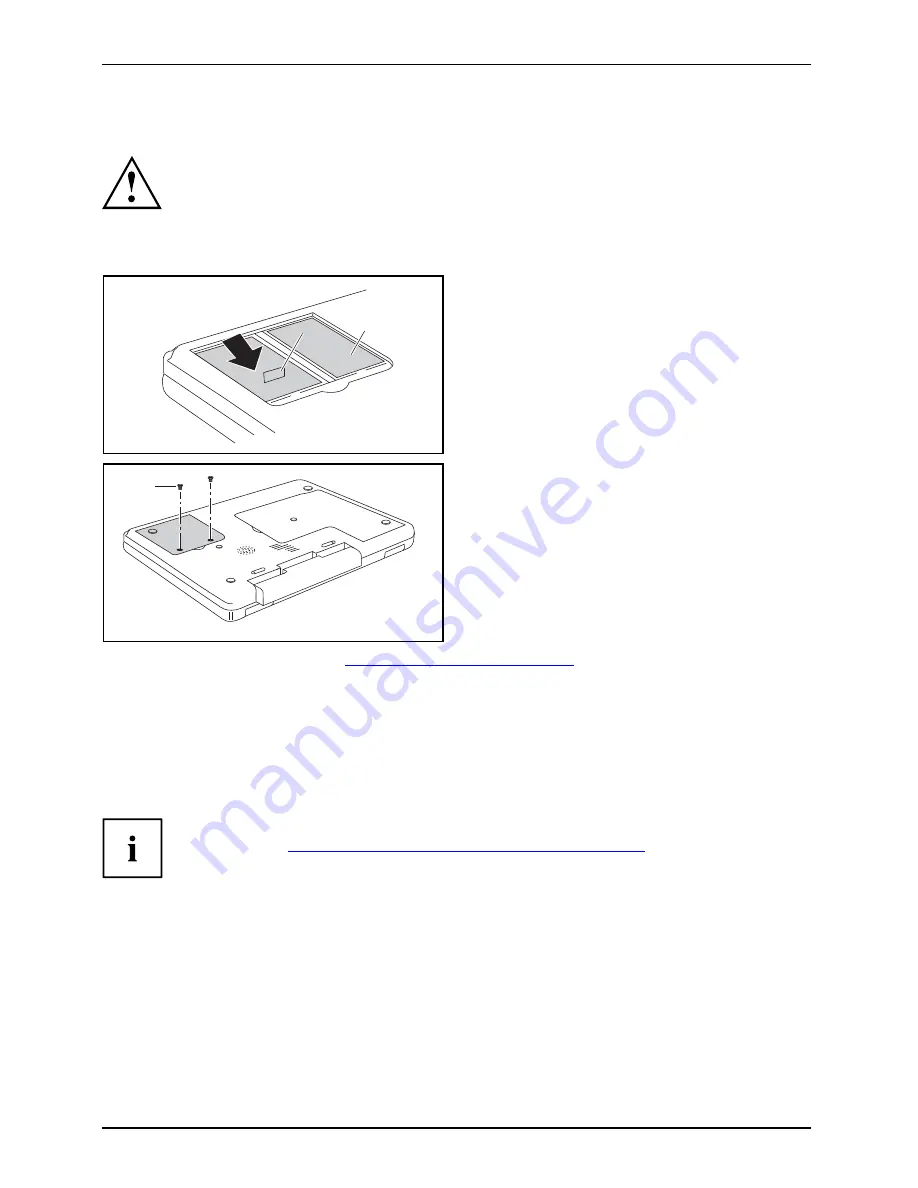
When installing the hard disk, ensure that the contacts in the hard disk
compartment do not bend or become damaged.
Harddisk
►
Attach the two screws to the mounting plate.
►
Insert the hard disk into the hard disk compartment - the hard disk must be straight.
1
2
HDD 2
►
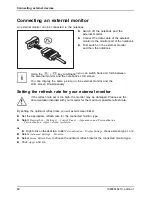
Pull the hard disk by the pulling aid (1) in the
direction of the arrow (2) until the contacts
engage. If necessary, use a
fi
nger to guide
the left-hand edge of the hard disk along.
2
1
►
Secure the cover with the screws (1).
►
Install the battery again (see
"Inserting the battery", Page 25
).
►
Turn the notebook over and place it on a
fl
at surface.
►
Reconnect the cables that you disconnected before.
Second hard disk (certain devices only)
Secondhard disk
Additionalharddisk
Depending on your particular model, you may be able to install a second hard disk in your notebook.
The second hard disk is installed and removed in exactly the same way as the
fi
rst one (see
"Removing and installing the hard disk", Page 55
).
The hard disk mounting plate can be purchased through our service centres.
56
10600816219, edition 1
Summary of Contents for AMILO XA Series
Page 1: ...Notebook English EasyGuide AMILO Xa Series...
Page 3: ......
Page 10: ...Contents 10600816219 edition 1...

