Colour Monitor
SCENICVIEW P17-1A
16 - English
A26361-K960-Z101-1-5E19
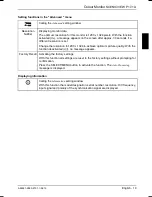
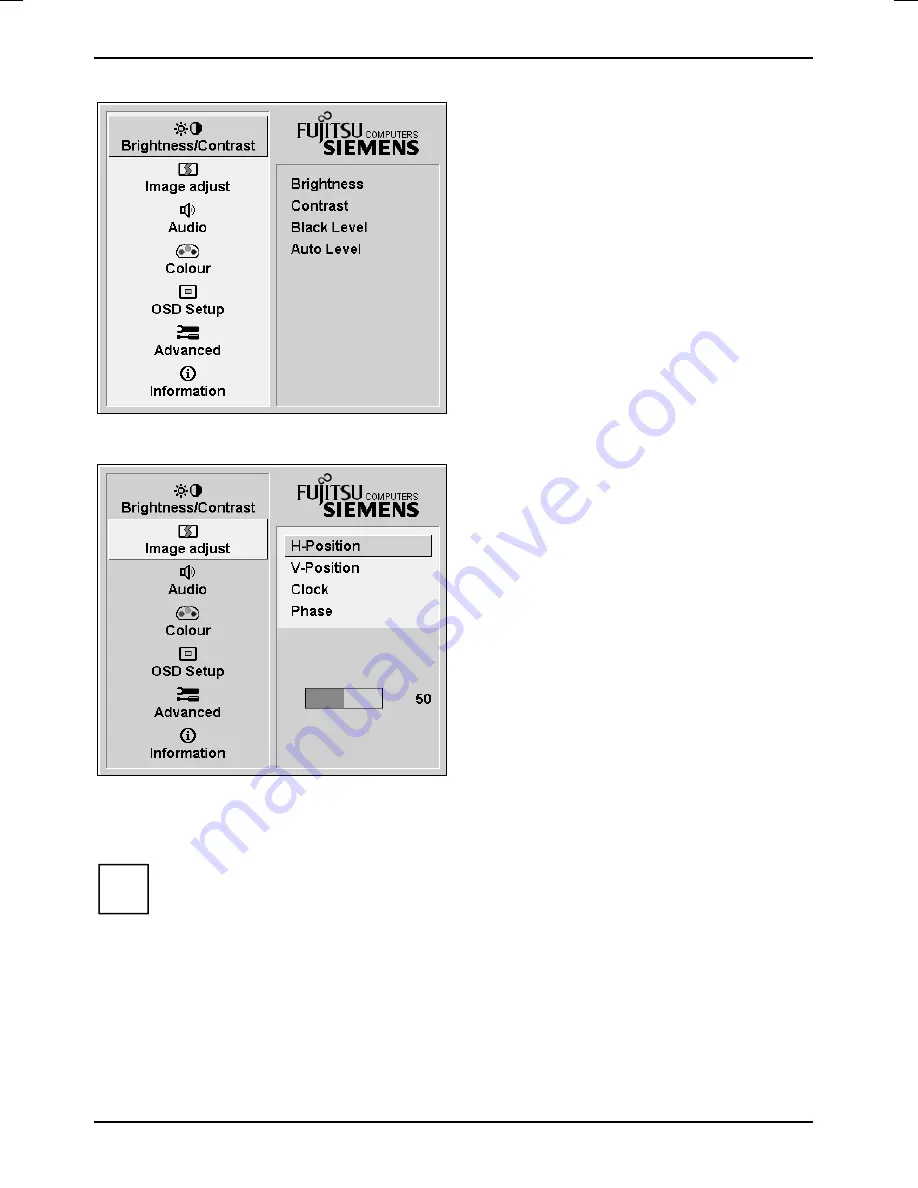
The first symbol (
Brightness/Contrast
) is
highlighted. In the right-hand part of the display
the associated functions are shown.
►
If necessary, press the
6
or
5
button to
mark another icon (e.g.
Image adjust
).
►
Press the SELECT/MENU button to select
the highlighted icon.
The corresponding setting window (here:
Image Adjust
) is displayed (on the right-hand side).
The first function (
H-Position
) is highlighted.
►
If necessary, press the
6
or
5
button to
mark another function.
►
Press the SELECT/MENU button to select
the highlighted function.
►
Press
the
6
or
5
button to adjust the
value for the selected function.
►
Press the EXIT/AUTO button to exit the
function.
►
If necessary, press the button
6
or
5
to
mark another function or press the
EXIT/AUTO button to return to the main
menu.
All changes are stored automatically.
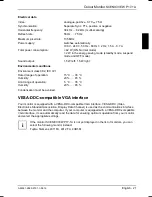
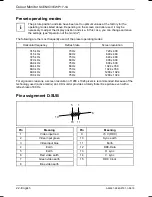
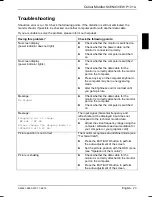
If you want to change other settings, select the corresponding function from the OSD main menu. All
possible adjustments of the main menu are described in the following.
i
The OSD menu for analogue monitor operation is described in the following. During digital
operation some functions are not available, as they are not required due to the digital
transmission technology used.
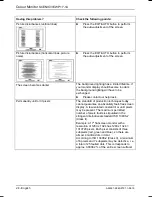
Summary of Contents for SCENICVIEW P17-1A
Page 1: ...Betriebsanleitung Operating Manual Monitor SCENICVIEW P17 1A Deutsch English answers2...
Page 3: ......
Page 8: ......


