S e c t i o n F o u r
86
■
Place the CD-ROM label side up with the
hole in the center of the CD-ROM fitted onto
the raised circle in the center of the tray. (See
Figure 2-11 on page 32.)
■
Close the tray.
■
After the CD-ROM is loaded it will take a
short time for your notebook to recognize it.
Installing Devices on the LPT Port
When installing a device on the LPT Port, be
sure that the connector is the right size,aligned,
and fully seated. Tighten the hold-down screw
on each end of the connector.
Installing Devices on the COM Port
When installing a device on the COM Port, be
sure that the connector is the right size,aligned,
and fully seated. Tighten the hold-down screw
on each end of the connector.
P O I N T
The modular CD-ROM Drive maybe
installed or removed with the notebook
in Suspend Mode or the power Off.
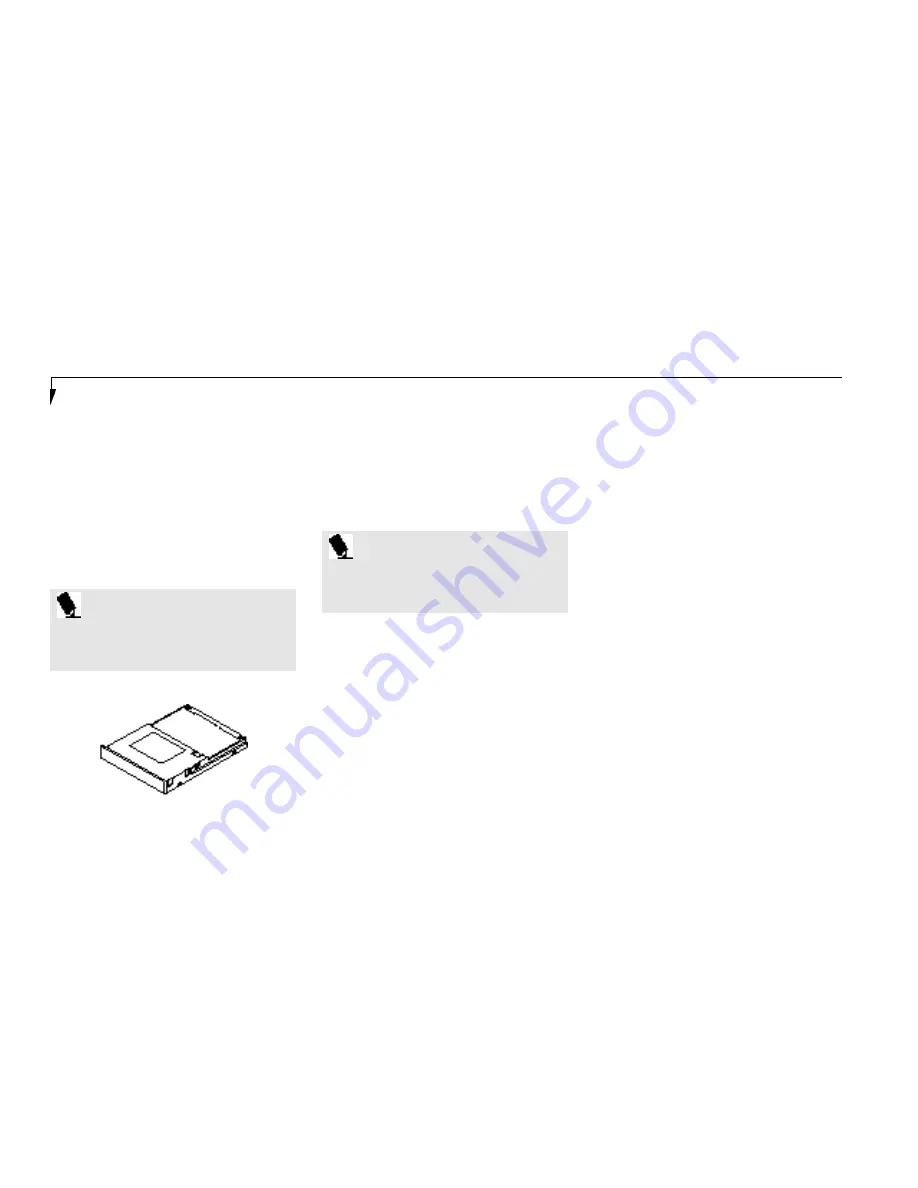
Figure 4-10 Optional Hard Drive
Installing External Monitors
When installing an external monitor, be sure
that the connector is the right size, aligned,and
fully seated. Tighten the hold down screw on
each end of the connector.
Installing a Mouse or Keyboard
Make sure the connector on the device is the
correct size. Align the arrow on the connector
to point to the bottom of your notebook and
push in until the connector seats.A mouse or
keyboard or keypad may be installed and will
be automatically recognized by your notebook
without restarting or changing setups.
Installing a Replicator Port or
Mini-Docking Station
1. To use a docking device with your notebook
they both must be on a flat surface.
2. Make sure that the tilt adjustment feet are flat
against the bottom of the notebook and the
covers of the connectors, both rear panel and
left side panel,are closed.
3. Make sure that the slide cover in the rear
panel is completely open.
P O I N T
The Removable Floppy Disk Drive maybe
installed or removed with the notebook
in Suspend Mode or the power Offf .
Removable Floppy Disk Drive
For information on the care and use o f the
floppy disk drive see Floppy Disk Drive in
Section Two on pages 31-33.
Summary of Contents for 420D
Page 3: ...T a b l e o f C o n t e n t s ...
Page 149: ...I n d e x ...


