●
7-15
2.
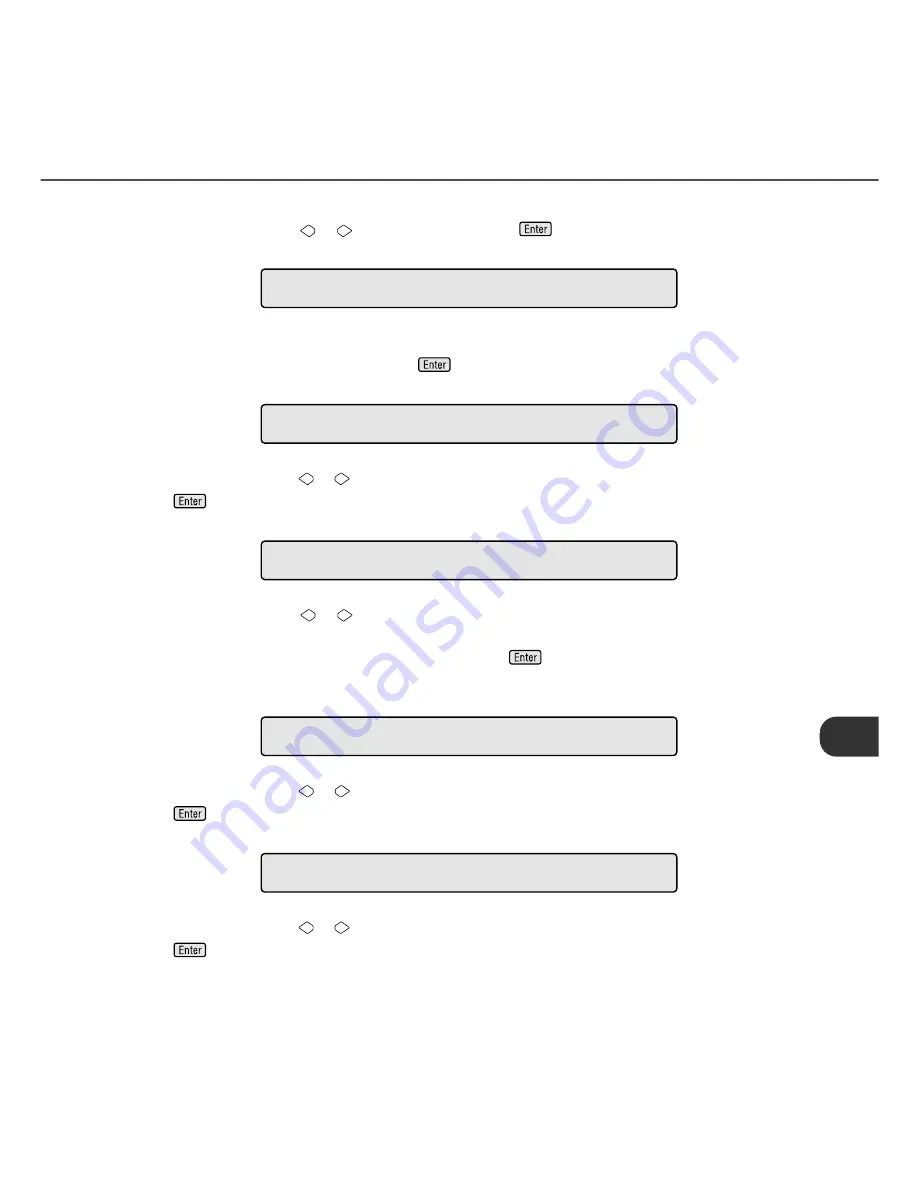
At Screen 32, press
or
to select “Yes” and press
. Then the scanner displays Screen 33.
Screen 33
3.
At Screen 33, select “Yes” to return the settings to the factory default or select “No” to make new
settings (as shown below). Then press
. The scanner displays Screen 34.
Screen 34
4.
At Screen 34, press
or
to change the top setting. The value changes in 1 mm units. Then press
to activate the setting. The scanner displays Screen 35.
Screen 35
5.
At Screen 35, press
or
to change the bottom setting. With (+:Up), the area is set upward from
the bottom edge of the image. With (–:Down), the area is set downward from the bottom edge of the
image. The value changes in 1 mm units. Then press
to activate the setting. The scanner
displays Screen 36.
Screen 36
6.
At Screen 36, press
or
to change the left setting. The value changes in 1 mm units. Then press
to activate the setting. The scanner displays Screen 37.
Screen 37
7.
At Screen 37, press
or
to change the top setting. The value changes in 1 mm units. Then press
to activate the setting. The scanner displays the next setup item.
N o
/
Y e
s
!
1
7
-
1
D e
f
a
u
l
t
?
T o
p
=
0
m m
!
1
7
-
2
A D F
T o
p
B t
m =
0
m m (
+ :
U p
)
!
1
7
-
3
A D F
B o
t
t
o
m
L
e
f
t
=
0
m m
!
1
7
-
4
A D F
L
e
f
t
R i
g
h
t
=
0
m m
!
1
7
-
5
A D F
R i
g
h
t
Summary of Contents for 4340C - fi - Document Scanner
Page 1: ...Operator s Guide fi 4340C Image Scanner P3PC E832 01EN ...
Page 2: ......
Page 20: ......
Page 25: ... 1 5 Assemblies Guide A ASSY Pick roller Stacker Pad ASSY ...
Page 28: ... 1 8 ...
Page 34: ... 2 6 ...
Page 58: ... 5 10 ...
Page 102: ... 10 4 423 16 6 360 14 2 556 21 9 220 8 7 275 10 8 unit mm Dimensions ...
Page 108: ... GL 6 ...
Page 112: ... IN 4 ...
Page 113: ......
Page 114: ......


