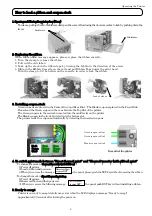


Installing the Printer
3
rd
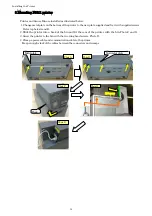
step: Mounting the bin feeder
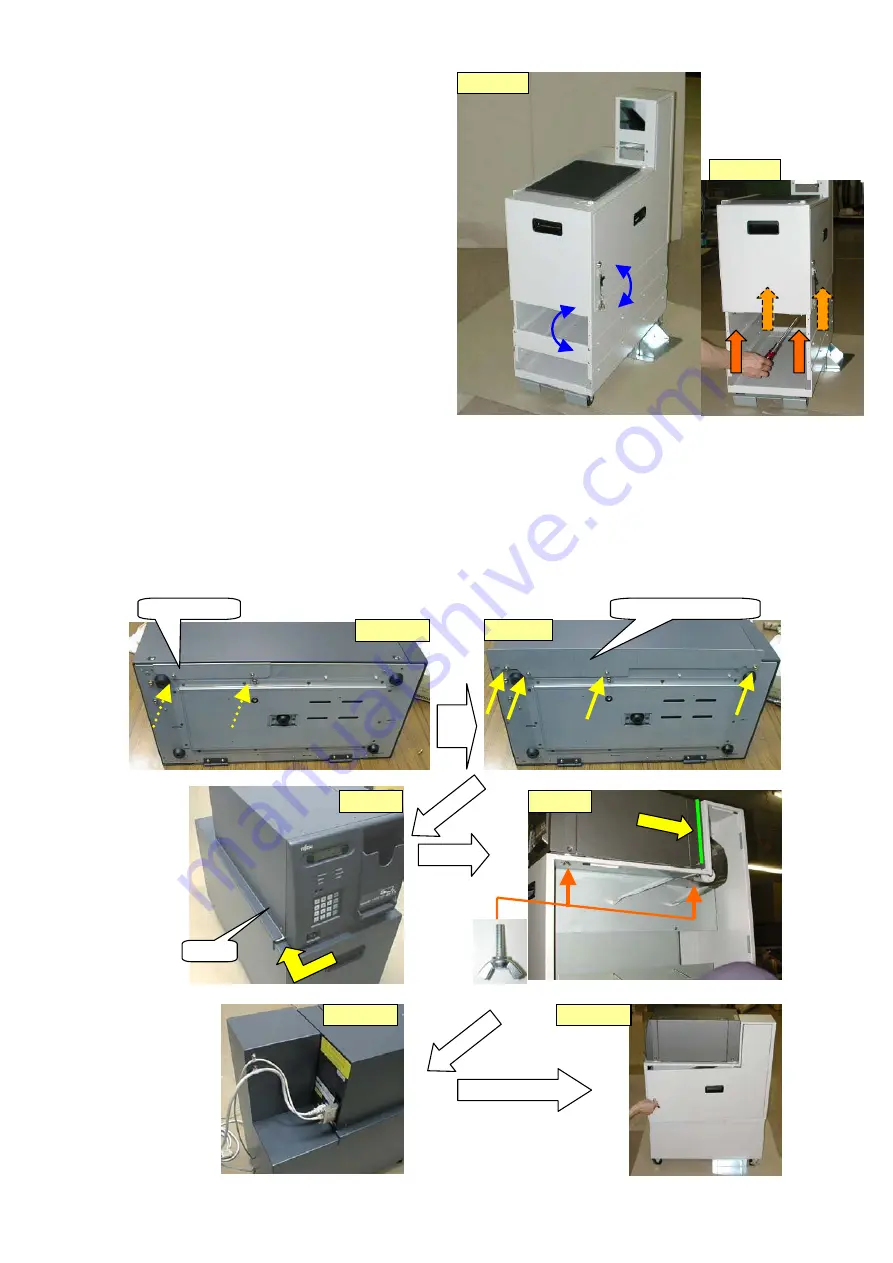
Photo 5
Photo 4
Mount the bin feeder on the assembled pedestal
Fix them with four screws after facing
in front and right face. Refer to photo 4 and 5
Use screws with hexagonal head, which
are attached on the pedestal.
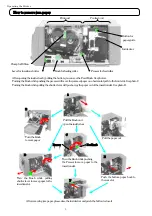
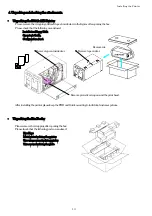
4
th
step: Mounting F9811 printer
Printer and Secure Bin are set up as below order
1.Change metal plate on the bottom of the printer to enclosed new plate and fixes it with enclosed
screws. Refer to photo 6 and 7
2.Slide the printer into a hook of the bin and fit the rear of the printer with the bin. Photo 8 and 9.
3.Screw the printer and the bin with two wing head screws. Photo 9.
4.Connect a power cable and communication cable to the printer and cramp them on the bin.
Keep enough slack of the cables between the connectors and cramps. Refer to photo 10
Photo 10
Photo 9
fit to rear
Photo 11
Close the door
Photo 8
Hook
Metal plate
New metal plate
Photo 7
Photo 6
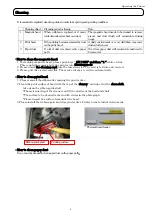
16
Summary of Contents for 9811 ATB
Page 22: ...printed in Japan ...


