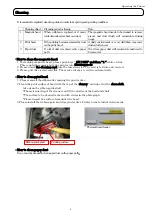

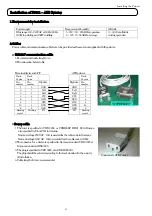
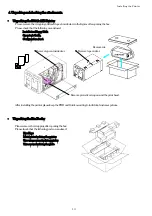
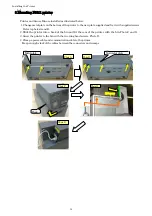
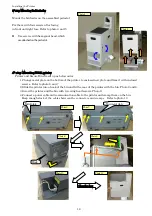


Installing the Printer
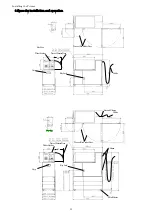
Trouble Shooting
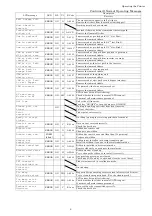
1. Reading the ERROR LOG from system memory.
1) Push key "ON/OFF" to turn to mode "OFF LINE". LCD display shows “OFF LINE”.
2) Push key "TST" in order to show the memorized ERROR LOG.
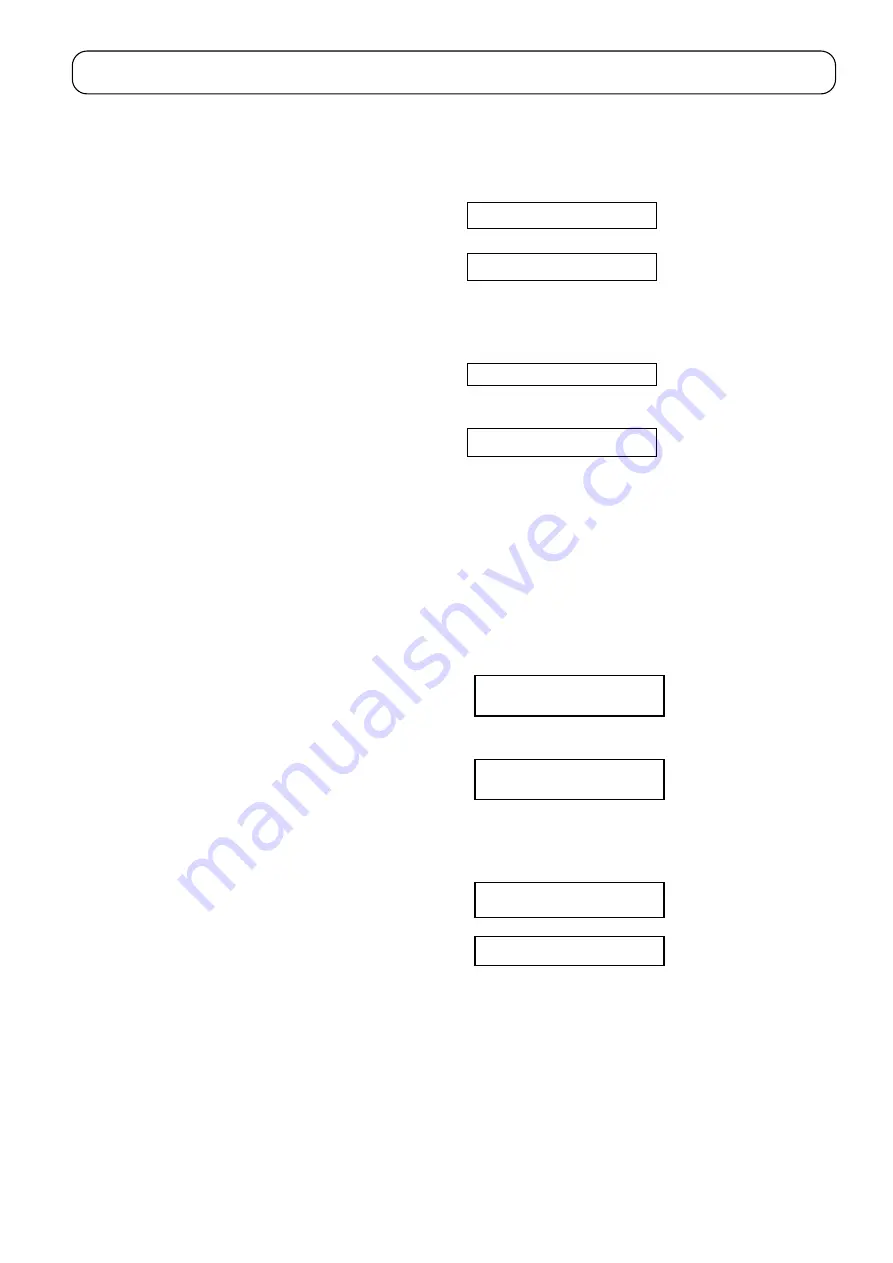
Message will be displayed as
(D01)
08/12/01 12:00
ERROR 0164 ->
Time and Error Code are shown on LCD
Push key "ENT" to show details of the LOG.
Message will be displayed as
3) Push key "+/-" to scroll the LCD display to show older ERROR LOG.
(D02)
08/12/01 12:00
->PARITY ERR
Push key “TST” to scroll backward to show younger ERROR LOG.
4) When the scroll has reached the oldest error LOG, the following message is shown.
Repeating pushing the key “+/-“ will return to the top.
(D03)
----END OF LOG---
----TOP OF LOG---
(D04)
5) To finish the function: Push “ON/OFF” to finish the function and show “Ready to accept / ticket…”
on the LCD (return to ON LINE mode).
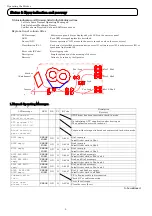
2.. Adjusting the system clock (to adjust it to local time).
F9811 Printer has an internal clock. Error codes are stored in memory time stamped.
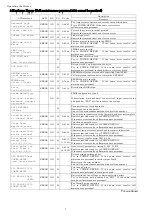
1a) Turn the power switch on.
BIOS will be started and several messages will appear on the display.
Please wait for the beep of buzzer.
1b) Push the key “ON/OFF” on the keypad when you first hear the beep. Message will be displayed follows;
1c) Push the key “3” after above message. (Just 3 not 1 and 2).
1.Flash ROM inst
2.Boot from FDD
all
(D05)
1d) The LCD will display the clock and date to be adjusted as below.
HH: hour
MM: minute
mm: month
dd: day
yyyy year
(D06)
HH:MM mm/dd/yyyy
1e) Push numeric keys (0 - 9) in order to input each value of local time and date correctly.
1f)
Push the key “ENT”, to register the local time. Message is displayed as follows;
1g) When you push the key “1” , the message is displayed as follows.
1h) Push the key “1” again. Printer is started automatically and returns to On-line mode.
SELECT 128KB EMS
1=Yes 2=No
(D07)
(D08)
FDD INSTALLED:1
1=Yes 2=No
3. Should an unexpected error occur,
2a) Turn the power switch on.
BIOS will be started and several messages will be displayed on the LCD.
Please wait for the beep of buzzer.
2b) Unexpectedly, the message is shown as same as
(D06) on LCD
.
2c) If the system clock is incorrect, input correct values and set the system clock as described in 1E to 1H.
2d) If the system clock is correct, register the system clock as above.
18
Summary of Contents for 9811 ATB
Page 22: ...printed in Japan ...


