| Installing and cabling disk shelves with IOM12 modules for a new system installation |
3.
If you are installing a DS460C disk shelf, install the components into the racked disk shelf; otherwise, go to
the next step.
If you purchased a partially populated disk shelf which does not have a drive in every drive slot, you must
ensure that:
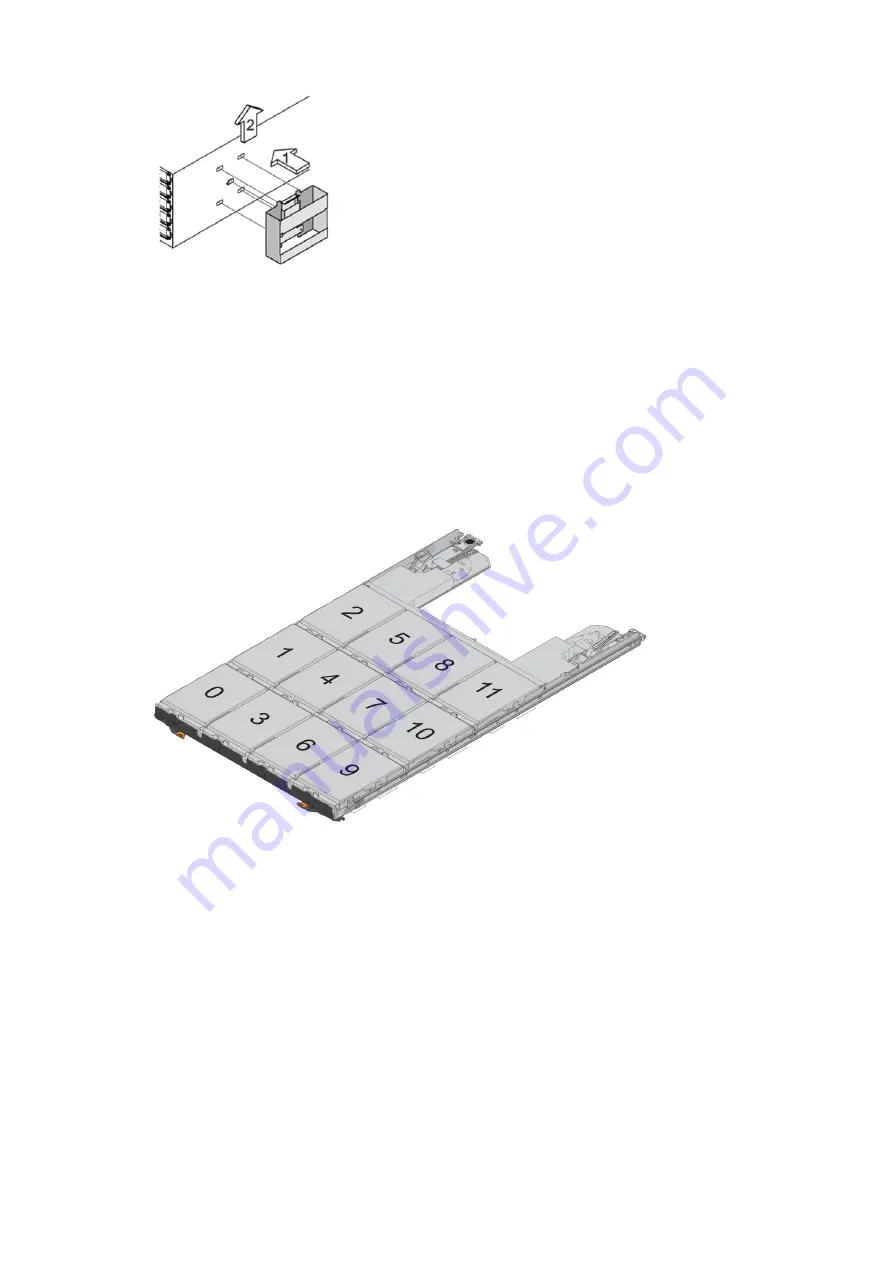
• The first four slots (0, 3, 6, and 9) are occupied in each drawer.
This ensures proper airflow in the disk shelf.
• In a shelf with 30 drives, the remaining ten drives are distributed evenly throughout the shelf in slots 1
and 10 of each drawer.
The following illustration shows how the drives are numbered from 0 to 11 in each drive drawer within
the shelf. Slots 0, 3, 6, 9, and, in a shelf containing 30 drives, slots 1 and 10 in each drawer must contain
drives.
a) Reinstall any power supplies and IOMs you removed prior to installing your disk shelf into the rack.
b) Open the top drawer of the shelf.
c) Raise the cam handle on the drive to vertical.
d) Align the two raised buttons on each side of the drive carrier with the matching gap in the drive
channel on the drive drawer.
5


