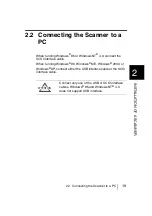
2.2 Connecting the Scanner to a PC
21
2
INS
T
A
L
LA
TI
ON
O
F
A
SC
AN
NE
R
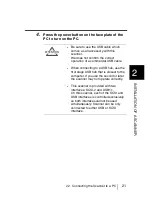
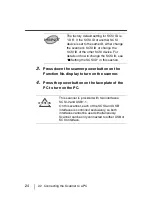
4.
Press the power button on the face plate of the
PC to turn on the PC.
ATTENTION
•
Be sure to use the USB cable which
comes as an accessory with this
scanner.
We does not confirm the correct
operation of a commercial USB cable.
•
When connecting to a USB hub, use the
first stage USB hub that is closest to the
computer. If you use the second or later,
the scanner may not operate correctly.
•
This scanner is provided with two
interfaces: SCSI-2 and USB1.1.
On this scanner, each of the SCSI and
USB interfaces is controlled exclusively,
so both interfaces cannot be used
simultaneously. Scanner can be only
connected to either USB or SCSI
interface.
Summary of Contents for FI-4120C
Page 1: ...Operator s Guide fi 4120C Image Scanner P3PC E007 02EN ...
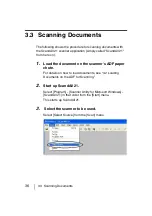
Page 65: ...38 3 3 Scanning Documents ...
Page 67: ...40 3 3 Scanning Documents ...
Page 97: ...70 6 1 Consumable and Replacement Cycle The fi 4120Cdj Properties dialog box appears ...
Page 147: ...120 7 4 Checking Labels on the Scanner ...
Page 173: ...GL 8 ...
Page 177: ...IN 4 ...
Page 179: ......
Page 180: ......

