8
2.1
Turning ON/OFF the Scanner
1. Turning the Power On
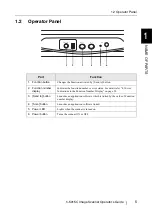
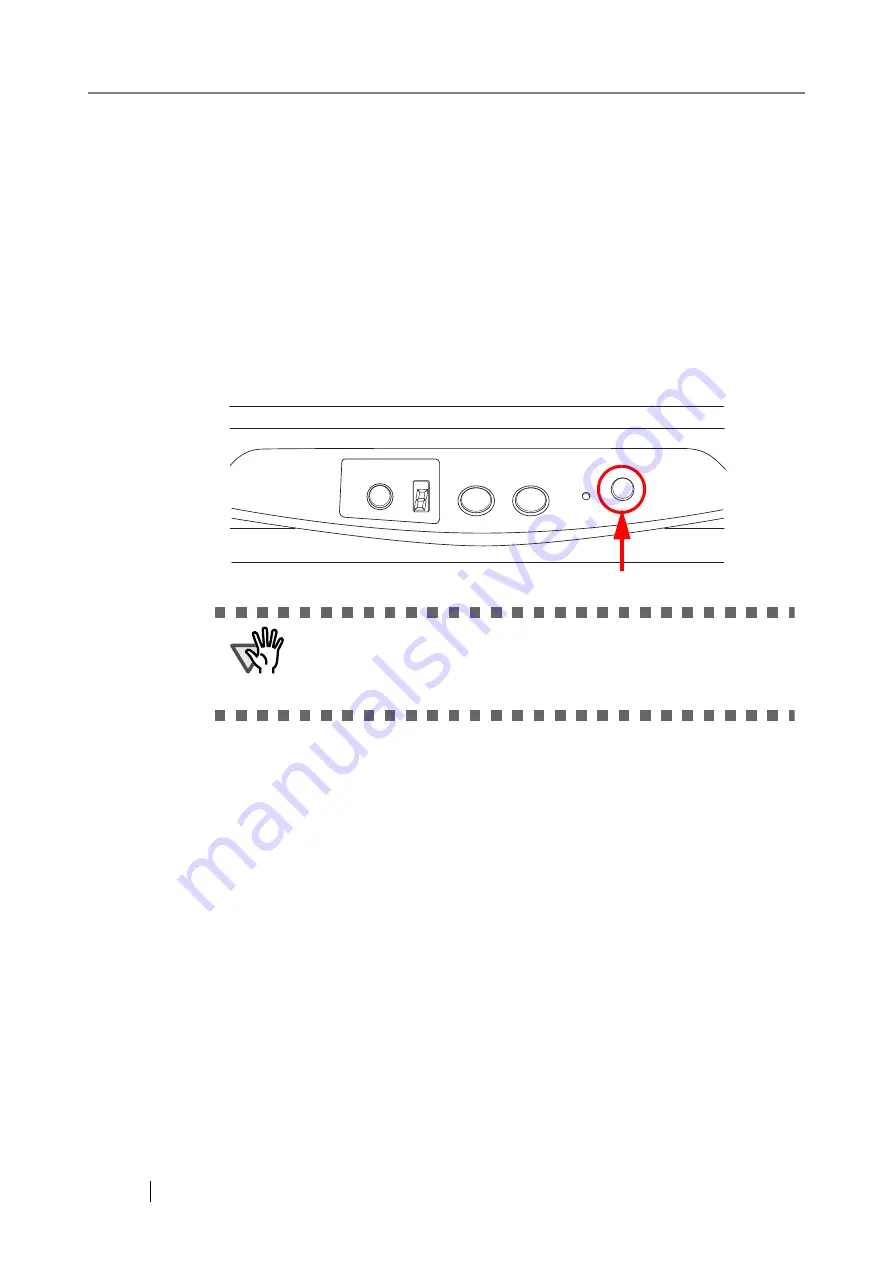
Switch on the Main Power switch located on the side. Then press [Power] button on the
operator Panel.
The scanner is turned ON, and the green LED on the operator panel lights.
During the initialization, the indication of the Function Number Display changes as follows:
“8”->"P" -> "0" -> "1"
The indication "1" means that the operator panel scanner is in the ready status.
2. Turning the Power Off
Hold the power button down for at least two seconds.
■
About Power ON/OFF Control
You can select either the scanner to be turned on/off with disable the Power button on the
operator panel, or alternately you would then power the scanner on/off by connecting or dis-
connecting the power cable.The procedure is as follows.
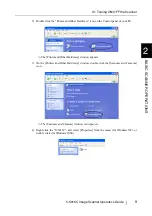
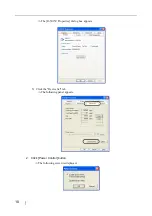
1. Open Scanner’s Properties.
1) When turning on the power, check that the scanner is connected to your PC. Refer to "2.3
Connecting the Scanner your a PC" in fi-5015C Getting Started on the Setup DVD-ROM
for information about connecting the scanner to your personal computer.
ATTENTION
Be sure to turn off the Power button on the operation panel before turning
off the main power switch. If you turn off the main power switch without
turning off the Power button first, other USB devices connected with the
USB2.0 hub may fail.
(WPEVKQP
5GPFVQ
5ECP
2QYGT
Summary of Contents for FI-5015C
Page 1: ...P3PC 1592 06ENZ0 Operator s Guide fi 5015C Image Scanner ...
Page 7: ...vi ...
Page 13: ...6 ...
Page 39: ...32 ...
Page 61: ...54 ...
Page 63: ...AP 2 Dimensions Unit millimeters 175 447 17 6 in 6 88 in 175 328 12 9 in 6 88 in ...
Page 67: ...AP 6 ...
Page 79: ...IN 2 U USB connector 3 Using the Scan or Send to button 3 ...


